
Frozen Cherry Pie Filling That Actually Tastes Like Cherries

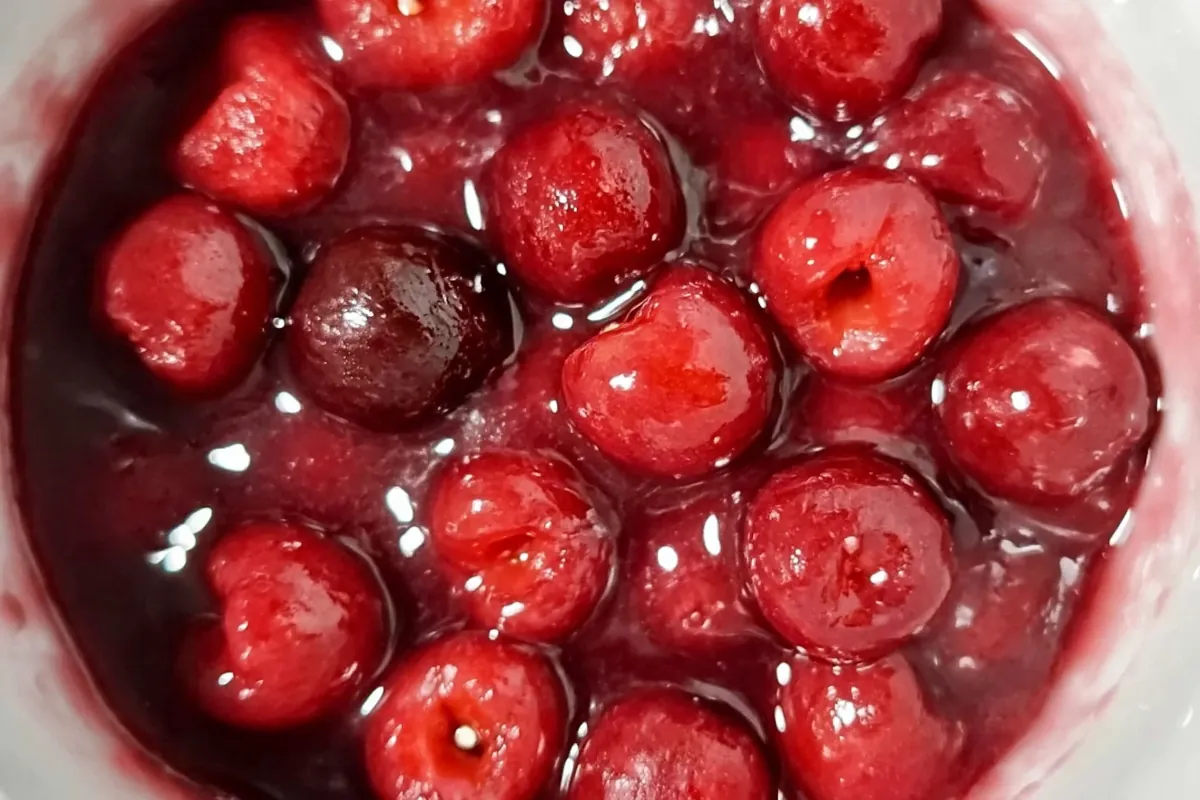
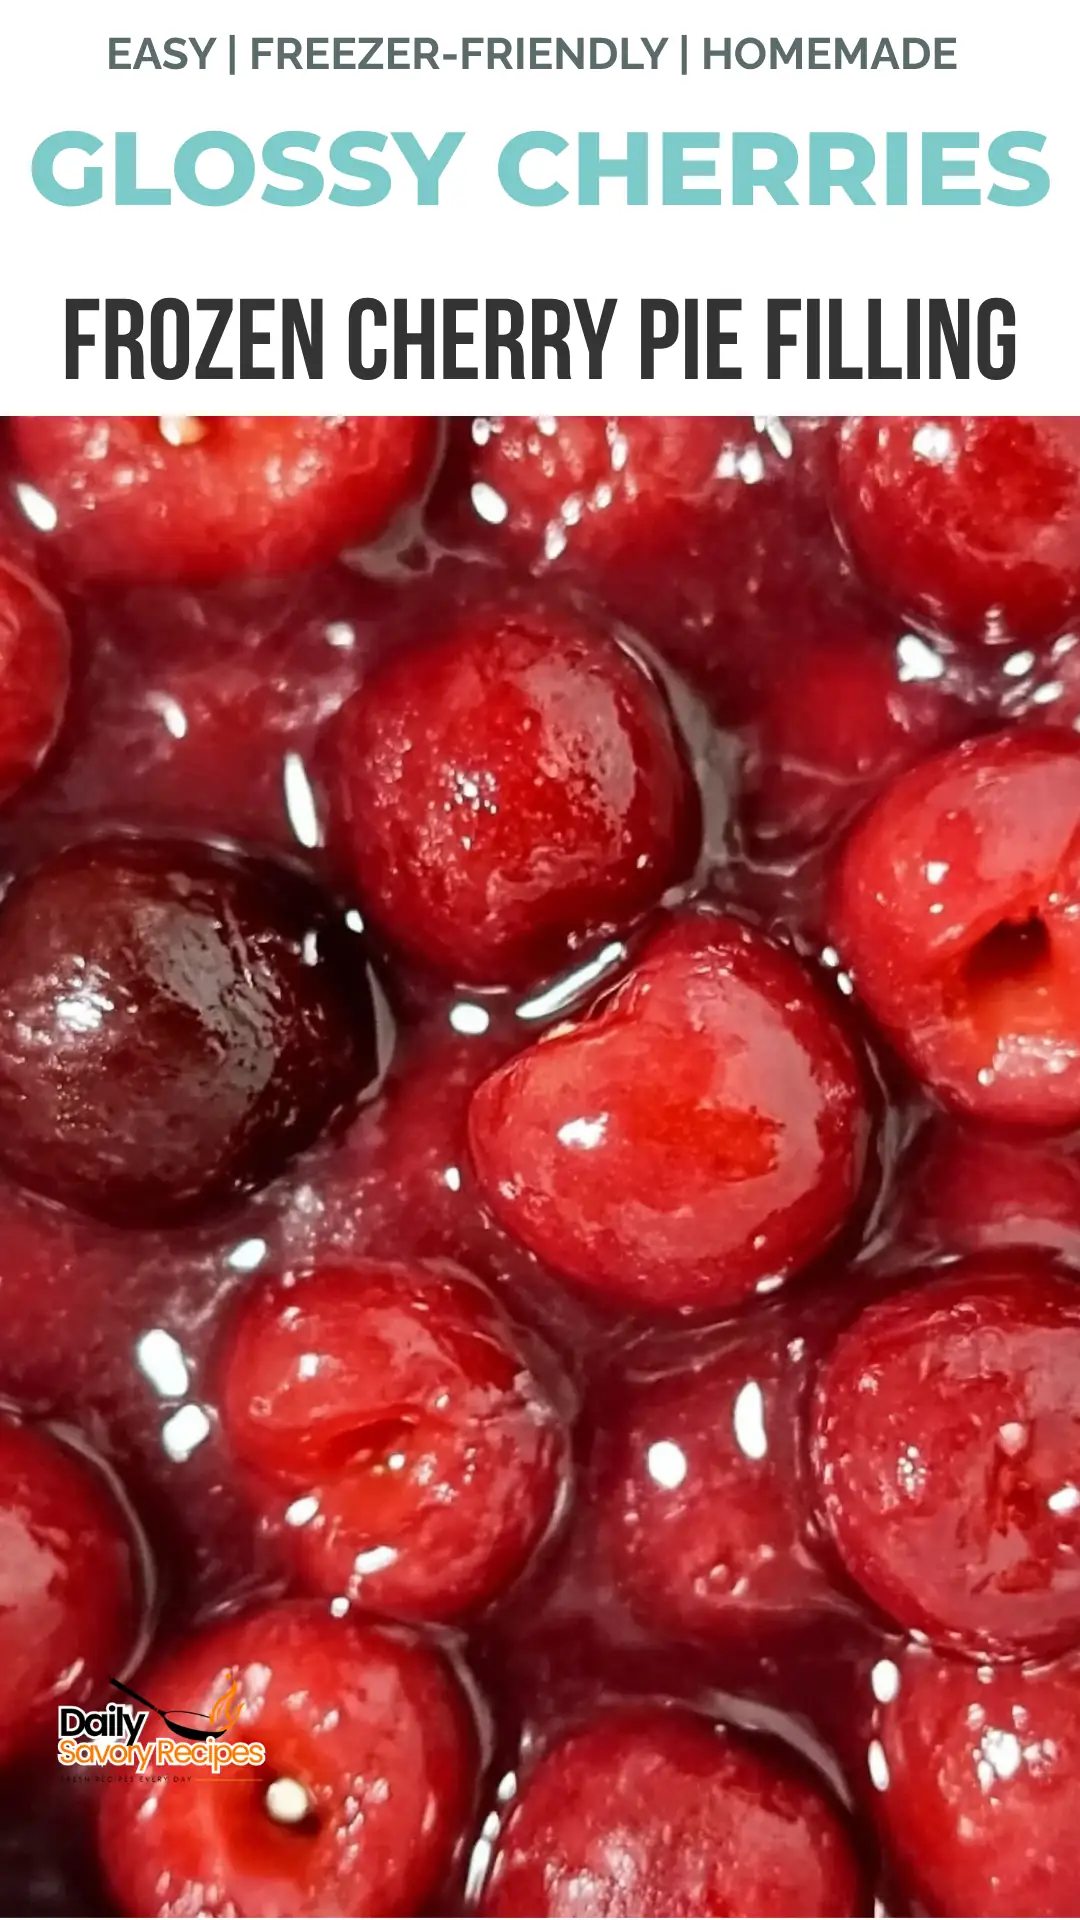
Frozen Cherry Pie Filling works best when the cherries still taste like themselves after cooking. That balance can disappear fast with overly sweet canned fillings or recipes that cook too long. This version keeps the fruit sharp, bright, and thick enough for pie without turning gummy.
I like using frozen cherries here because they release plenty of juice naturally, which gives the filling a deeper flavor without extra work. You’ll also learn how to keep the filling glossy instead of cloudy and how to freeze it for later baking.
Why Frozen Cherry Pie Filling Works So Well at Home
A homemade cherry filling gives you more control than anything from a can. Some store-bought versions lean heavily on sugar and thickener, so the fruit flavor gets buried underneath a heavy texture. Frozen cherries avoid that problem because they already contain enough liquid to build a proper filling without adding syrups or artificial flavoring.
There’s another advantage. Frozen fruit is picked ripe, so the flavor stays fairly consistent year-round. I keep a couple of bags in the freezer for quick desserts or last-minute pies. Worth it.
This method also scales easily. You can make one cup for topping cheesecake or a full batch for a deep pie. Since the filling thickens on the stovetop before baking, you’re not guessing whether the crust will end up sitting under watery fruit.
Ingredients That Keep the Filling Bright and Balanced
The ingredient list is short, but each part has a job. Frozen cherries bring the tartness and most of the liquid. The reserved cherry juice mixes with cornstarch before heating, which prevents lumps later. Don’t dump dry cornstarch directly into hot liquid. It clumps almost immediately.
Sugar matters too, though not as much as people think. ⅓ cup sugar softens the sharp edge of tart cherries without making the filling taste candy-like. If your cherries are especially sweet already, you can pull that amount back slightly.
The lemon juice sharpens the flavor near the end of cooking. Small amount. Big difference. Then comes the vanilla extract, which rounds out the filling after the heat is off. I prefer adding it last because boiling vanilla too aggressively tends to flatten its aroma.
Cooking Frozen Cherry Pie Filling on the Stovetop
Start by whisking ½ cup cherry liquid, ⅓ cup sugar, and 1 heaping tablespoon cornstarch together in a saucepan before turning on the heat. That first minute matters more than people realize. If the cornstarch isn’t fully dissolved now, you’ll spend the rest of the recipe chasing tiny lumps around the pan.
Bring the mixture to a boil over medium-high heat, stirring constantly. Once it starts bubbling, keep cooking for about 3 to 4 minutes. You’re looking for a texture closer to loose pudding than syrup. The spoon should leave a visible trail through the liquid for a second or two before it fills back in.
Add 1 teaspoon lemon juice and boil for another minute. This quick extra boil helps stabilize the filling slightly, especially if it’s headed for the freezer later.
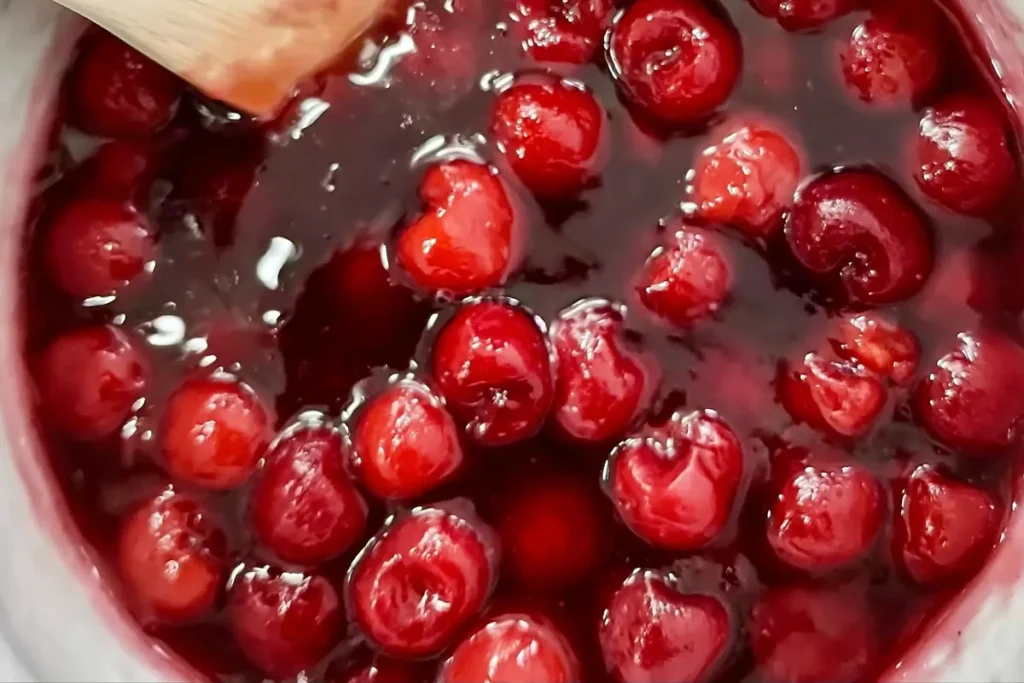
Now add the cherries all at once. Stir gently. Frozen cherries soften quickly once heated, and rough stirring can break them apart more than you want. I usually switch from a whisk to a silicone spatula at this stage. Easier on the fruit.
Bring everything back to a light boil while stirring slowly. The filling should look glossy and thick enough to mound lightly on the spoon. If it suddenly looks cloudy or dull, the heat is probably too high. Pull the pan off for a moment and reduce the burner slightly.
Once thickened, remove the saucepan from the heat and stir in 1 teaspoon vanilla extract. The smell changes immediately — warmer, fuller, less sharp. Let the filling cool before using it in a pie shell. Hot filling poured directly into pastry can soften the dough too quickly.
Cooling, Freezing, and Storing the Filling
Cherry pie filling thickens more as it cools. Don’t judge the final texture straight from the stove. Give it at least 30 minutes before deciding whether it needs adjustment.
For refrigerator storage, transfer the filling to a sealed container once cooled and use it within about 4 days. If freezing, leave a little room at the top of the container because the mixture expands slightly.
I prefer freezing the filling flat in freezer bags when possible. Faster thawing, less wasted space. A thawed batch usually returns to its original texture after a quick stir.
How Much Cherry Pie Filling You Need for Different Desserts
A standard 9-inch pie usually takes around 4 cups of filling, depending on how deep the crust is. Deep-dish pies can take closer to 5 cups.
Smaller amounts still go a long way. One cup works well spooned over cheesecake or folded into yogurt. I’ve even used leftovers warmed over waffles on slow weekends. No complaints from the table.
If the filling has been refrigerated and feels too stiff, warming it gently for a minute or two loosens it without thinning the texture too much.
More Than Pie: Other Ways to Use Frozen Cherry Pie Filling
This filling isn’t limited to pie crusts. Cold cherry filling layered into plain Greek yogurt makes a quick dessert that tastes far more finished than the effort involved. The tart fruit cuts through the richness nicely.
Warm it slightly and spoon it over vanilla ice cream. That contrast works every time. You can also tuck the filling into puff pastry for turnovers or spread a thin layer between cake layers.
One of my favorite uses is over baked cheesecake after the cake has fully chilled. The filling settles into the surface without running everywhere. Simple, but it looks polished enough for guests.
Frequently Asked Questions
Can I use sweet cherries instead of tart cherries?
Yes, though the filling usually needs less sugar adjustment and a little more lemon juice to keep the flavor balanced. Sweet cherries can taste flat if the acidity isn’t there.
Why did my filling turn cloudy?
This often happens when cornstarch overheats or isn’t fully dissolved before cooking. Stirring the slurry thoroughly at the beginning helps prevent that texture.
Can frozen cherry pie filling be canned?
This specific version is better suited for refrigeration or freezing because the cornstarch doesn’t always hold up well during traditional canning storage.
How do I make the filling thicker?
Cook it slightly longer after it reaches a boil, usually another minute or two. The filling continues thickening as it cools, so avoid adding extra cornstarch too quickly.
A Filling Worth Keeping in the Freezer
Frozen Cherry Pie Filling earns its place in the freezer because it solves dessert problems fast. A single batch can become pie, cheesecake topping, turnovers, or a quick sauce for pancakes without much extra work.
Every recipe I share is an invitation from my kitchen to yours. This one just happens to start with a bag of frozen cherries and a saucepan.
Frozen Cherry Pie Filling
Ingredients
Method
- Whisk together the reserved cherry liquid, sugar, and cornstarch in a saucepan until smooth before turning on the heat.
- Bring the mixture to a boil over medium-high heat while stirring constantly to prevent lumps from forming.
- Boil the mixture for 3 to 4 minutes until it thickens and begins to bubble with a glossy texture.
- Add the lemon juice and continue boiling for 1 additional minute while stirring constantly.
- Add the frozen cherries all at once and stir gently to avoid breaking the fruit apart.
- Return the filling to a light boil and cook until the cherries are heated through and coated in the thick sauce.
- Remove the saucepan from the heat and stir in the vanilla extract.
- Allow the filling to cool before using in pies or transferring to storage containers.
Notes
- Frozen cherries work best because they release enough liquid naturally for the filling.
- Stir the cornstarch thoroughly into cold liquid before heating to prevent lumps.
- The filling thickens more as it cools, so avoid over-thickening during cooking.
- Store refrigerated for up to 4 days or freeze for longer storage.