
Jello Jigglers: A Firm, Colorful Finger Snack for Parties

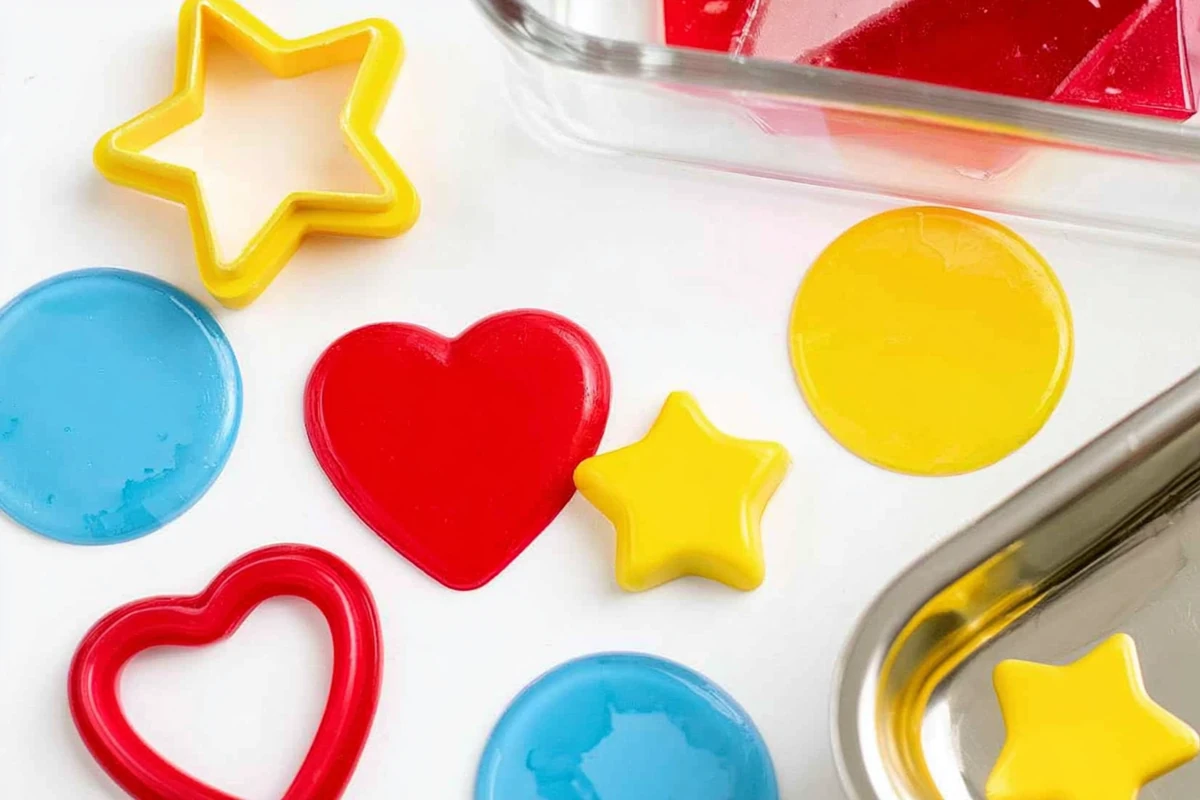
Jello Jigglers are brighter, firmer, and easier to pick up than regular gelatin. They hold their shape well enough for small hands, party trays, and simple cutout designs, which makes them especially useful when you want a low-effort dessert that still looks playful.
The key difference is the water ratio. Using less water gives the gelatin enough structure to slice cleanly without turning rubbery. I also take an extra minute to clear surface bubbles before chilling; it gives the finished pieces a smoother top.
Ingredients and Tools for Jello Jigglers
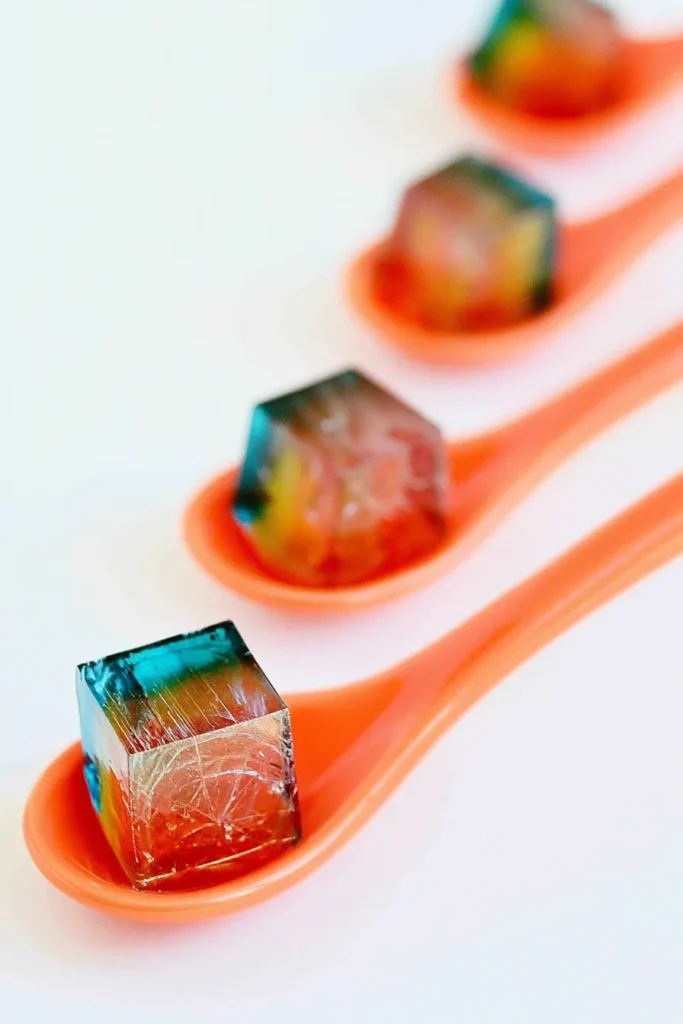
You only need three ingredients: flavored gelatin, boiling water, and a light coating of cooking spray. Two 3-ounce packages of gelatin work well for a standard batch, and you can use any flavor you like. Bright red, green, orange, and blue tend to show decorative shapes clearly, though the method stays the same regardless of color.
A 9-by-13-inch pan gives you a thin, easy-to-cut layer. A nagashikan mold also works well because its straight sides help produce neat edges. You’ll also need a heat-safe bowl, a spoon or whisk, a paper towel, and a thin knife or small cookie cutters.
Use cooking spray sparingly. Spray the pan, then wipe it with a paper towel so only a fine film remains. Too much oil can leave slick patches on the gelatin.
Getting the Firm Jiggler Texture Right
Regular gelatin is meant to be spooned from a bowl. Jello Jigglers need a stronger set, so they’re made with less water than the package directions usually call for. That reduced liquid gives each piece enough structure to lift, stack, and hold without collapsing.
The water should be fully boiling when it meets the dry gelatin. Stir for a full 2 minutes, scraping around the bottom and sides of the bowl. It may look dissolved sooner, but small granules can remain and create weak spots after chilling.
Pay attention to the surface before refrigerating. Foam and bubbles often collect near the edges, especially if the mixture was whisked quickly. Poke the larger bubbles or lift them away with the tip of a spoon. A smooth liquid surface sets into cleaner-looking pieces.
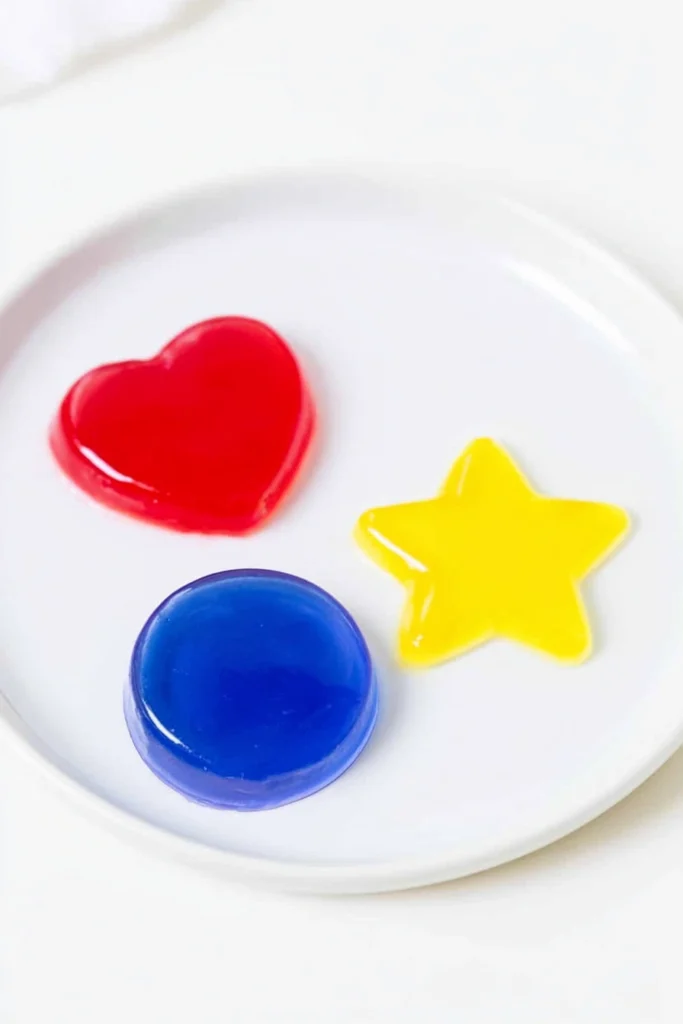
Dissolving and Pouring the Gelatin Mixture
Add the boiling water directly to the dry gelatin in a heat-safe bowl. Stir steadily rather than beating it hard. You’re trying to dissolve the powder without adding extra air.
After about 2 minutes, the mixture should look glossy and evenly colored. Drag the spoon across the bottom of the bowl. If you feel grit or see darker specks, keep stirring for another 20 to 30 seconds. Undissolved gelatin can create cloudy patches and uneven firmness.
Pour the mixture slowly into the prepared pan or nagashikan. Aim for one corner and let the liquid spread across the base instead of pouring from high above. This keeps splashing and foaming to a minimum.
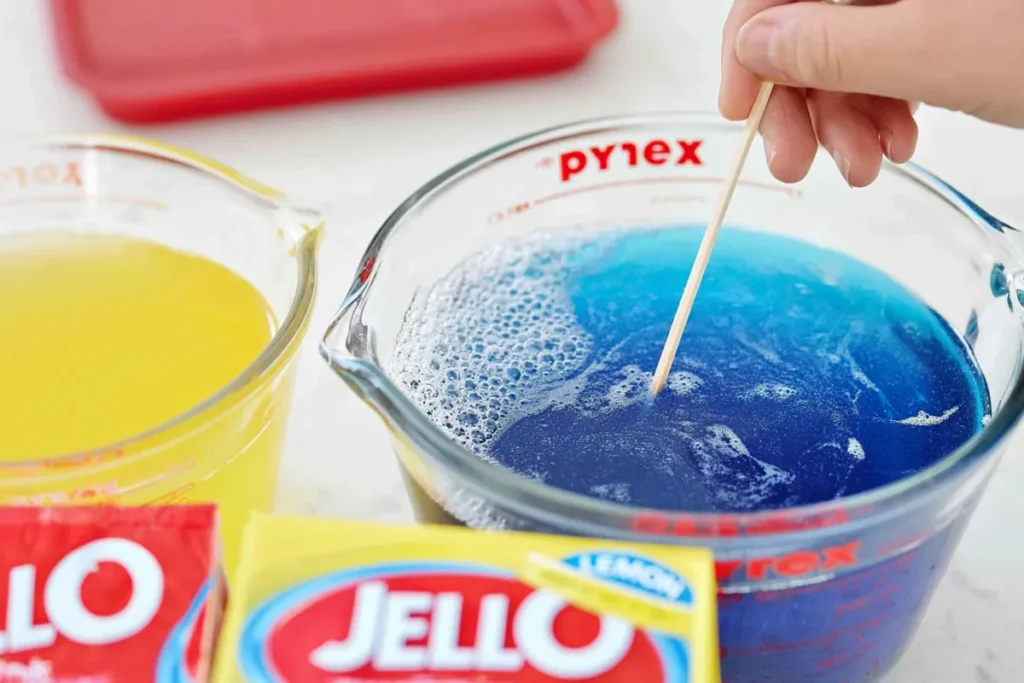
Once the pan is filled, check it from the side. The layer should look level, with no dry spots or clusters of bubbles. Remove any remaining bubbles before moving the pan. Small detail. Big difference in the finished texture.
Chilling Jello Jigglers Until Completely Set
Place the pan on a flat refrigerator shelf and chill for 3 to 4 hours. Keeping it level matters because even a slight tilt can create pieces with uneven thickness.
Don’t rely only on the clock. Press the center lightly with a clean fingertip. The gelatin should feel firm and spring back without leaving an indentation. You also shouldn’t see any movement beneath the surface when the pan is gently nudged.
Cutting too early is the most common mistake here. The edges may appear set while the center is still soft. Give it the full chilling time, especially if the layer is thick or your refrigerator runs warm. Fully set gelatin releases more cleanly and holds sharper shapes.
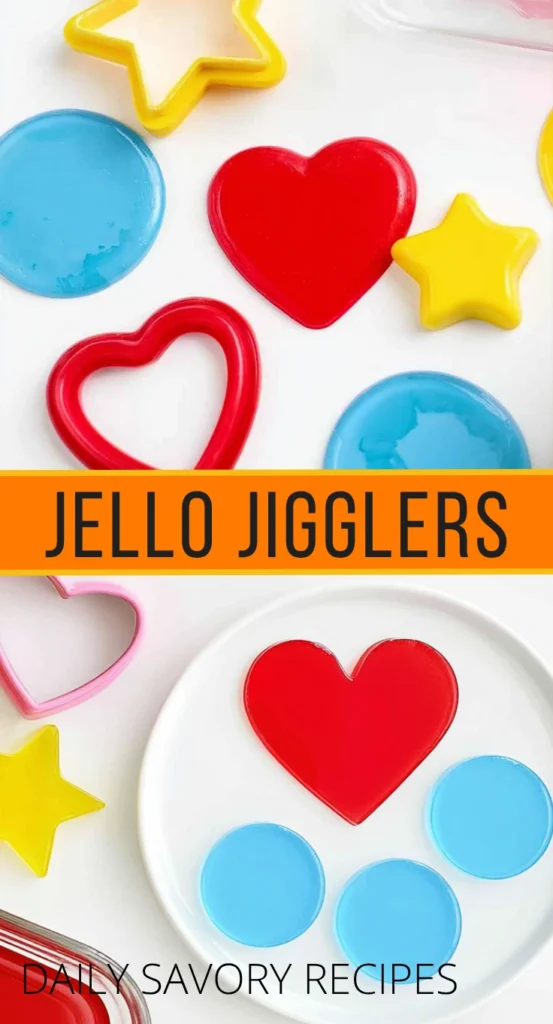
Releasing, Cutting, and Serving Clean Shapes
Set the pan in about 1 inch of warm water for 10 to 15 seconds. Warm is enough. Hot water can soften the outside layer too quickly and leave the edges slippery or slightly melted.
Lift the pan out, dry the bottom, and check whether the gelatin has loosened around the sides. If it still clings, return it to the water for another 5 seconds. I prefer short intervals here. It gives you more control and helps preserve the firm texture you worked for.
Use a thin knife for squares or small cookie cutters for decorative shapes. Press straight down instead of twisting, which can pull at the edges. Wipe the blade between cuts when the gelatin starts to stick.
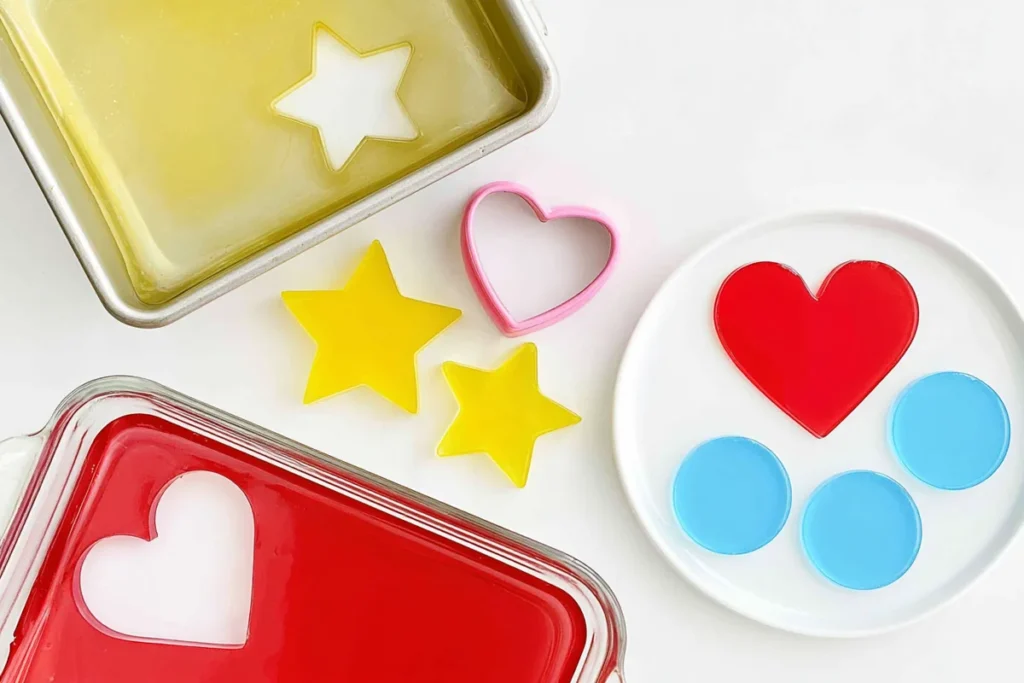
Serve the Jello Jigglers chilled. They’re firm enough to pick up, though they soften gradually at room temperature, so keep the tray refrigerated until close to serving time.
A Colorful Party Treat That Is Easy to Handle
The dependable texture comes down to three details: use less water than standard gelatin, stir until every granule dissolves, and allow the full 3 to 4 hours of chilling time.
Once those are right, the rest is flexible. Choose a favorite flavor, cut simple squares, or use small cutters for a party tray. Every recipe I share is an invitation from my kitchen to yours, and this one proves that a playful dessert doesn’t need a complicated method.
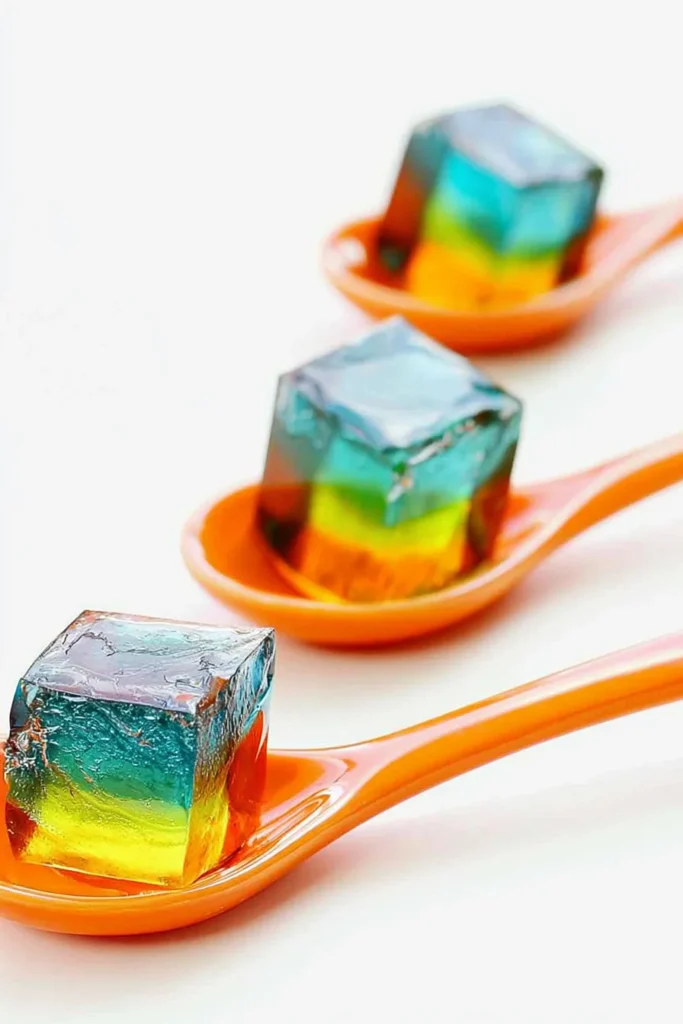
Jello Jigglers
Ingredients
Equipment
Method
- Bring the water to a full boil.
- Place the dry flavored gelatin in a heat-safe mixing bowl and pour the boiling water over it.
- Stir steadily for 2 full minutes, scraping the bottom and sides of the bowl, until the gelatin is fully dissolved and no granules remain.
- Lightly spray a 9×13-inch pan or nagashikan mold with cooking spray, then wipe away the excess with a paper towel so only a thin film remains.
- Slowly pour the dissolved gelatin into the prepared pan, aiming toward one corner to reduce splashing and foam.
- Poke or remove any bubbles from the surface with the tip of a spoon.
- Place the pan on a level refrigerator shelf and chill for 3 to 4 hours, or until the gelatin is completely firm and springs back lightly when touched.
- Fill a sink or shallow basin with about 1 inch of warm water and place the bottom of the pan in the water for 10 to 15 seconds.
- Remove the pan from the water, dry the bottom, and check whether the gelatin has loosened around the edges.
- Cut the gelatin into squares or decorative shapes with a thin knife or small cookie cutters, wiping the blade between cuts as needed.
- Serve the Jello Jigglers chilled and keep them refrigerated until close to serving time.
Notes
- Use fully boiling water and stir for the full 2 minutes to prevent weak or grainy spots.
- Do not use hot water for releasing the gelatin; warm water is enough and helps prevent melted edges.
- Allow the full chilling time before cutting so the Jigglers hold clean shapes.
- For a sugar-free variation, use sugar-free flavored gelatin and verify the package size before measuring the water.