Go Back
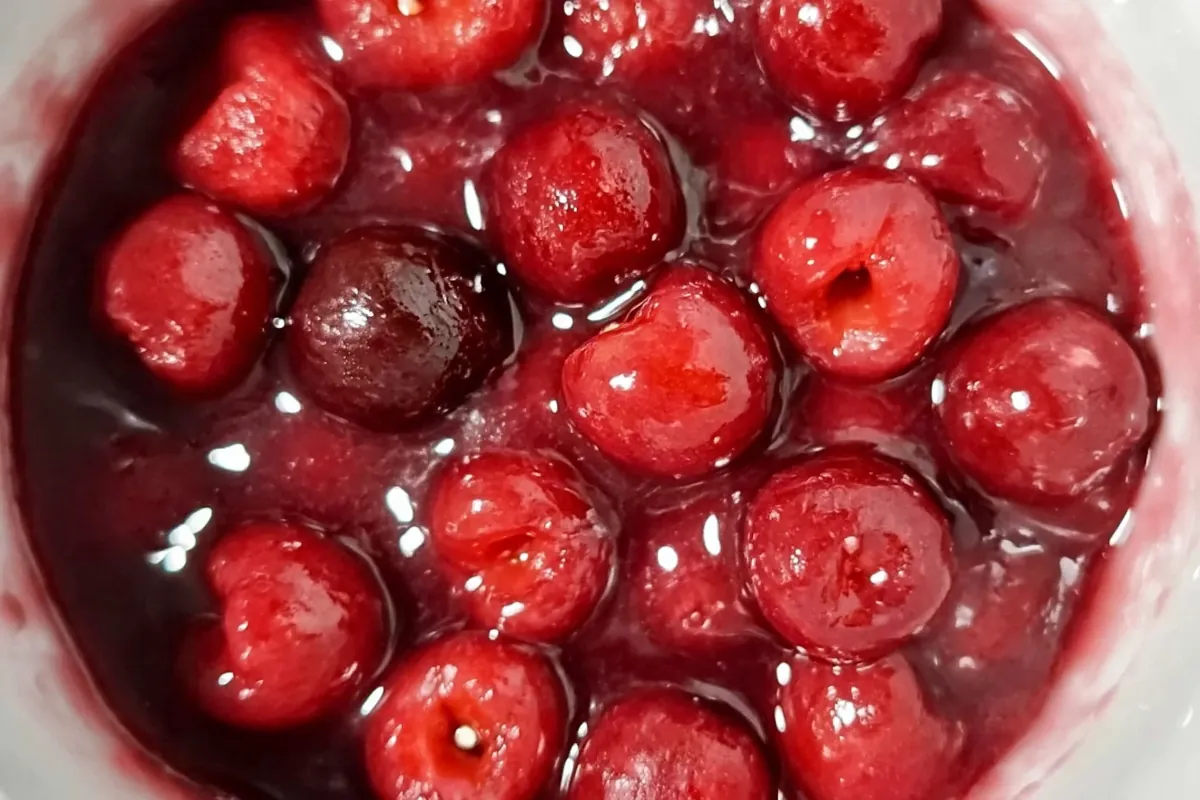
Chef Taha Ayad's Recipe Frozen Cherry Pie Filling with glossy cherries in a saucepan
Taha Ayad

Frozen Cherry Pie Filling

Frozen Cherry Pie Filling made on the stovetop with frozen cherries, cherry juice, sugar, cornstarch, lemon juice, and vanilla. This homemade filling stays glossy, thick, and balanced without tasting overly sweet. Use it for pies, cheesecake topping, fruit crumble, yogurt, or freezer-friendly desserts.
Prep Time 5 minutes
Cook Time 10 minutes
Total Time 15 minutes
Servings: 4 cups
Course: Dessert
Cuisine: American
Calories: 165

Ingredients
  

  • 4 cups frozen tart cherries
  • ½ cup reserved cherry liquid
  • cup sugar
  • 1 heaping tablespoon cornstarch
  • 1 teaspoon lemon juice
  • 1 teaspoon vanilla extract

Method
 

  1. Whisk together the reserved cherry liquid, sugar, and cornstarch in a saucepan until smooth before turning on the heat.
  2. Bring the mixture to a boil over medium-high heat while stirring constantly to prevent lumps from forming.
  3. Boil the mixture for 3 to 4 minutes until it thickens and begins to bubble with a glossy texture.
  4. Add the lemon juice and continue boiling for 1 additional minute while stirring constantly.
  5. Add the frozen cherries all at once and stir gently to avoid breaking the fruit apart.
  6. Return the filling to a light boil and cook until the cherries are heated through and coated in the thick sauce.
  7. Remove the saucepan from the heat and stir in the vanilla extract.
  8. Allow the filling to cool before using in pies or transferring to storage containers.
Notes

  1. Frozen cherries work best because they release enough liquid naturally for the filling.
  2. Stir the cornstarch thoroughly into cold liquid before heating to prevent lumps.
  3. The filling thickens more as it cools, so avoid over-thickening during cooking.
  4. Store refrigerated for up to 4 days or freeze for longer storage.
QR Code linking back to recipe