
Mini Cherry Tarts with Cream Cheese Crust (Easy Homemade Version)

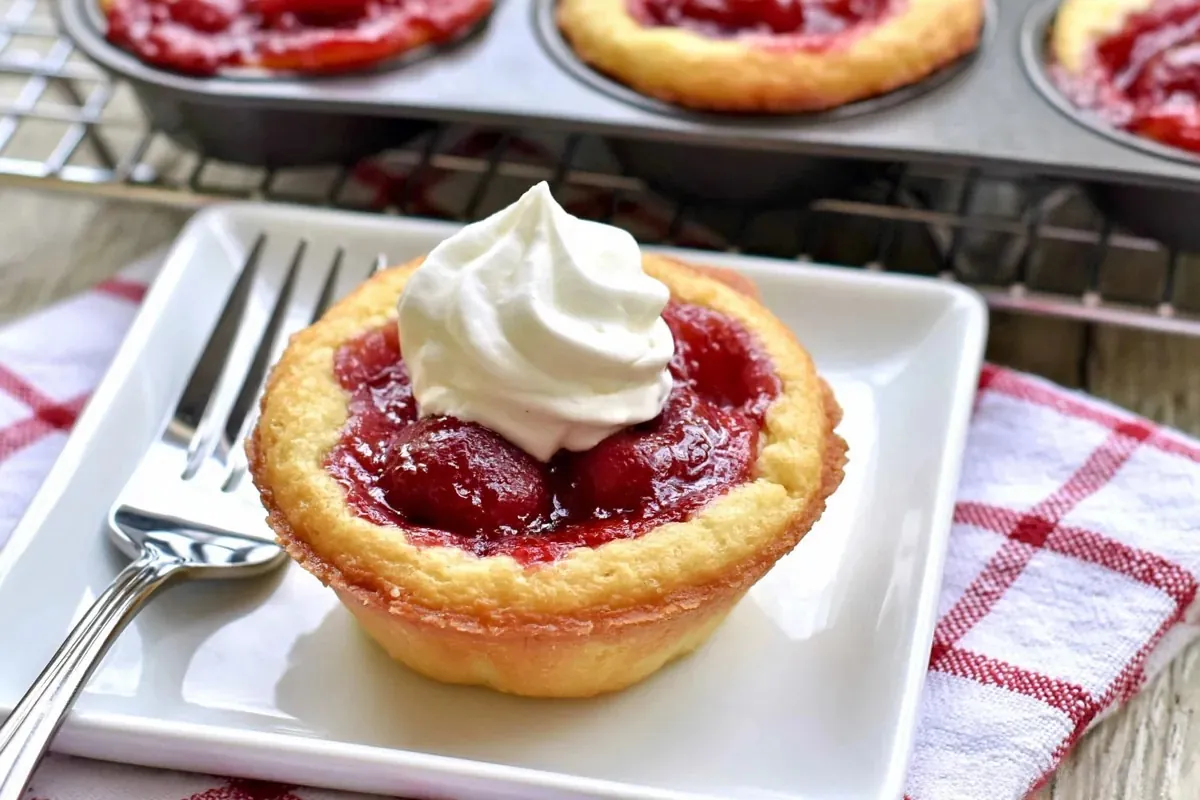
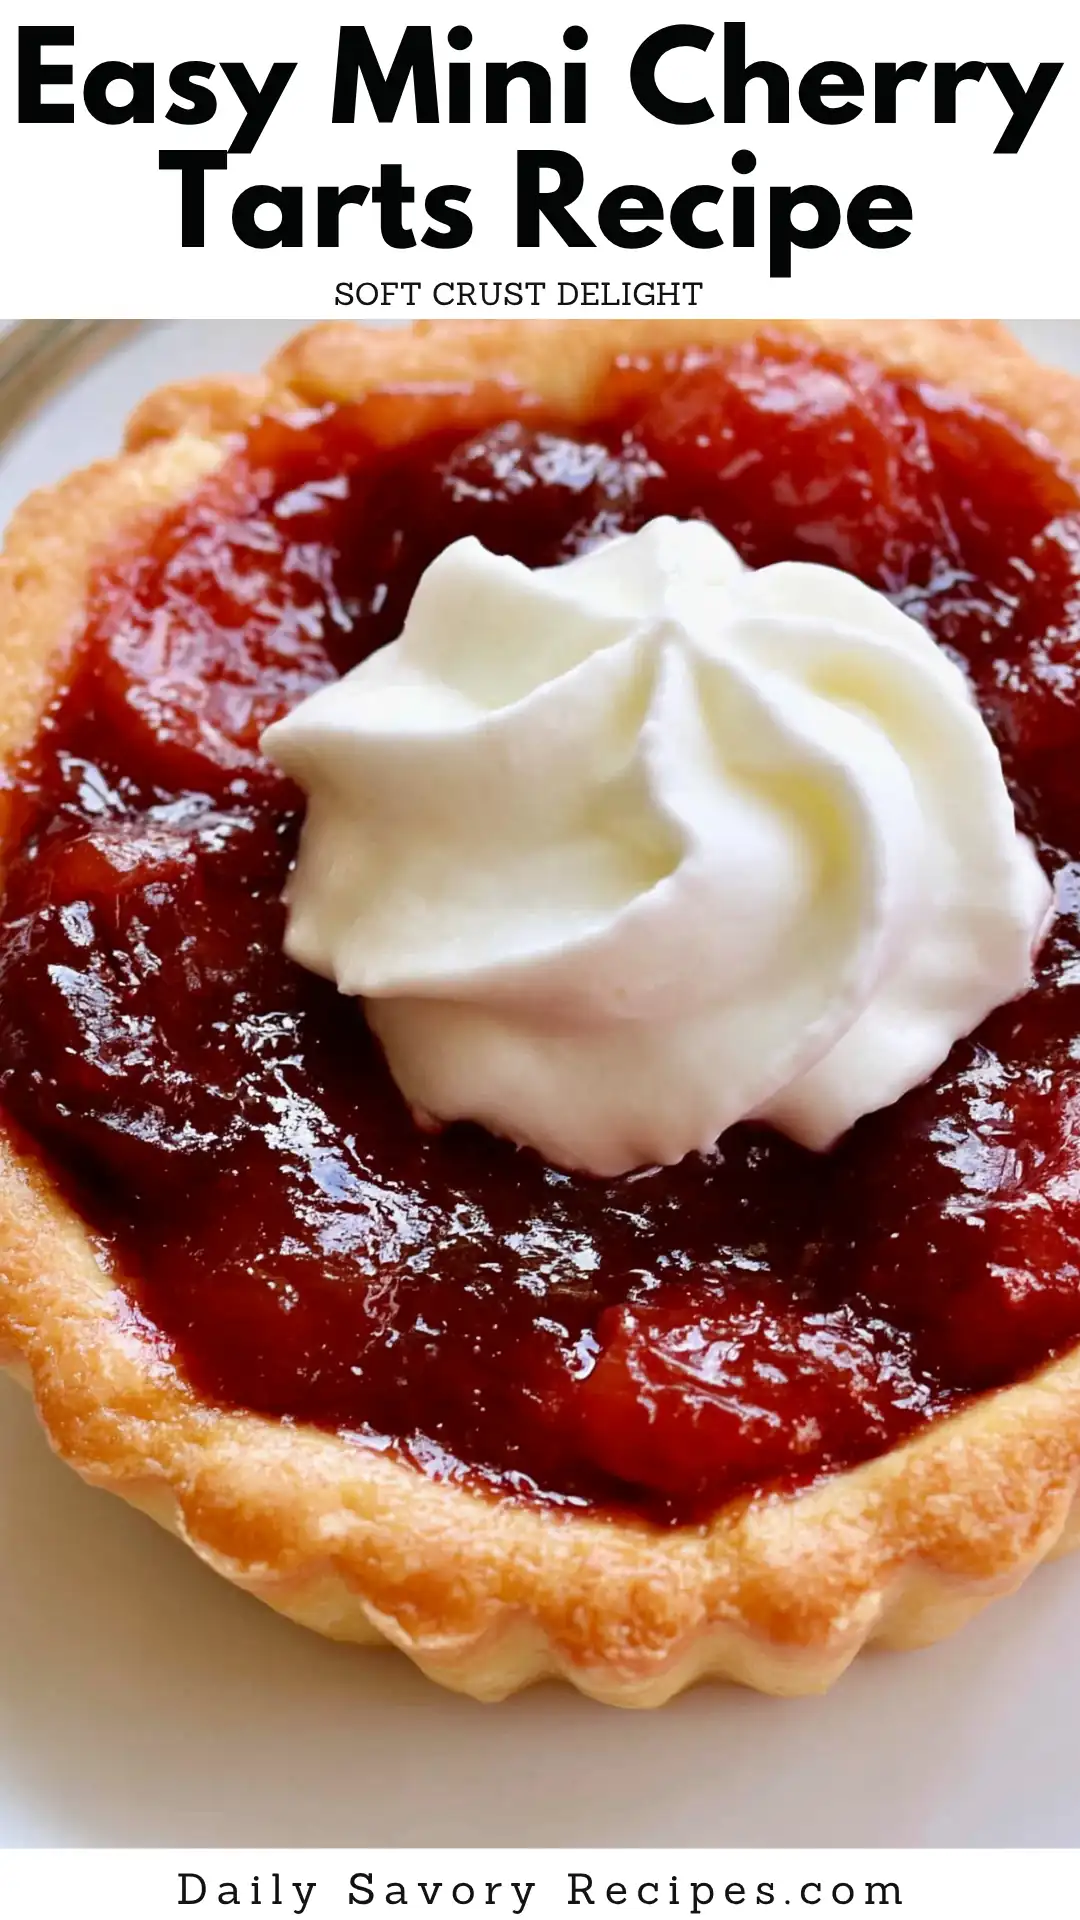
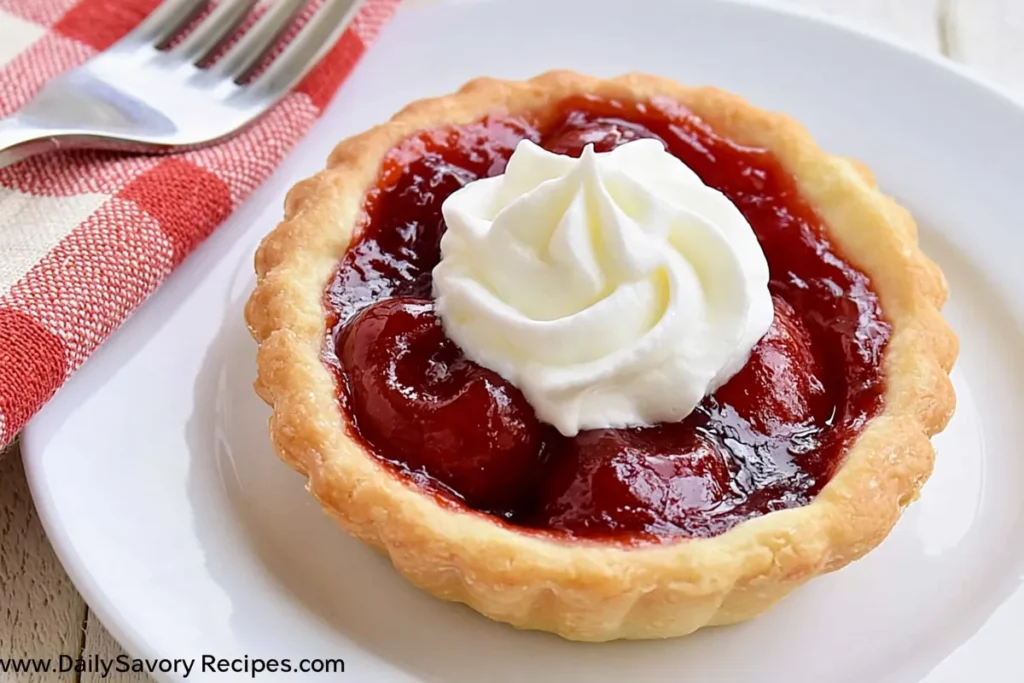
Mini Cherry Tarts are one of those desserts that look like they took more effort than they actually did. A simple cream cheese dough, a spoonful of cherry filling, and a hot oven do most of the work here.
I come back to this style of tart often because the crust stays tender without being fussy. It presses straight into the pan, no rolling required. You’ll also learn a few small details that help keep the shells crisp and the filling where it belongs.
Why Mini Cherry Tarts Keep Finding Their Way Back to the Table
Some desserts become traditions because they’re complicated. These aren’t one of them.
Mini Cherry Tarts have that familiar holiday-dessert feeling without requiring a full afternoon in the kitchen. The size helps too. Individual portions cool faster, serve easily, and disappear quickly from dessert trays.
I like recipes that feel approachable but still have a little bakery character to them. This one fits that idea well. The cream cheese in the dough softens the texture and makes the crust easier to shape than a classic pie crust. No chilling. No careful rolling. Just divide, press, fill, and bake.
They’re also practical. Twelve tarts from one batch means enough for guests, with a few left for the next day.
Ingredients That Make These Mini Cherry Tarts Work
There aren’t many ingredients here, which means each one matters.
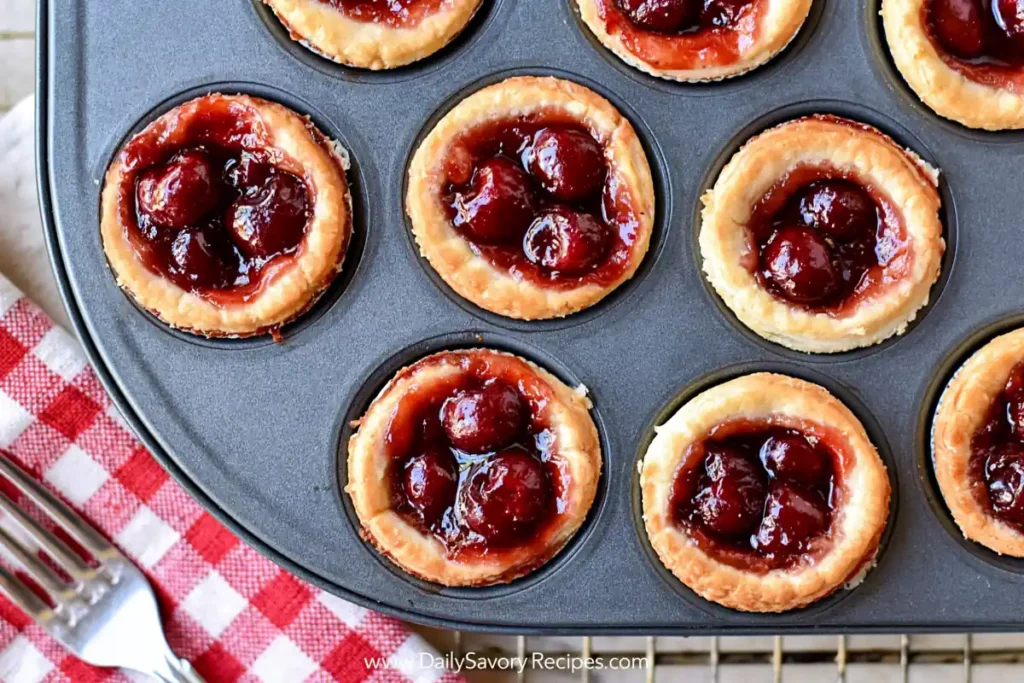
The dough starts with butter, cream cheese, flour, and a pinch of salt. Cream cheese changes the texture more than people expect—it softens the dough and helps create a crust that feels almost pastry-like once baked. I prefer using softened cream cheese rather than cold blocks because the dough comes together faster and more evenly.
For the filling, use a good-quality canned cherry pie filling. Since this recipe bakes quickly at a fairly high temperature, there’s no real advantage to cooking fresh cherries down unless that’s already your preference. Look for one with whole cherries and enough sauce to coat, not flood.
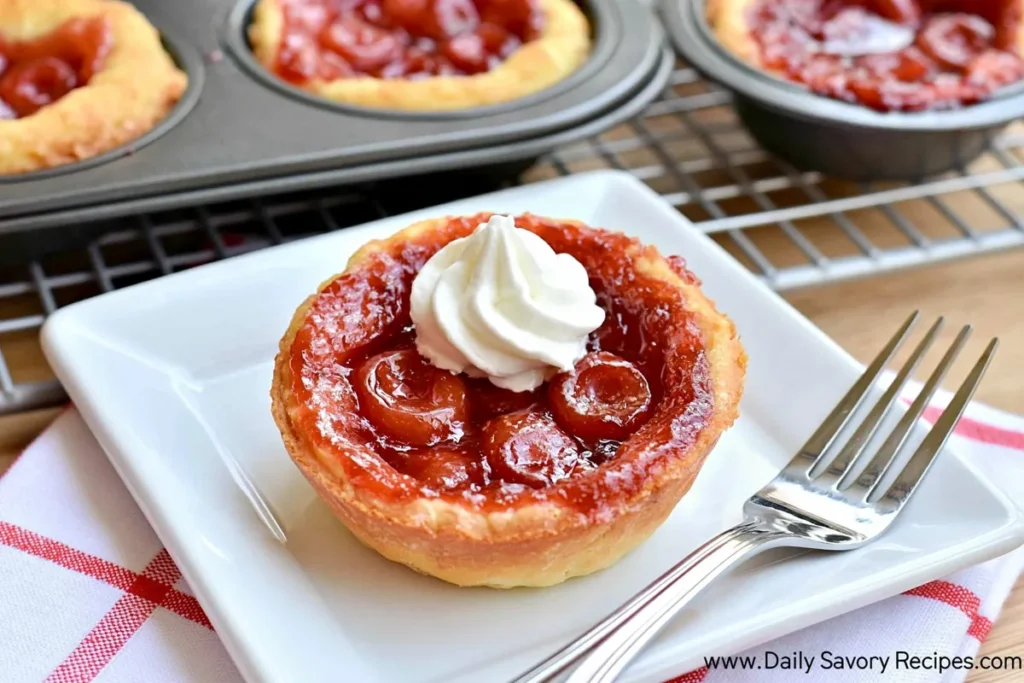
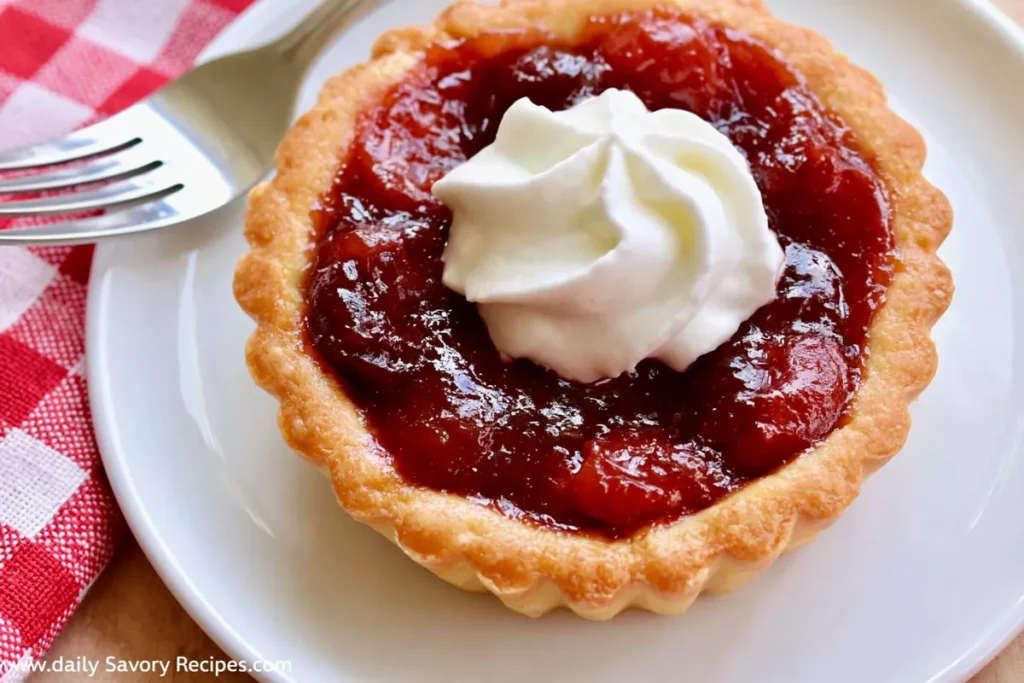
Whipped cream at serving isn’t mandatory, but it works. Cool tart, soft cream, warm kitchen. Good combination.
Building a Simple Cream Cheese Crust
Mix only until the dough forms a ball.
Overworking this kind of dough can make it feel tighter than necessary once baked. The dough should feel soft and smooth—not sticky enough to cling heavily to your fingers.
Choosing and Portioning the Cherry Filling
The filling should sit comfortably inside each shell.
Too much and it bubbles over during baking. Too little and the tart can look unfinished. A rounded spoonful in each cup usually lands in the right place.
Preparing the Dough and Shaping the Tart Shells
Start by preheating the oven to 450°F so the crust begins baking immediately once the pan goes in.
Combine the butter, cream cheese, flour, and salt until the mixture gathers into one dough ball. I don’t chase perfectly smooth dough here. Once there are no dry patches left, stop mixing.
Divide the dough in half. Divide those halves again so you have four pieces, then cut each piece into thirds. That gives you 12 portions that bake more evenly than eyeballing it later.
Spray the muffin pan lightly with nonstick spray. A little goes a long way.
Place one dough portion into each cup and press it outward with your fingertips. Work from the center first, then up the sides. Try to keep the bottom from becoming too thick—that’s the part most likely to stay underbaked.
If the edge looks uneven, pinch and redistribute instead of adding extra dough. Small adjustment. Big difference.
Filling the Tarts Without Overflowing
Once the shells are formed, spoon the cherry pie filling evenly into each one.
Leave a little visible border of crust around the top edge. The filling loosens as it heats, and that extra space helps keep cleanup easier. Overflow doesn’t ruin the tarts, but it can make removing them from the pan less tidy.
Before baking, take ten seconds and compare all twelve cups. If one tart looks noticeably fuller than the others, adjust now.
This recipe keeps things simple intentionally. No streusel. No extra layer. The filling and crust already carry enough texture.
Baking Mini Cherry Tarts and Serving Them Well
Bake the tarts at 450°F for 12 to 15 minutes. That higher temperature gives the crust a quick head start before the filling has time to loosen too much.
Watch the edges more than the clock. You’re looking for light golden color and slight firmness where the crust meets the filling. If the tops still look pale at 12 minutes, give them another minute or two instead of pulling early.
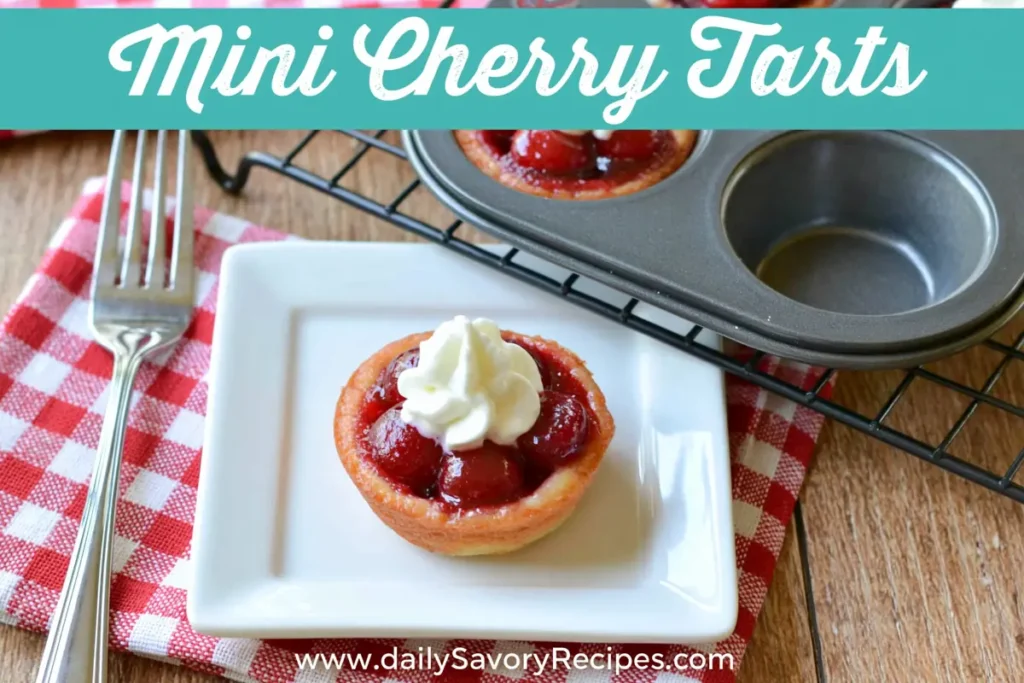
Once baked, leave the pan alone for several minutes. These tarts set as they cool, and removing them too early can make the crust tear. I usually wait until they feel warm rather than hot.
Serve them cooled with a spoonful of whipped cream. The contrast works better that way. If you want to prepare ahead, bake earlier in the day and add the cream just before serving.
Common Questions About Mini Cherry Tarts
Can these be made ahead?
Yes. Bake them fully, let them cool completely, and store covered at room temperature for several hours or refrigerate overnight. I usually bring chilled tarts out about 20 minutes before serving.
Can I use another filling?
You can. Blueberry, apple, or raspberry pie filling all work with this crust. Just choose fillings with a similar consistency so they don’t run during baking.
How should leftovers be stored?
Store leftover Mini Cherry Tarts in an airtight container in the refrigerator. They tend to hold their texture well for about 2 to 3 days. Add whipped cream only when serving.
A Small Dessert Worth Keeping Around
Mini Cherry Tarts remind me that good desserts don’t always need extra layers or complicated techniques. A soft cream cheese crust and a spoonful of cherry filling already do plenty.
Make one batch and adjust from there. Try another filling next time or keep it exactly as written. Every recipe I share is an invitation from my kitchen to yours.
Mini Cherry Tarts
Ingredients
Method
- Preheat the oven to 450 degrees Fahrenheit.
- Mix the softened butter, cream cheese, flour, and salt together until the dough comes together into a ball. Stop mixing once there are no dry patches left.
- Divide the dough in half, then divide each half in half again to make 4 pieces. Divide each piece into thirds so you have 12 portions of dough.
- Lightly spray a standard muffin pan with nonstick cooking spray.
- Place one dough portion in each muffin cup. Press the dough into the bottom and up the sides of each cup, keeping the bottoms even and not too thick.
- Divide the cherry pie filling evenly between the crusts, leaving a small visible border of dough at the top so the filling has room to bubble.
- Bake for 12 to 15 minutes, or until the crust edges are lightly golden and the filling is hot.
- Let the tarts cool in the pan for several minutes, then remove carefully. Serve cooled with whipped cream on top.
Notes
- Use softened butter and cream cheese so the dough comes together smoothly.
- Do not overfill the tart shells, or the cherry filling may bubble over during baking.
- Let the tarts cool before removing them from the pan so the crust has time to firm up.
- Add whipped cream just before serving, especially if making the tarts ahead.