
Easy Cherry Crisp That Comes Together Fast

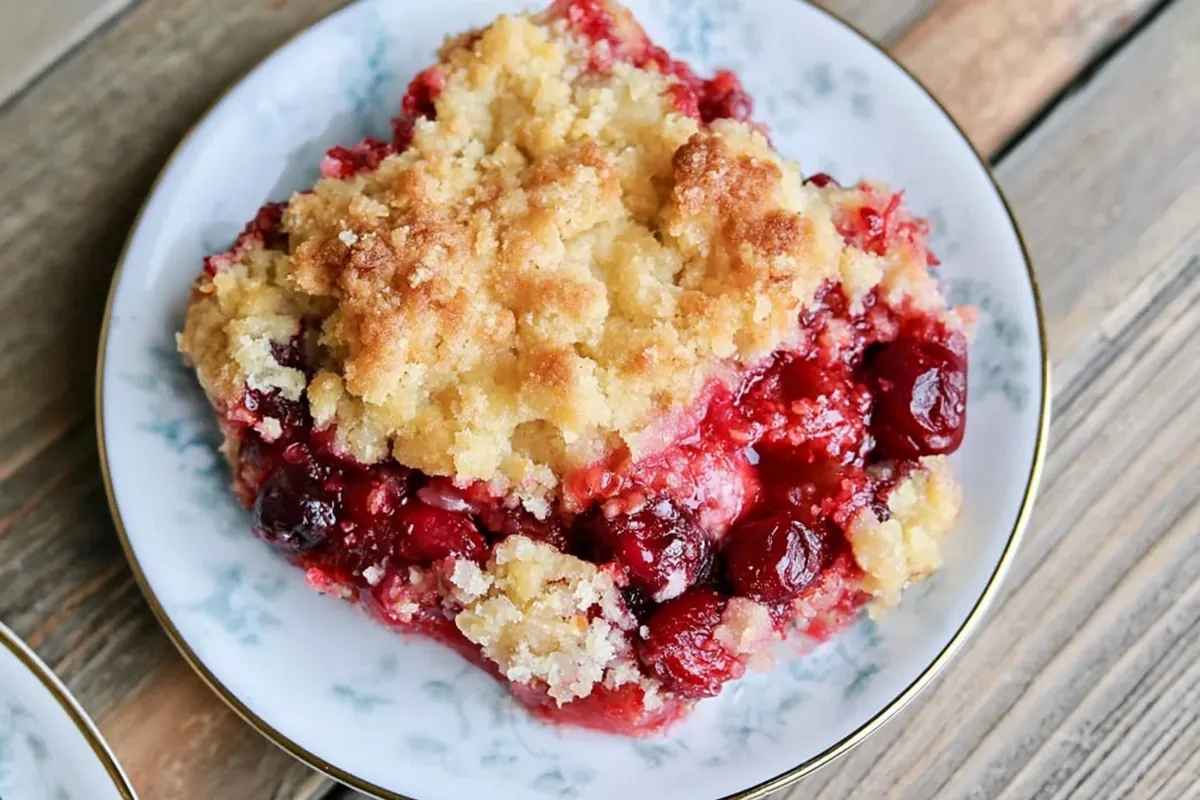
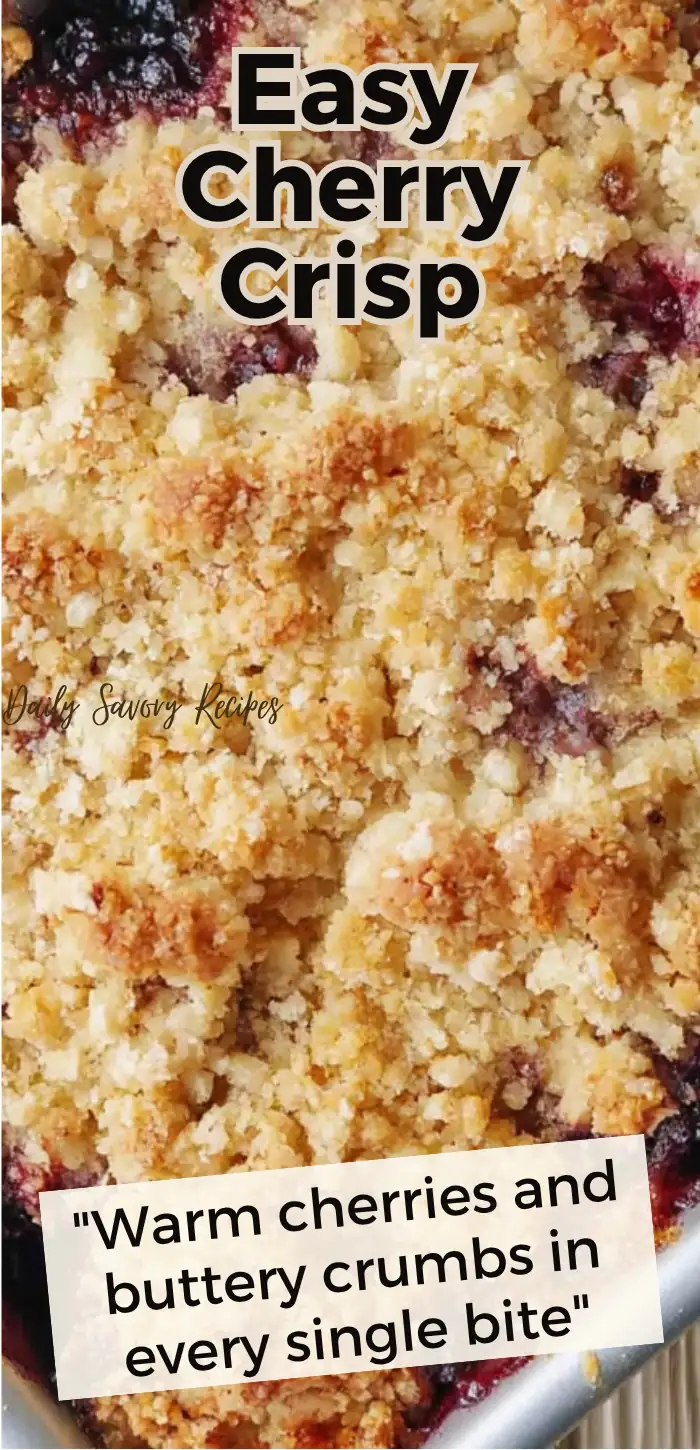
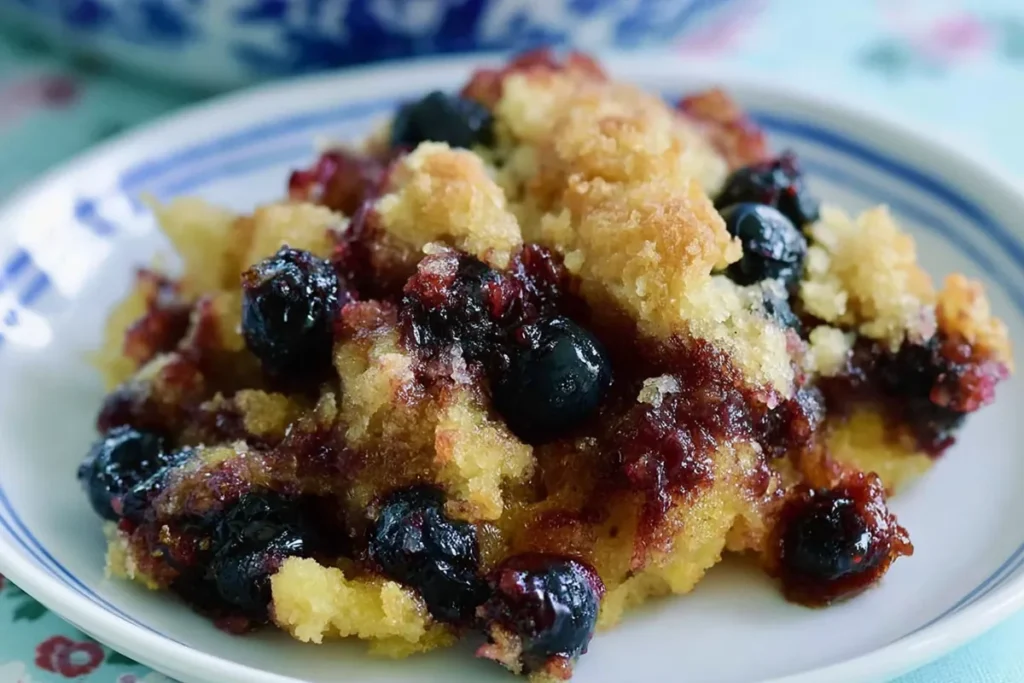
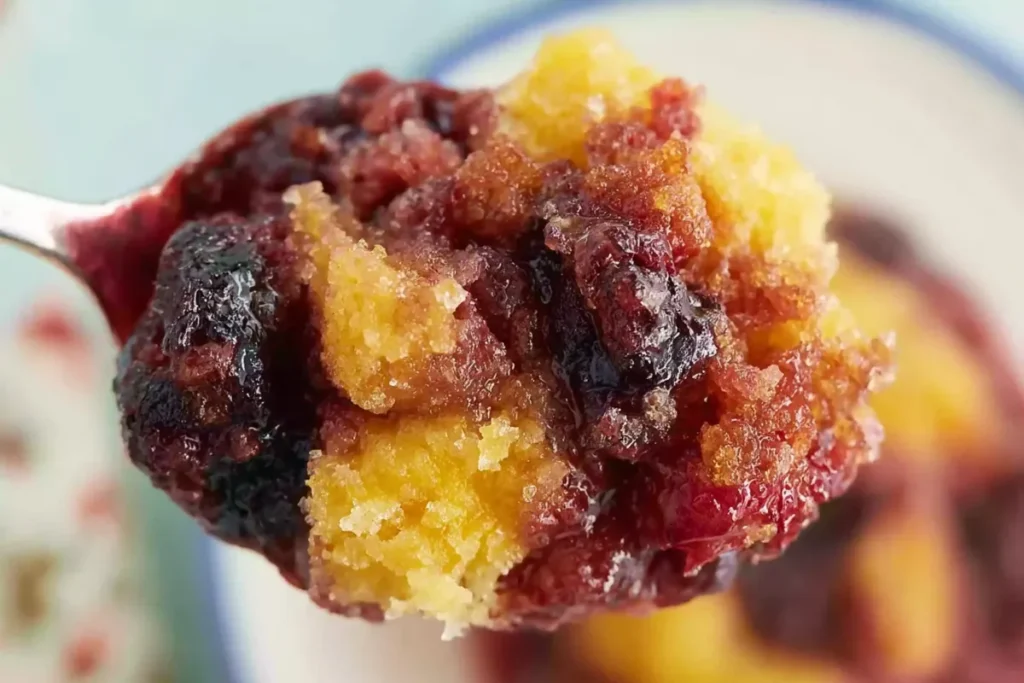
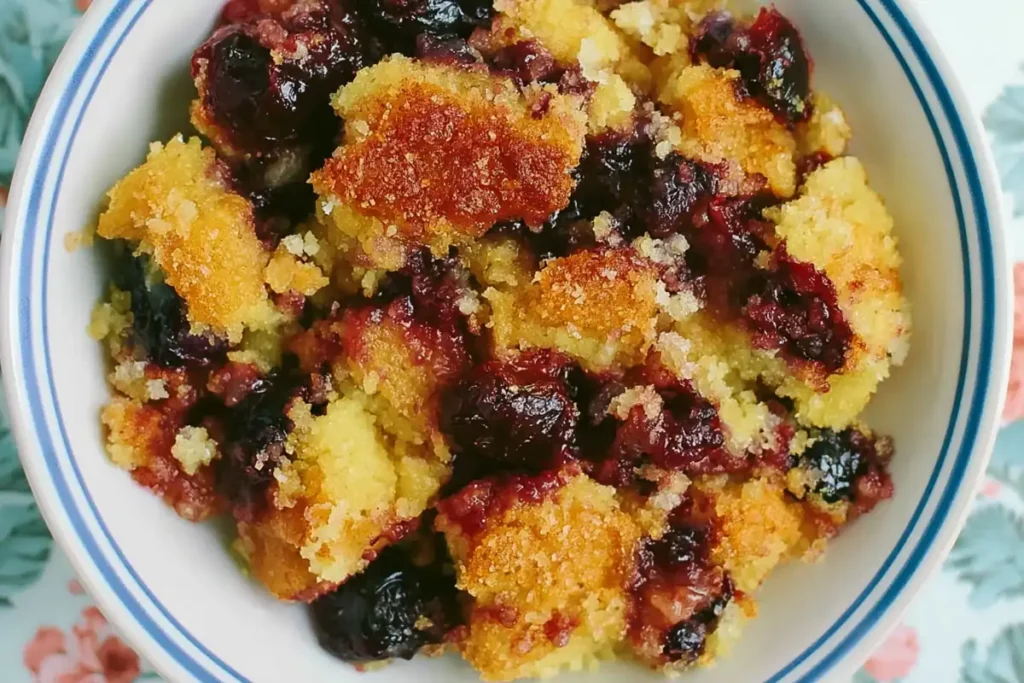
Easy Cherry Crisp is the kind of dessert that earns a permanent spot in a home cook’s rotation. The cherries turn soft and jammy in the oven while the topping bakes into a crisp, buttery layer with just enough texture. It’s simple, quick, and doesn’t ask for much beyond basic pantry ingredients.
I like this version because it keeps the focus on the fruit instead of covering it up with too many spices or extras. The topping comes together in minutes, and the whole dessert bakes in one pan. You’ll also learn a few small details that help the crisp stay balanced instead of overly sweet or soggy.
Why This Easy Cherry Crisp Works for Busy Bakers
A lot of fruit desserts look easy until you start washing bowls and measuring ten different ingredients. This one stays straightforward. You mix the cherries with sugar, scatter the topping over them, and let the oven do the work. That’s about it.
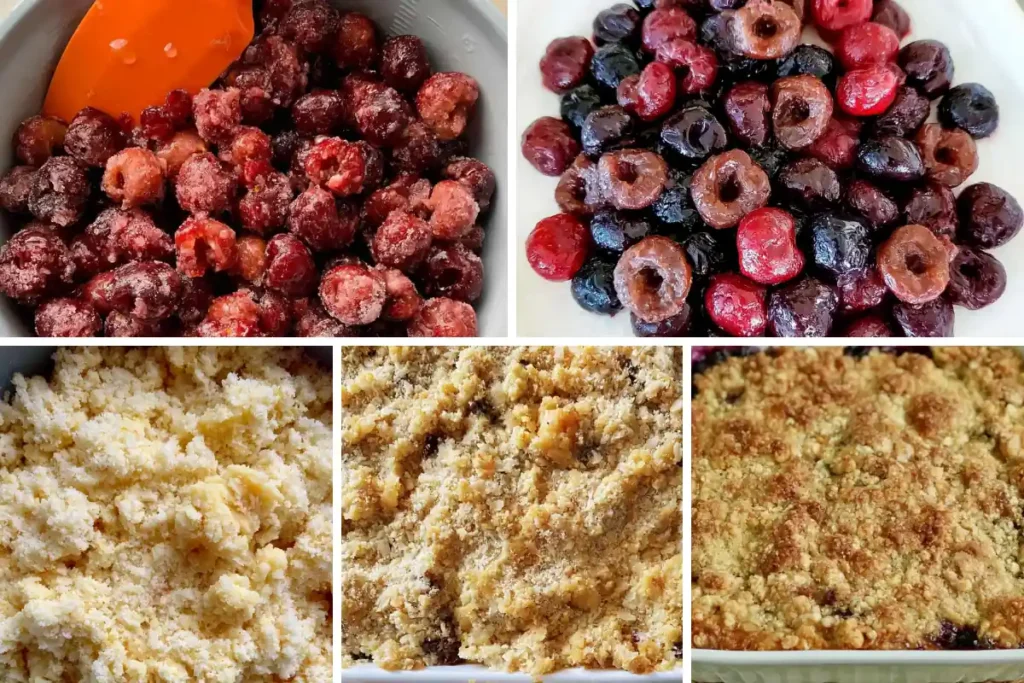
Fresh cherries work nicely when they’re in season, especially during summer when they’re naturally sweet and juicy. Frozen cherries are practical too. I use them often because they save time, and once baked, most people won’t notice much difference. Just thaw and drain them first so the filling doesn’t turn watery.
The topping is somewhere between a cobbler crust and a crumb topping. The unbeaten egg helps create little crisp clusters while the melted butter browns the surface evenly. Worth paying attention here. If the butter only lands in one spot, the topping can bake unevenly.
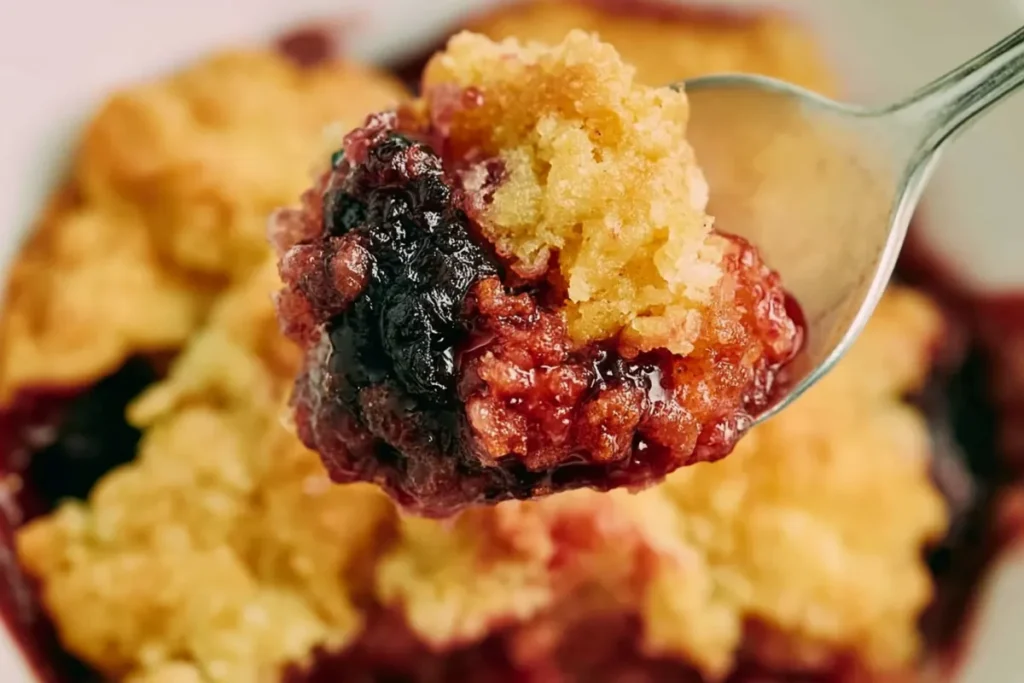
Serve it warm if you can. A scoop of vanilla ice cream melts right into the cherries, and fresh whipped cream works well when you want something lighter.
How to Make Easy Cherry Crisp Step by Step
Preparing the Cherry Filling
Start by heating the oven to 350°F. Grease an 8×8-inch baking dish lightly so the fruit doesn’t stick around the edges while baking.
Mix the cherries with 1/4 cup sugar first, making sure the fruit gets coated evenly before transferring it to the pan. If your cherries are especially tart, you can let them sit for about 5 minutes before baking. That short rest helps pull out some juice and softens the sharpness a bit.
Spread the cherries into an even layer rather than piling them in the center. A level layer bakes more evenly and prevents the middle from staying too wet while the corners overcook.
Mixing the Crisp Topping
In another bowl, combine the flour, remaining sugar, baking powder, and salt. Add the unbeaten egg and stir until the mixture turns crumbly. It shouldn’t look smooth like cake batter. You’re aiming for small clumps with dry bits throughout the bowl.
That texture matters. If you overmix here, the topping can bake into a dense sheet instead of a crisp layer. I usually use a fork because it keeps the crumbs loose without compacting everything together.
Sprinkle the topping evenly across the cherries, then drizzle the melted butter over the surface. Don’t dump the butter in one place. Slow passes across the pan work better and help the crust brown evenly.
Baking Until Golden and Bubbling
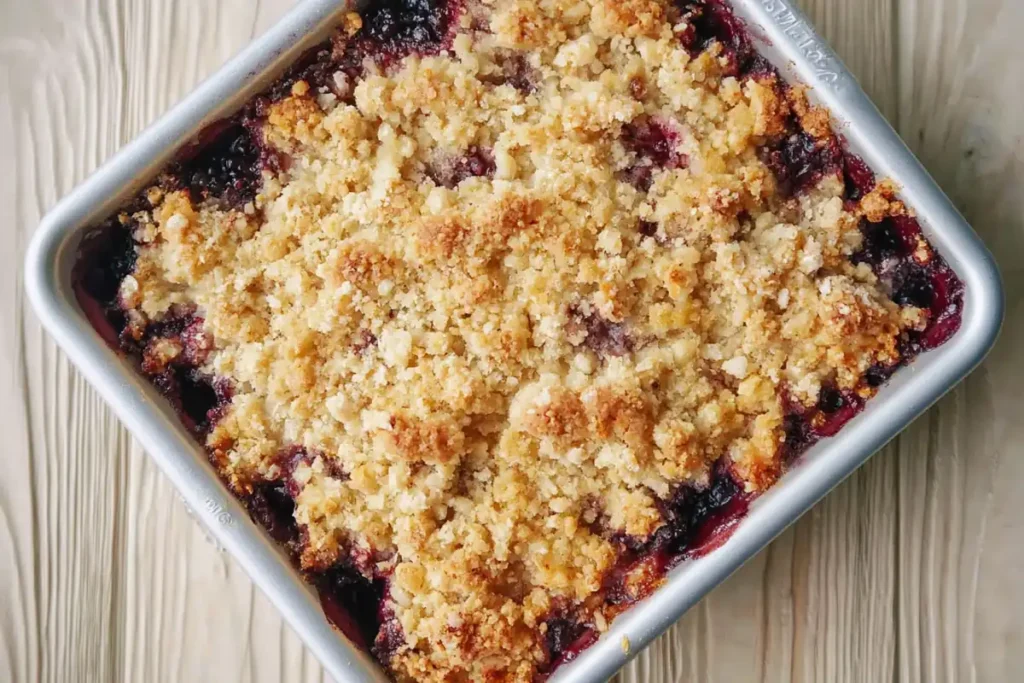
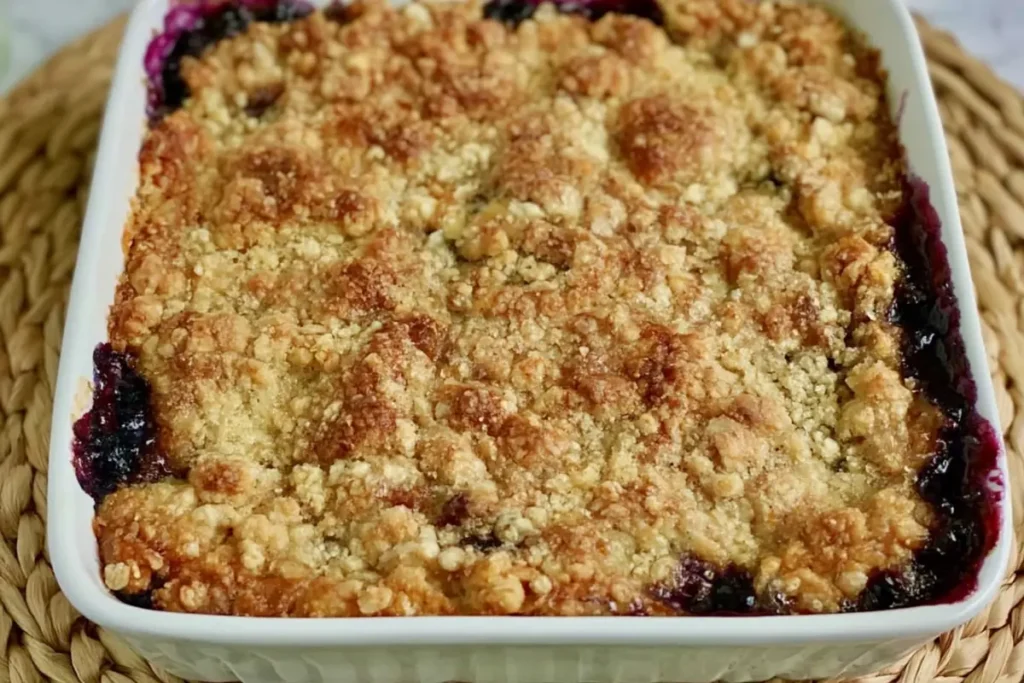
Bake the crisp for 30 to 40 minutes. Around the 25-minute mark, you’ll usually notice the cherries bubbling around the edges. The topping should look lightly golden with slightly darker crisp spots across the top.
If the center still looks pale or dry underneath, give it another few minutes. Fruit crisps can fool you sometimes because the surface browns before the filling fully heats through.
Let it rest for at least 10 minutes before serving. The filling thickens as it cools slightly, which makes scooping cleaner and keeps the juices from running everywhere. Still warm, though. That’s the sweet spot.
Frequently Asked Questions
Can You Freeze Cherry Crisp?
Yes, though I prefer freezing it before baking rather than after. Assemble the crisp fully, wrap the dish tightly, and freeze for up to 2 months. When ready to bake, thaw it overnight in the refrigerator first so the center heats evenly.
Should You Use Fresh or Frozen Cherries?
Both work well here. Fresh cherries usually bring a little more texture, while frozen cherries are convenient and consistent year-round. If using frozen fruit, drain off excess liquid after thawing. Too much moisture can soften the topping before it crisps.
How Do You Reheat Leftovers?
A microwave works for speed, but the topping stays crisper in the oven. Warm leftovers at 325°F for about 10 minutes until heated through. I don’t cover the pan because steam tends to soften the crust.
The Kind of Dessert You’ll Make Again
Easy Cherry Crisp fits those nights when you want dessert without turning the kitchen upside down. The ingredients are familiar, the method is forgiving, and the payoff feels bigger than the effort involved.
Every recipe I share is an invitation from my kitchen to yours. This one especially deserves to be served warm, straight from the baking dish, while the cherries are still bubbling around the edges.
Easy Cherry Crisp
Ingredients
Method
- Preheat the oven to 350 degrees Fahrenheit and lightly grease an 8×8-inch baking dish.
- Mix the cherries with 1/4 cup of the sugar until evenly coated.
- Spread the cherries into the prepared baking dish in an even layer.
- In a separate bowl, combine the remaining sugar, flour, baking powder, salt, and unbeaten egg until the mixture becomes crumbly.
- Sprinkle the crumb mixture evenly over the cherries.
- Drizzle the melted butter evenly across the topping.
- Bake for 30 to 40 minutes until the topping is golden brown and the cherry filling is bubbling around the edges.
- Let the crisp rest for 10 minutes before serving warm.
Notes
- Fresh or frozen cherries both work well for this recipe.
- If using frozen cherries, thaw and drain them first to avoid excess liquid.
- Serve warm with vanilla ice cream or whipped cream.
- Store leftovers covered in the refrigerator for up to 5 days.
- Reheat leftovers in a 325 degree oven for about 10 minutes to help keep the topping crisp.