
Cherry Cheesecake Dump Cake That Actually Bakes Evenly

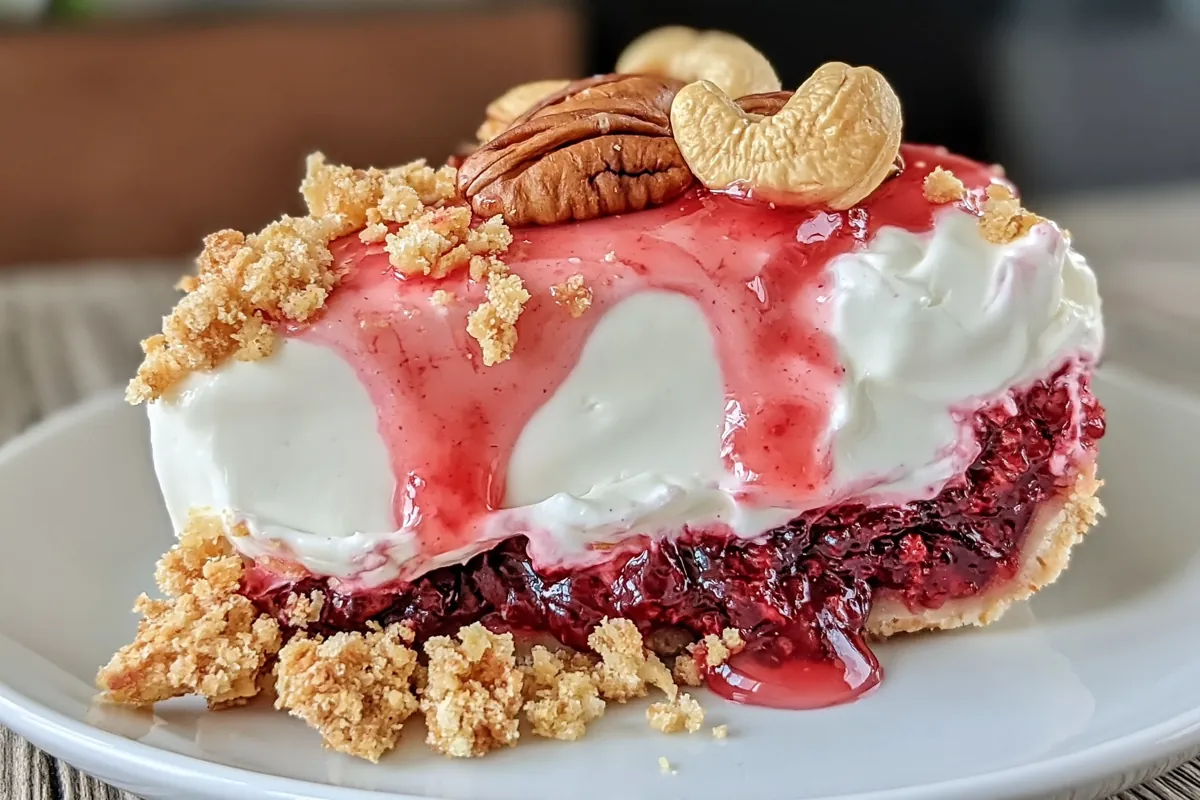
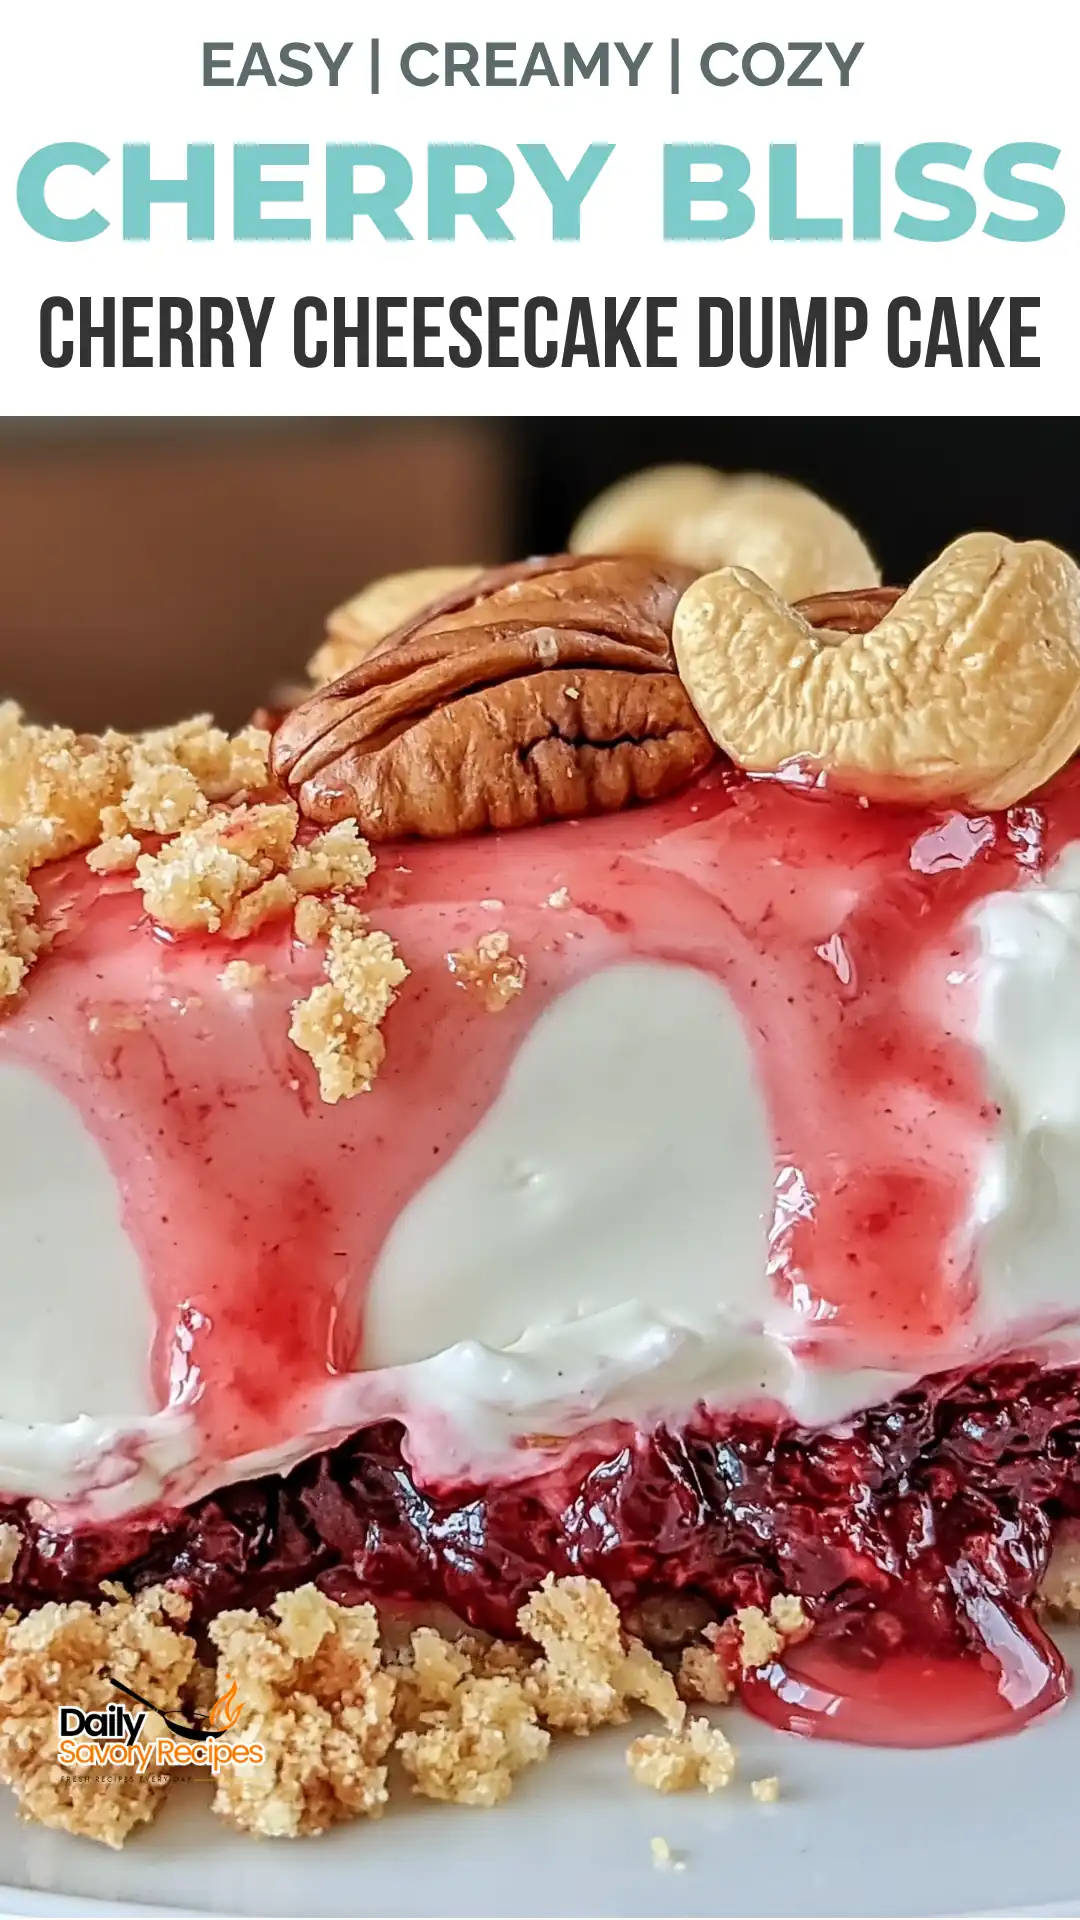
Cherry Cheesecake Dump Cake sits somewhere between a cobbler and a cheesecake bar, which is probably why it disappears so quickly at the table. The warm cherries soften into the cream cheese layer while the cake mix turns buttery and crisp around the edges. It’s a dessert that asks very little from the cook.
I’ve tested versions with cold butter, softened butter, and melted butter over the years. Melted wins here. It covers the cake mix more evenly and gives you fewer dry patches on top, especially in a standard 9×13 pan.
You’ll also learn where most dump cakes go wrong and how to avoid the powdery topping that can ruin the texture.
Why Cherry Cheesecake Dump Cake Works So Well
A lot of quick desserts lean too sweet. This one avoids that because the tart cherry filling cuts through the richness of the cream cheese and buttery topping. You get contrast in every spoonful instead of one flat sugary flavor. That balance matters.
The dump cake method is exactly what it sounds like — ingredients are layered directly into the baking dish instead of mixed into a batter. But there’s still technique involved. The order affects how the dessert bakes, especially once the cream cheese starts warming and settling into the cherries underneath.
I prefer using a glass or ceramic baking dish for this recipe. Metal pans tend to brown the corners faster, and the cream cheese layer can overcook before the center fully sets. Not disastrous. Just less creamy.
By the time the top turns golden and the edges start bubbling, the cake layer develops a texture somewhere between crisp streusel and soft cobbler topping. That mix of textures is really the whole point of this dessert.
Ingredients That Make the Cake Bake Properly
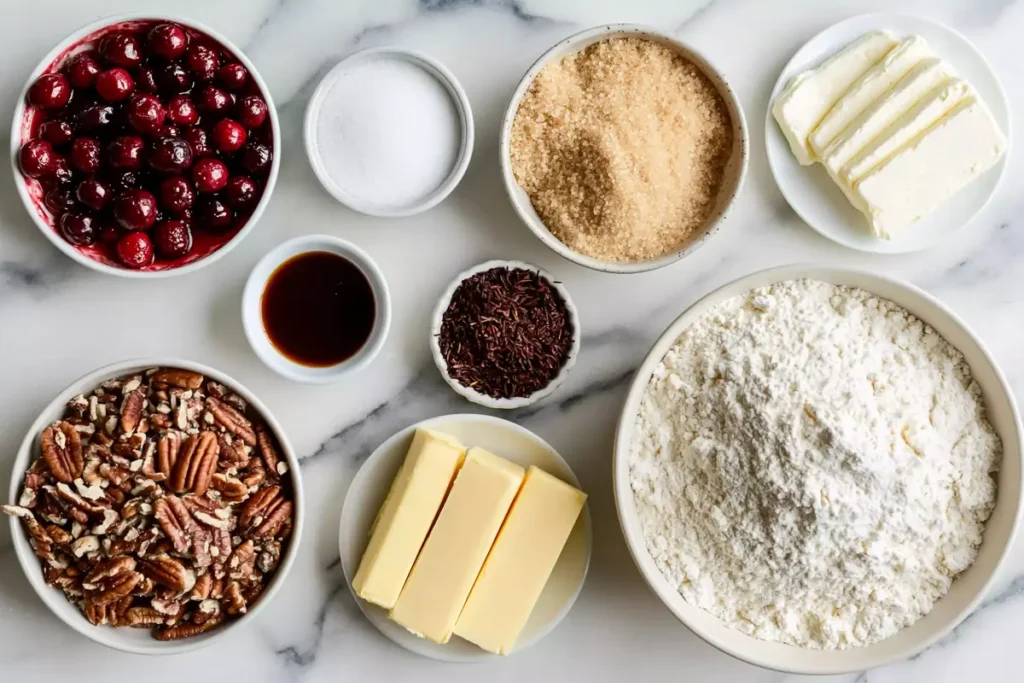
The ingredient list is short, but each part has a job to do. Cherry pie filling creates the base and provides enough moisture to help the cake mix hydrate while baking. A thick filling works better than loose homemade fruit mixtures here because the dessert relies on controlled moisture.
Choosing the Right Cherry Filling
Most canned cherry pie fillings work fine, though I lean toward ones with whole cherries instead of heavily crushed fruit. You want noticeable bites of cherry after baking. If the filling seems extremely thick straight from the can, stir it briefly before spreading it into the pan.
The yellow cake mix adds sweetness and structure. White cake mix can work, though it tends to bake softer and slightly sweeter. Chocolate cake mix changes the dessert completely. Good, but heavier.
Why Softened Cream Cheese Matters
Cold cream cheese fights you the entire time. Softened cream cheese blends smoothly with the sugar and vanilla, and it spreads more evenly over the cherries without dragging the filling around the dish.
The butter deserves attention too. Pouring melted butter evenly across the dry cake mix helps eliminate dry flour pockets after baking. I usually tilt the pan slightly while drizzling so the butter spreads naturally instead of pooling in one spot.
Pecans and cinnamon aren’t necessary, but they add texture and warmth that work especially well if you’re serving the cake slightly warm.
Baking Cherry Cheesecake Dump Cake Without Dry Spots
Start by heating the oven to 350°F. While it warms, beat the softened cream cheese with the granulated sugar and vanilla extract until completely smooth. If you still see lumps after mixing, keep going another minute. Those little bits won’t fully melt during baking.
Spread the cherry pie filling evenly across the bottom of a greased 9×13-inch baking dish. Don’t leave gaps in the corners. The cherries provide moisture for the cake mix above them, so uneven filling can lead to dry edges later.
Next comes the cream cheese mixture. I don’t fully spread it like frosting because it tends to pull the cherries upward. Instead, dollop spoonfuls across the surface and gently connect them with the back of the spoon. Some cherry areas peeking through are completely fine.
Scatter the dry cake mix evenly over the top without pressing it down. That part matters more than people think. Compressing the mix can create dense patches underneath the butter.
Then drizzle the melted butter slowly across the entire surface. Go corner to corner. If you notice obvious dry areas before baking, add a small extra drizzle there rather than soaking the middle. A spoon works better than pouring straight from the bowl. More control.
If you’re using pecans and cinnamon, add them last so they toast lightly while the cake bakes.
The dessert usually needs 40 to 45 minutes in the oven. You’re looking for bubbling edges and a top that’s evenly golden with a few deeper brown spots around the corners. The center may still jiggle slightly when moved. That’s normal. It firms up as it cools.
Let it rest at least 15 minutes before serving. Hot cream cheese filling can look thinner than it really is straight from the oven.
A Few Small Adjustments That Improve the Texture
Most texture issues come from uneven butter distribution. If you pull the cake out and still see pale dry patches, the butter likely missed those spots. It happens. Next time, drizzle slower and use the back of a spoon to guide butter toward dry areas before baking.
Cooling matters too. Fresh from the oven, the dessert is softer and almost spoonable. After about 30 minutes, the cheesecake layer settles and slices hold together better.
I wouldn’t bake this much longer than necessary. Once the edges become dark brown instead of golden, the cake layer starts drying out pretty quickly. Especially in glass pans.
Easy Variations That Still Work With This Method
Blueberry pie filling works especially well with the cheesecake layer. Apple filling turns the dessert softer and more autumn-focused, especially with extra cinnamon on top. Peach is good too, though slightly sweeter overall.
For the cake mix, butter pecan is probably my favorite swap when I want something richer. White cake mix keeps things lighter. Spice cake mix adds warmth without needing extra cinnamon.
Not everyone likes nuts in dessert. Fair enough. Leave the pecans out and the recipe still bakes properly. You’ll lose some crunch, but the topping stays crisp around the edges.
Sometimes I add a pinch of almond extract alongside the vanilla because cherries and almond pair naturally together. Just don’t overdo it. A little travels fast.
The Best Way to Serve It
Warm Cherry Cheesecake Dump Cake has a softer texture, almost like a cobbler with pockets of cheesecake running through it. That’s usually how I serve it the first night. A scoop of vanilla ice cream melts right into the cherries and catches the buttery topping underneath.
Once chilled, the texture changes quite a bit. The cream cheese firms up and the slices become cleaner and more structured. Some people actually prefer it cold straight from the refrigerator. I get it.
If you want a little contrast, add a few fresh cherries or lightly toasted pecans on top just before serving. Nothing complicated. The dessert already does most of the work.
Storing Leftovers Without Losing Texture
Because of the cream cheese layer, leftovers should go into the refrigerator once fully cooled. Cover the baking dish tightly or transfer portions into an airtight container. It usually keeps well for about 4 days without turning soggy.
For reheating, I prefer the oven over the microwave when possible. About 10 minutes at 300°F helps the topping crisp slightly again. Microwaving works too, especially for single portions, though the top softens more.
You can freeze it, but the texture changes a little after thawing. The cherries hold up fine. The cheesecake layer becomes softer. Still good, just less structured.
Frequently Asked Questions
Can I use homemade cherry filling?
Yes, though it should be fairly thick before going into the baking dish. Thin fruit mixtures release extra liquid while baking, and that can leave the topping uneven or gummy in spots. If your homemade filling looks loose, simmer it a few extra minutes first.
Why is part of the cake mix still dry?
Usually the butter didn’t fully cover the cake mix. It can also happen if the cherry filling wasn’t spread evenly underneath. Before baking, scan the top carefully for pale dry patches and drizzle extra butter where needed.
Can I make this ahead of time?
You can assemble it several hours ahead and refrigerate it before baking. I wouldn’t leave the unbaked cake overnight though. The dry mix starts absorbing moisture from below and loses some texture.
Already baked leftovers reheat surprisingly well the next day.
Do I need to refrigerate leftovers?
Yes. Since the recipe contains cream cheese, refrigeration is the safer option after it cools. Letting it sit out for long stretches tends to soften the topping too much anyway.
Worth Making More Than Once
Cherry Cheesecake Dump Cake works because it doesn’t try too hard. A handful of pantry ingredients turn into something warm, creamy, and just structured enough to scoop into bowls without fussing over technique.
This is one of those desserts that fits easily into real home cooking. Minimal prep. Reliable results. And honestly, the leftovers might be even better the next morning with coffee.
Cherry Cheesecake Dump Cake
Ingredients
Method
- Preheat the oven to 350°F and grease a 9×13-inch baking dish.
- Beat the softened cream cheese with granulated sugar and vanilla extract until smooth.
- Spread the cherry pie filling evenly across the bottom of the baking dish.
- Dollop the cream cheese mixture over the cherry filling and spread gently.
- Sprinkle the dry yellow cake mix evenly over the top without pressing it down.
- Drizzle the melted butter evenly over the cake mix, covering as much surface area as possible.
- Top with chopped pecans and cinnamon if using.
- Bake for 40 to 45 minutes until the top is golden brown and the edges are bubbling.
- Allow the cake to cool for at least 15 minutes before serving.
Notes
- Use softened cream cheese for easier spreading and a smoother texture.
- Check the surface before baking to make sure there are no dry patches of cake mix.
- A glass or ceramic baking dish helps the dessert bake more evenly.
- Store leftovers in the refrigerator for up to 4 days.