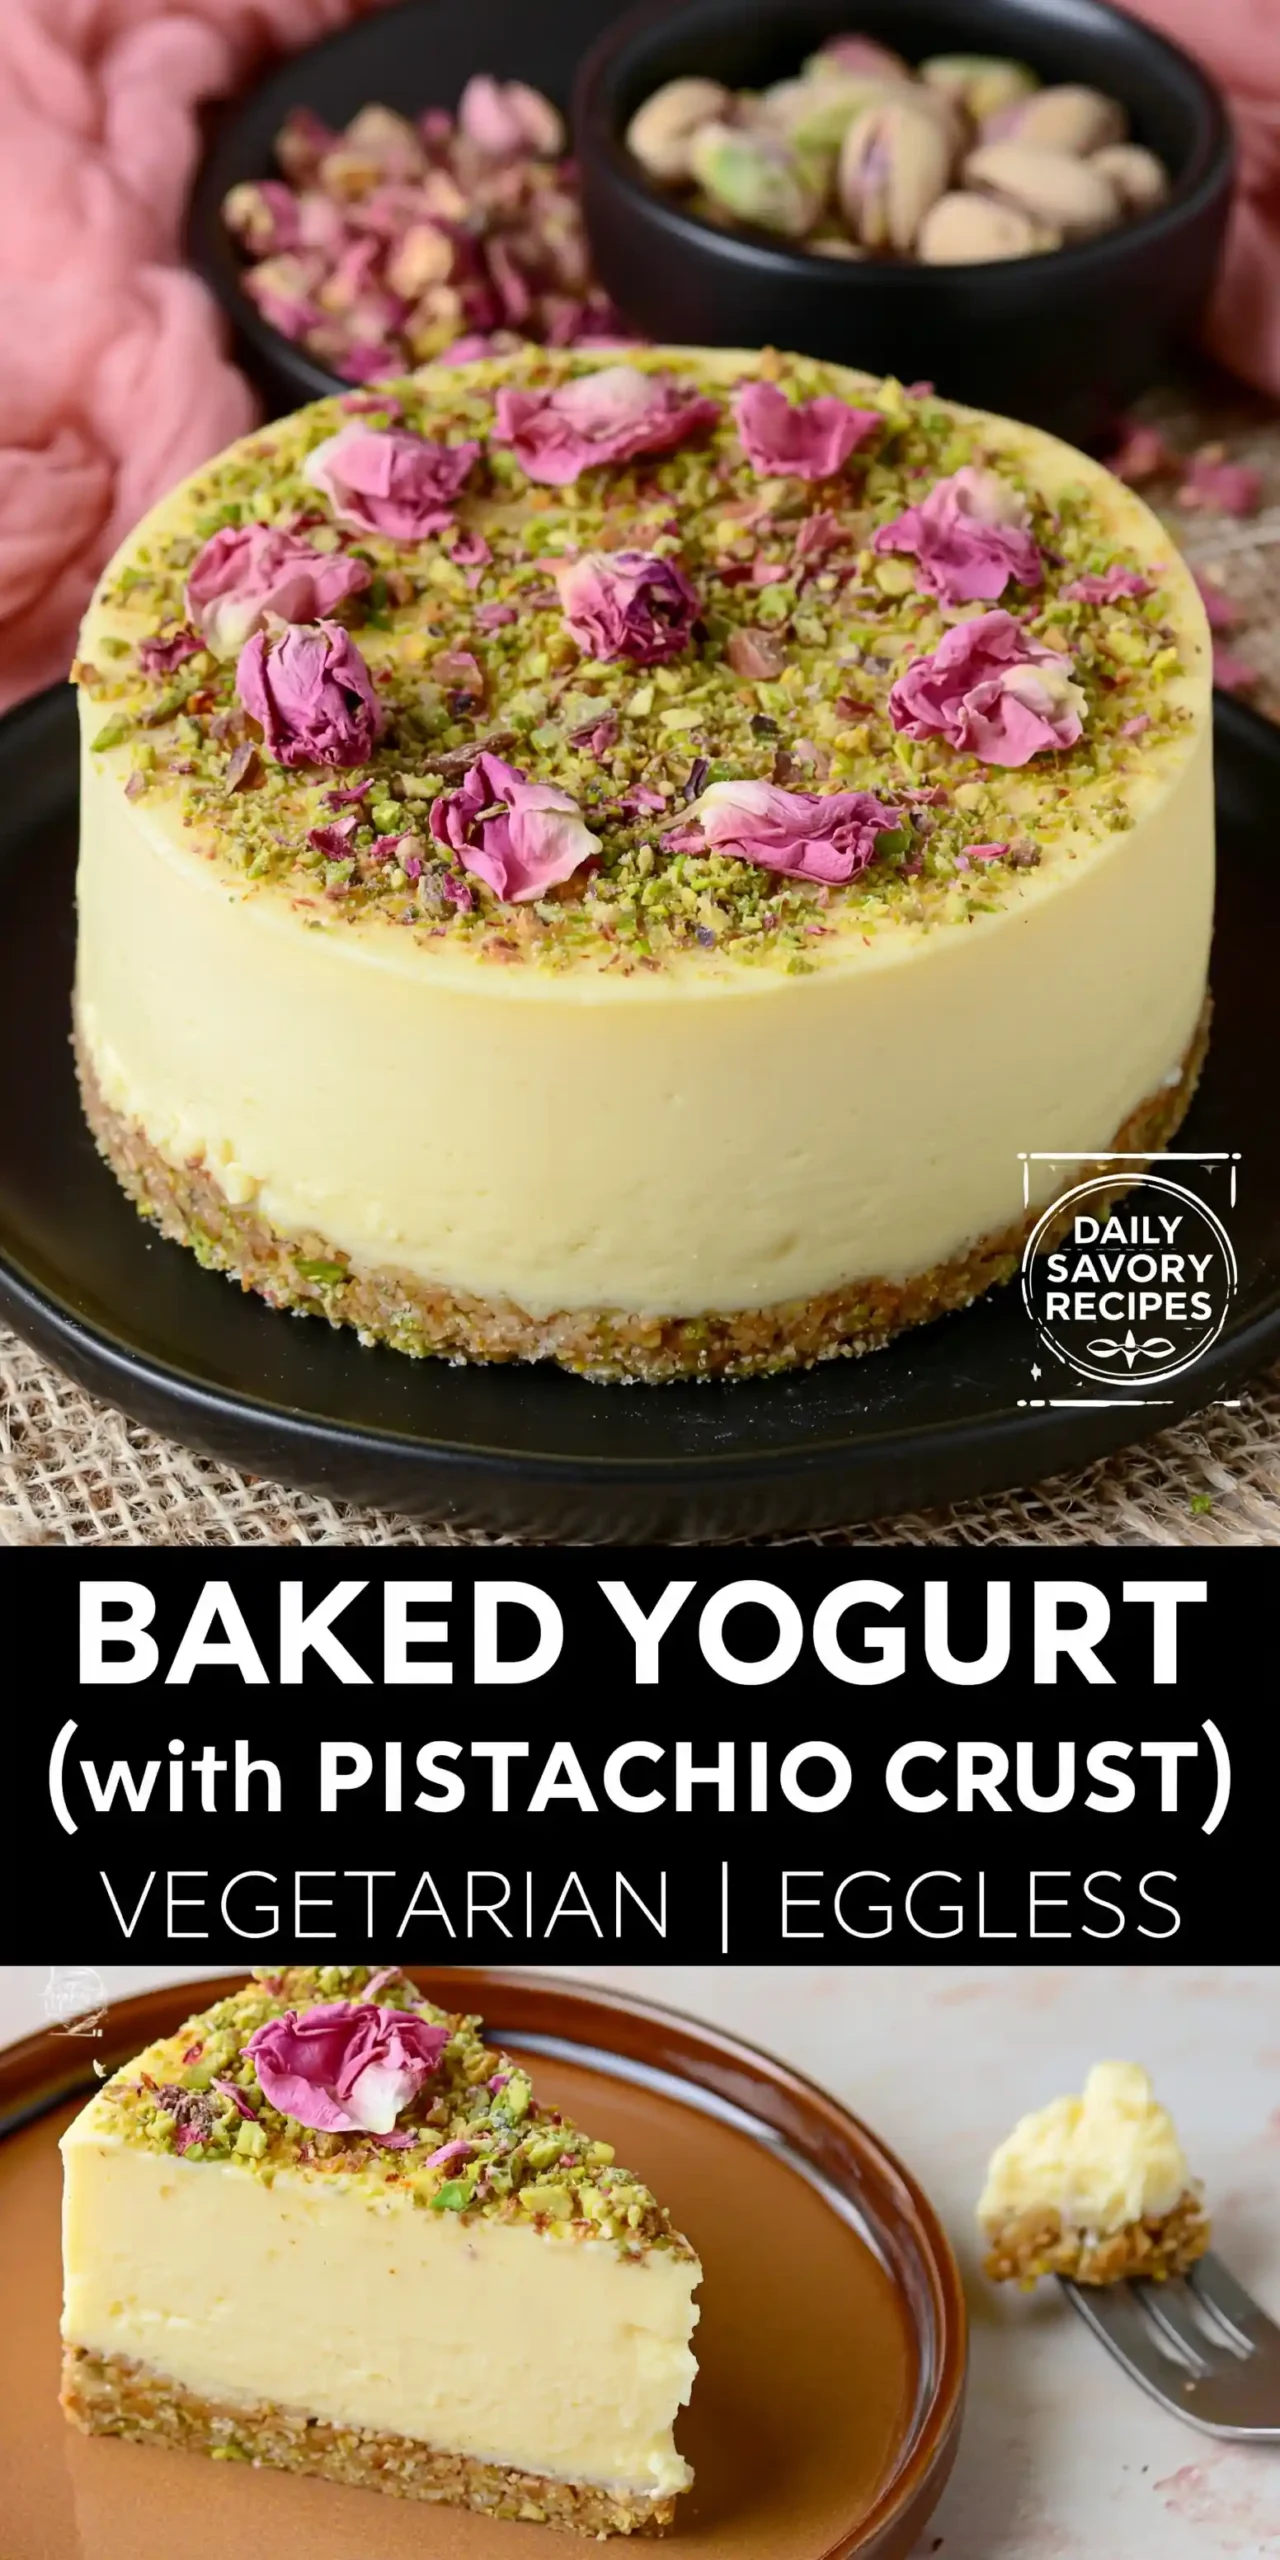

Baked Yogurt Pistachio Crust with Saffron and a Creamy Indian-Style Finish

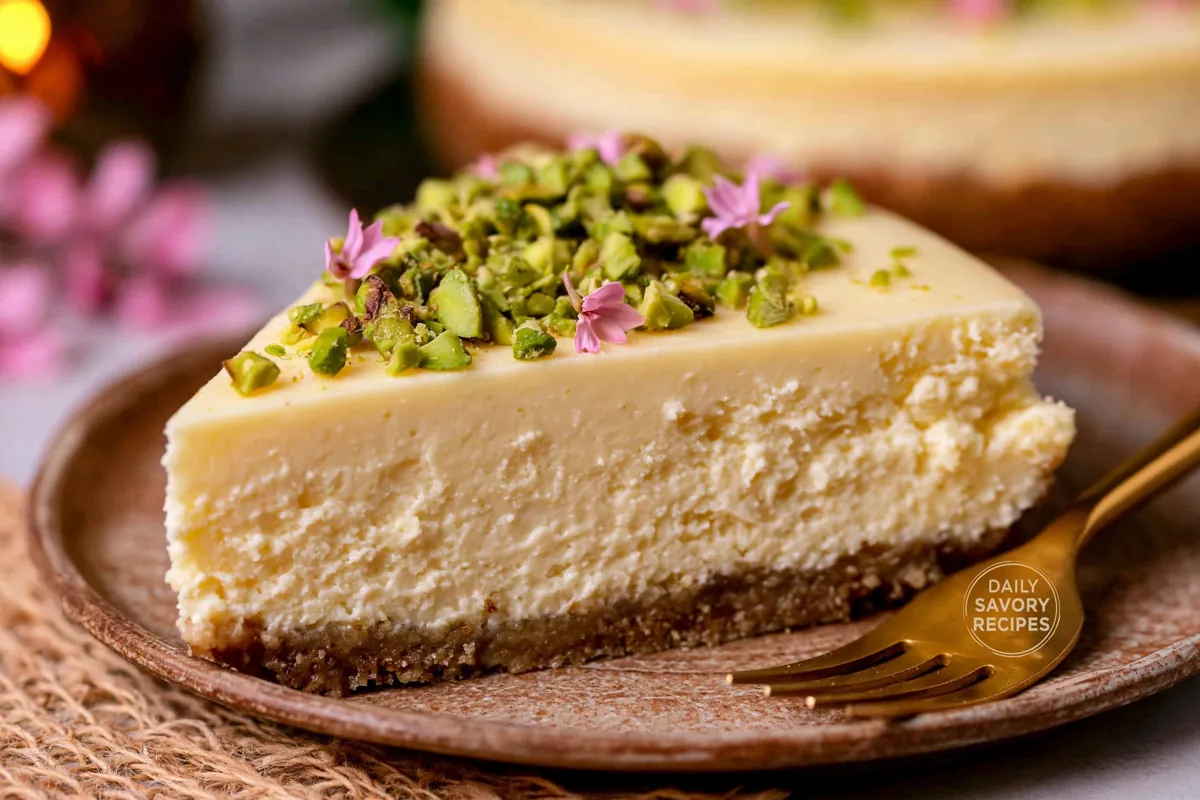
Baked Yogurt Pistachio Crust is one of those desserts that surprises people the first time they slice into it. The filling is cool, lightly set, scented with saffron, and carried by a nutty crust that gives just enough contrast without feeling heavy.
I keep coming back to this style of dessert because it borrows the richness people expect from cheesecake while staying simpler in ingredients. Every recipe I share is an invitation from my kitchen to yours, and this one rewards patience more than effort.
You’ll learn where the texture actually comes from, why the water bath matters, and a few small details that make the difference between silky and grainy.
Building the Baked Yogurt Filling
Regular yogurt can work beautifully here, but only after giving it time to change. Straining removes excess whey and leaves behind thick hung curd that behaves more like a custard base during baking. I usually line a sieve with muslin, place it over a bowl, and leave it in the fridge for at least 3–4 hours, though overnight gives more consistent results.
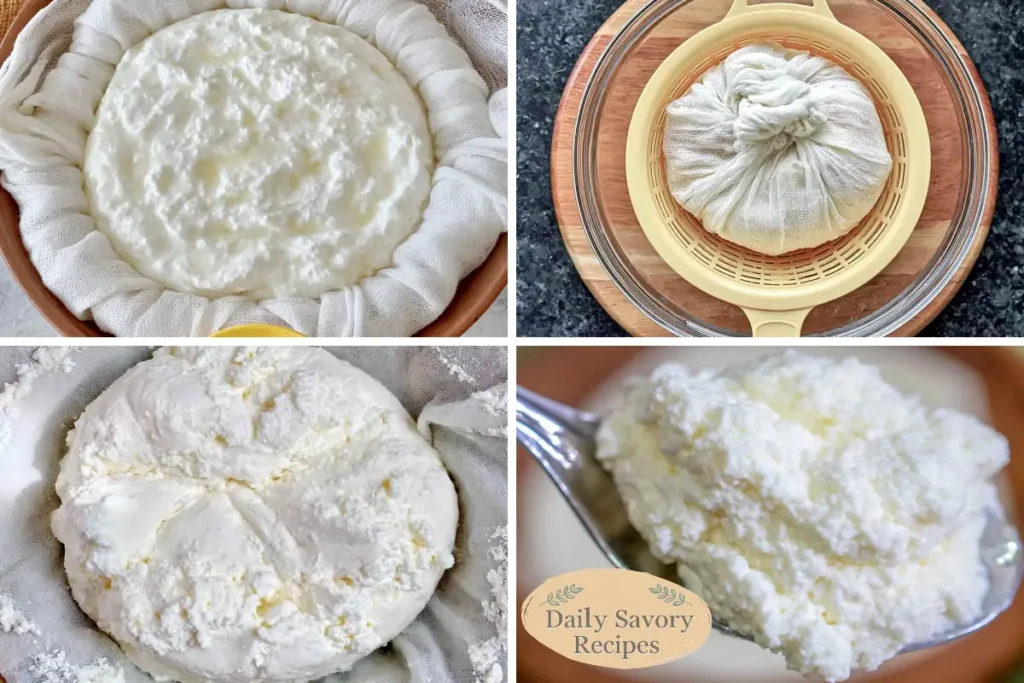
One detail people often skip: weigh or measure the strained yogurt before mixing. Different brands release different amounts of liquid. For this version, the target is roughly 300 g (about 1⅓ cups) of strained yogurt. If you start with too much moisture, the filling may stay soft even after baking.
The saffron deserves a minute of attention too. Crushing the strands lightly into warm milk helps release colour and aroma before they ever touch the yogurt. Add that mixture along with sweetened condensed milk, then whisk only until smooth. Don’t beat aggressively. Too much air can create tiny bubbles and affect the finish.

Creating the Pistachio Crust for Structure and Flavor
This crust isn’t trying to imitate a classic cheesecake base exactly. Pistachios do part of the structural work while adding flavour that stays noticeable after chilling.
Pulse the pistachios rather than grinding continuously. You want irregular crumbs, not nut butter. The biscuits should become finer than the nuts so they fill the gaps and hold together once the melted butter goes in. A little cardamom powder ties the crust and filling together quietly in the background.
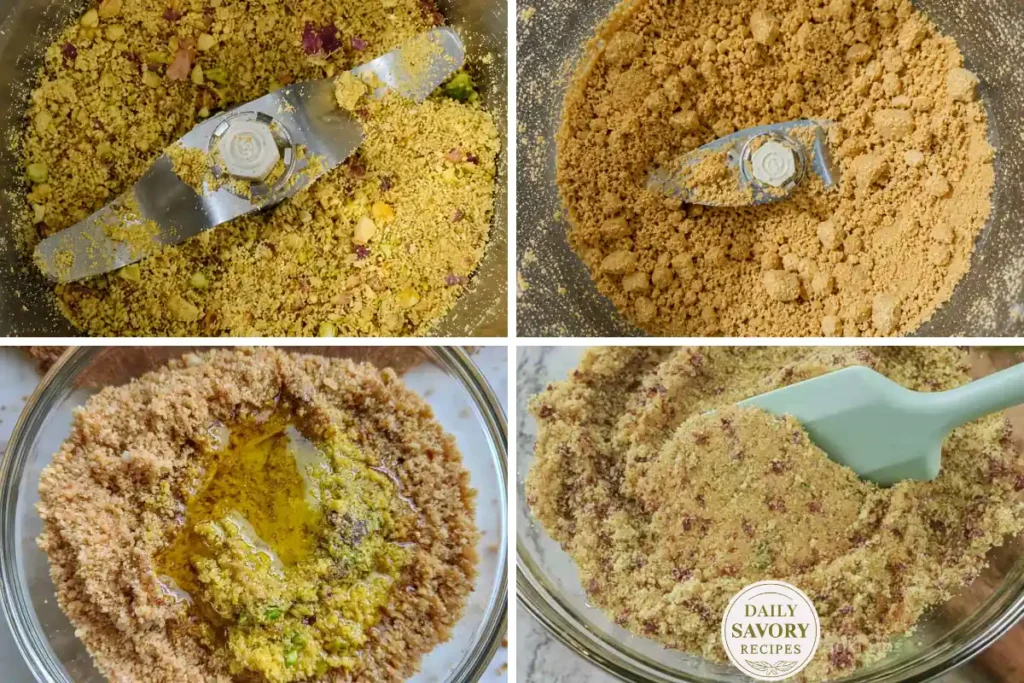
Press the mixture into a 6-inch removable base tin using the back of a spoon. I prefer pressing in stages instead of compacting all at once—it gives a flatter surface and fewer weak spots near the edges.
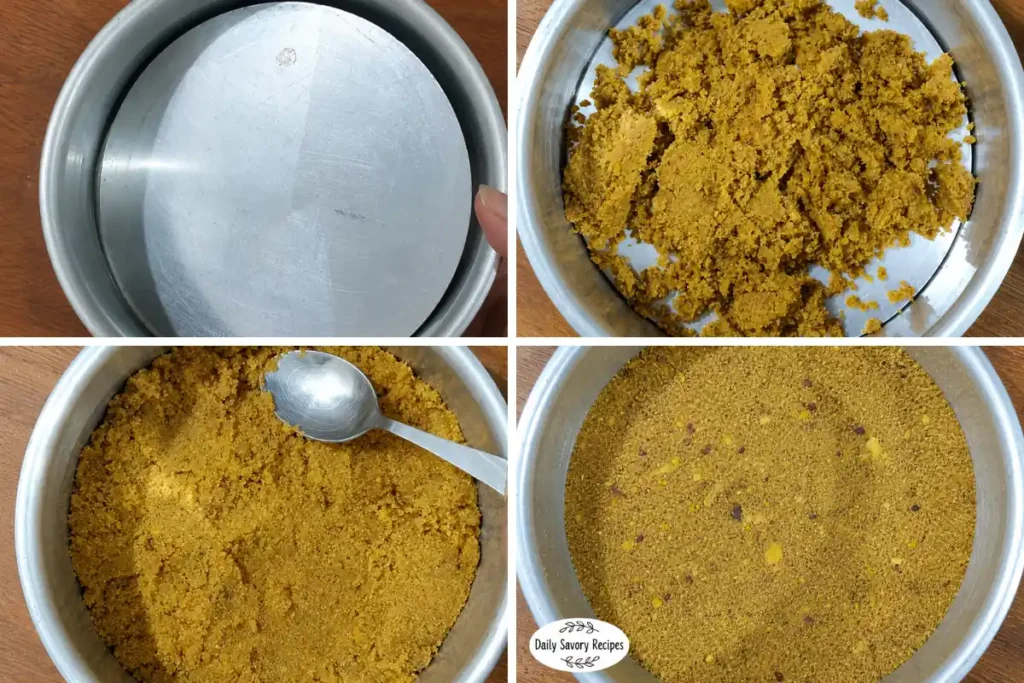
Once shaped, chill the crust for 20–30 minutes. Short wait. Worth it. Cold butter firms the base so the filling sits cleanly on top instead of sinking into it.

Baking Baked Yogurt Pistachio Crust Using a Water Bath
Water baths sound technical until you do one once.
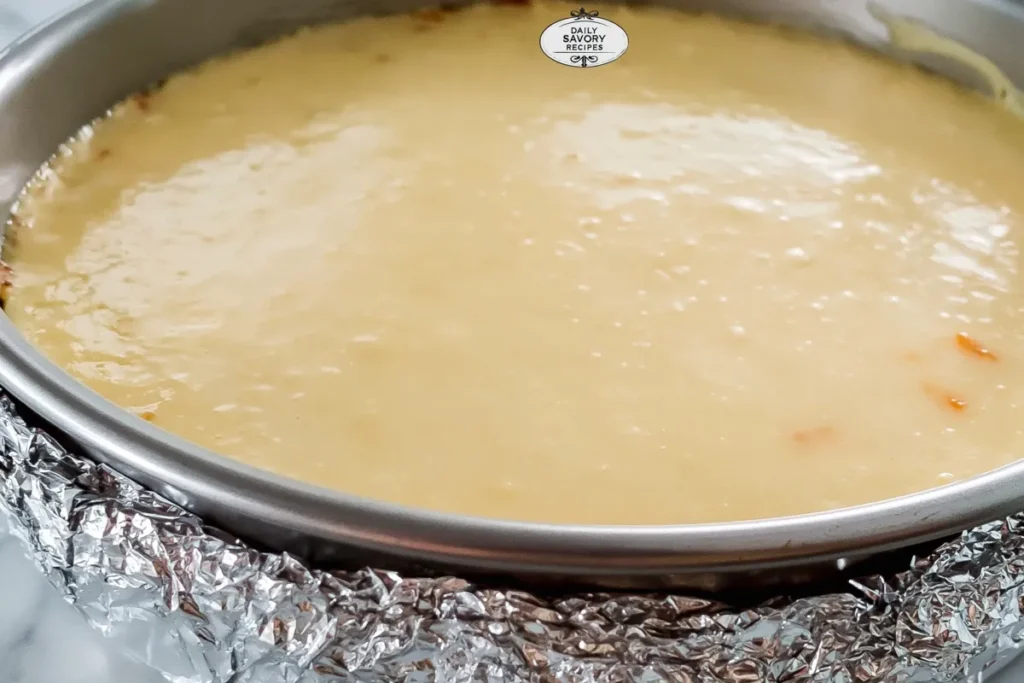
Wrap the outside bottom of the tin tightly with foil before setting it into a larger tray. That barrier helps reduce the chance of hot water finding its way into the crust. I usually place the tray into the oven first and pour in hot water afterward—it’s easier and far less awkward.
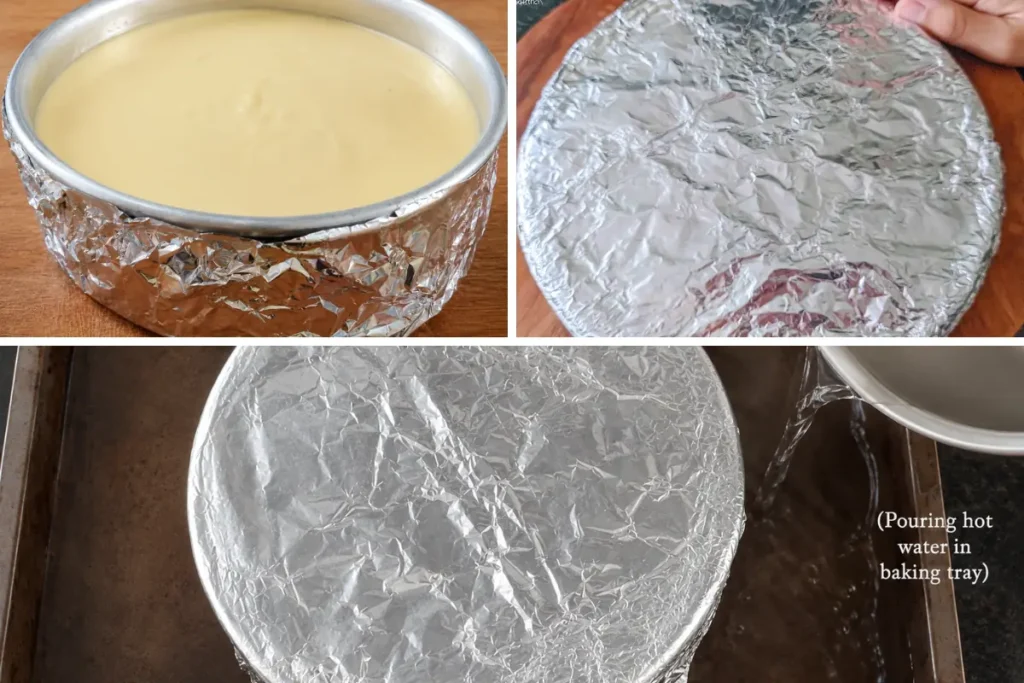
The goal isn’t steam for drama. The gentle environment slows the heat around the filling so proteins set gradually instead of tightening too quickly.
Bake at 180°C (350°F) for 40–45 minutes. After about 40 minutes, remove the top foil and check the center. Touch lightly with a spoon or fingertip. You’re not looking for firmness. You’re looking for resistance without liquid movement.
If the middle still leaves wet batter on contact, give it another 5 minutes uncovered.
Once baked, turn the oven off and leave the dessert inside for 15 minutes with the door closed. Sudden temperature drops can encourage cracking or uneven settling.
From Mixing to Chilling: The Full Assembly Process
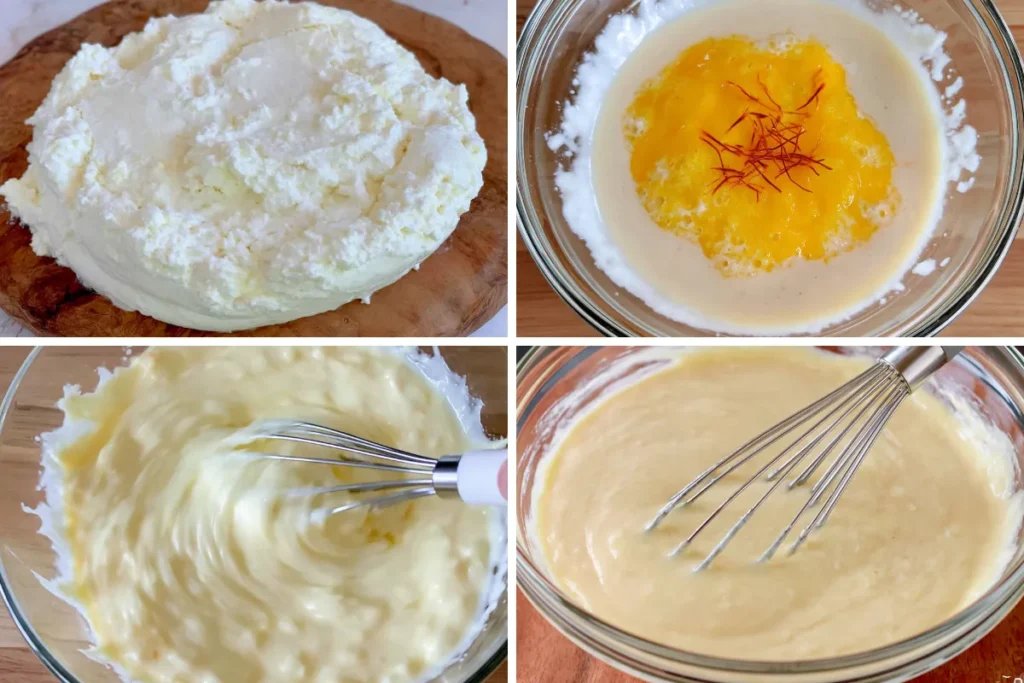
After the saffron milk is ready and the crust is chilled, pour the yogurt mixture over the base in one steady stream. A gentle shake levels the surface better than spreading with a spatula.
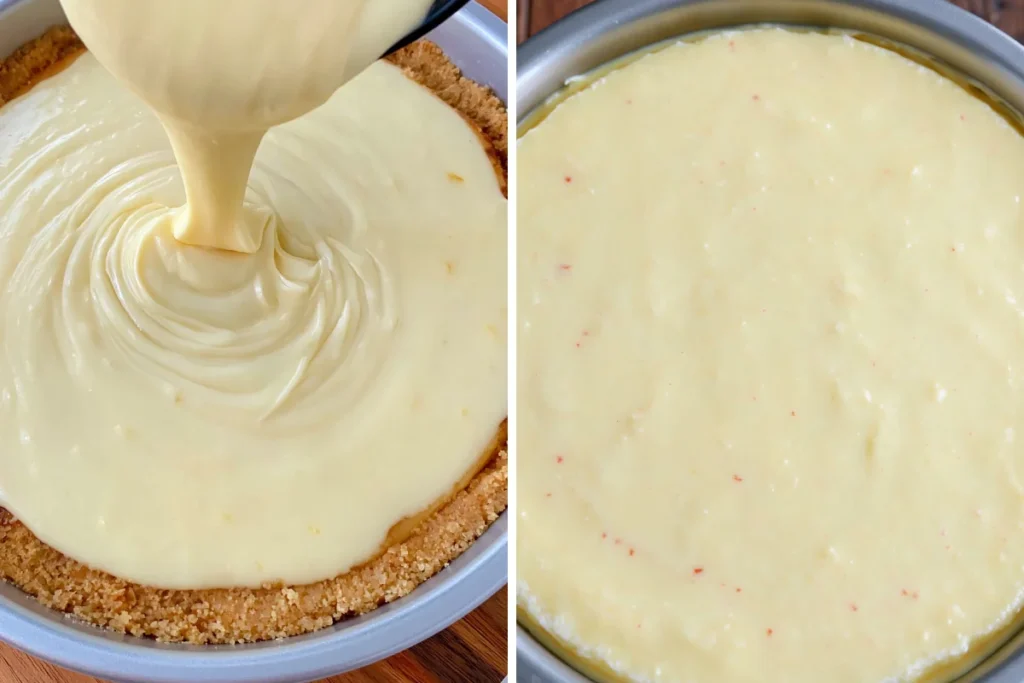
At this stage the filling will seem thinner than expected. That’s normal.
The oven does the setting, but the refrigerator finishes the texture. After cooling to room temperature, chill the baked dessert for at least 5–6 hours. Overnight is my preference because the filling firms more evenly and slices cleaner.
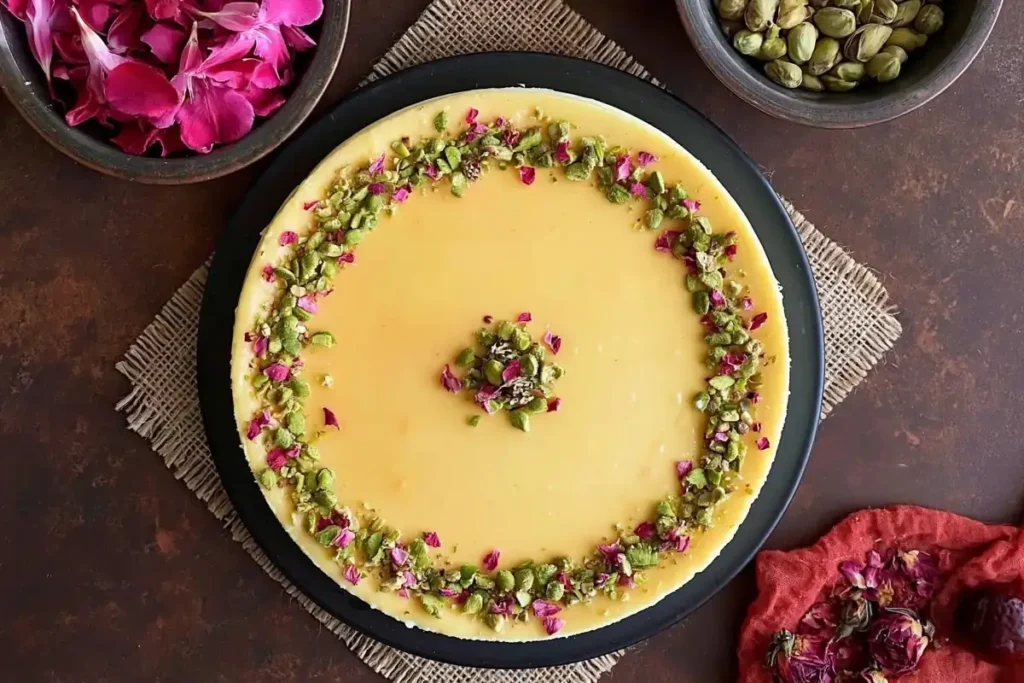
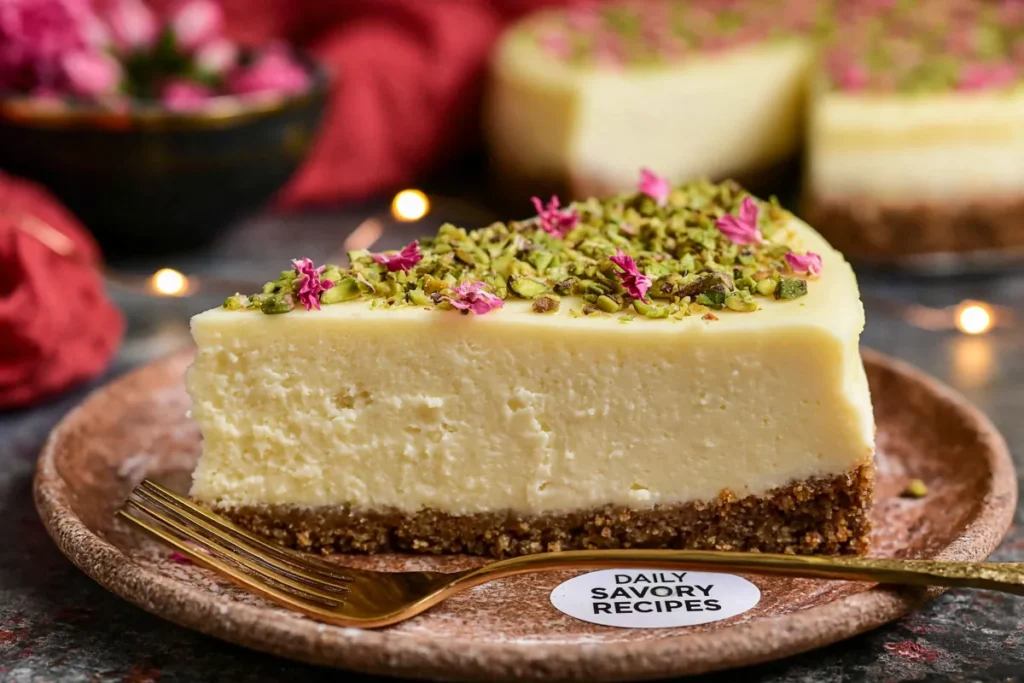
Serve cold. Scatter chopped pistachios over the top or add a few rose petals if you want a festival-style finish without making it feel overly decorated.

Recipe Variations That Stay True to the Dessert
I like keeping the structure of this dessert intact and changing only one element at a time. That way the texture stays reliable.
Saffron is my usual choice because it gives warmth without adding heaviness, but you can replace it with vanilla extract for a cleaner flavour profile. Another variation I’ve tested uses thandai powder mixed into the yogurt filling. It shifts the dessert in a more festive direction and works especially well for gatherings.
If you want a lighter version or need a gluten-free adaptation, skip the biscuit layer entirely and bake the filling directly in ramekins or a lined tin. The result won’t have the contrast of the pistachio crust, but the yogurt flavour becomes more noticeable.
For serving, chopped pistachios remain my first choice. Dried rose petals also work nicely because they add colour without changing texture.
Small Details That Make the Recipe More Reliable
The yogurt you buy matters more than most people expect. Some brands release a lot of liquid during straining while others stay naturally thick, which is why measuring the final strained quantity gives more predictable results than following volume alone.
Don’t over-grind the pistachios. Once oils start releasing, the crust can become dense instead of crumbly. Pulse in short bursts and stop while small pieces are still visible.
Greasing the sides of the removable tin with a light coat of oil makes unmoulding noticeably easier later. I use a silicone brush because it leaves an even layer.
One more thing: wait to pour hot water into the outer tray until the pan is already sitting in the oven. Less movement means fewer chances for water to splash into the crust.
Store chilled and serve chilled. The texture softens faster than many baked desserts once left at room temperature.
Frequently Asked Questions
Can baked yogurt stay out at room temperature?
For serving, about 30–60 minutes is usually comfortable depending on room temperature. Beyond that, the filling gradually softens and loses its clean texture. I prefer returning leftovers to the refrigerator promptly.
How long does baked yogurt keep in the refrigerator?
Stored covered, it generally keeps well for up to 3 days. The crust softens slightly over time but the flavour often becomes more rounded by the next day.

Can I freeze leftovers?
You can, though I don’t usually recommend it. Freezing tends to change the texture after thawing and can create extra moisture around the crust.
Why did my filling stay loose?
The most common causes are not straining the yogurt enough, using more yogurt than intended after straining, or removing it before the centre had time to set. A slight wobble is expected after baking. Wet batter isn’t.
Worth Waiting Overnight For
This dessert changes after chilling. Fresh from the oven it feels delicate, but after a night in the refrigerator the filling settles into something smoother and cleaner to slice.
The contrast between cool saffron yogurt and the pistachio crust is the reason I keep making this version. Make it ahead, let time do part of the work, and serve it cold.
Baked Yogurt Pistachio Crust
Ingredients
Method
- Place a sieve over a large bowl and line it with muslin cloth. Add the yogurt, wrap the cloth gently, and refrigerate for 3 to 4 hours or overnight until the excess whey drains away and the yogurt becomes thick.
- Measure the strained yogurt. You should have about 300 g or 1 1/3 cups hung curd. Set it aside.
- Pulse the pistachios in a grinder until coarsely ground. Transfer them to a bowl. Grind the biscuits into fine crumbs and add them to the same bowl.
- Add melted butter and cardamom powder to the pistachio-biscuit mixture. Mix until the crumbs look evenly moistened.
- Grease the sides of a 6-inch removable base tin with oil. Transfer the crumb mixture to the tin and press it firmly into an even base using the back of a spoon. Chill for 20 to 30 minutes.
- Add saffron strands to warm milk and crush them lightly with the back of a spoon to release their colour and aroma. Set aside.
- Preheat the oven to 180°C or 350°F. Transfer the strained yogurt to a mixing bowl, then add condensed milk and saffron milk. Whisk gently until smooth and even.
- Pour the yogurt filling over the chilled pistachio crust. Shake the tin gently to level the surface.
- Wrap the bottom of the tin tightly with aluminium foil and cover the top with another piece of foil. Place the tin inside a larger baking tray and add hot water to create a bain-marie.
- Bake for 40 to 45 minutes at 180°C or 350°F. After 40 minutes, remove the top foil and check the center. If it still looks wet, bake uncovered for 5 more minutes.
- Switch off the oven and let the baked yogurt rest inside for 15 minutes. Remove it, cool to room temperature, then chill for 5 to 6 hours or overnight.
- Demould carefully, slice cold, and garnish with chopped pistachios or dried rose petals before serving.
Notes
- Measure the yogurt after straining because different brands release different amounts of whey.
- Do not over-grind the pistachios or they may turn oily and make the crust dense.
- Pour hot water into the outer tray after placing it in the oven to reduce splashing.
- The baked yogurt should be softly set in the center, not wet.
- Serve chilled for the cleanest slices and best texture.
- Store covered in the refrigerator for up to 3 days.