
4th of July Monster Cookies That Bake Soft and Chewy Every Time

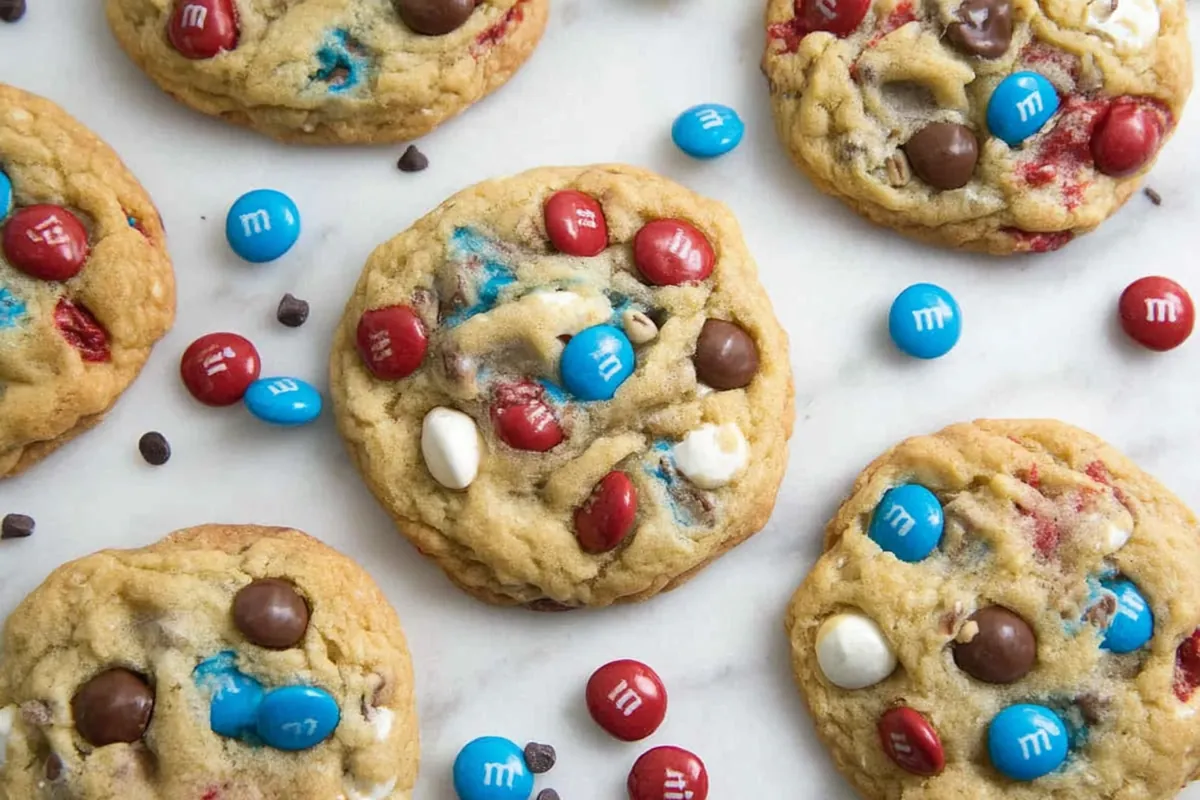
These 4th of July monster cookies are loaded with oats, peanut butter, and bursts of chocolate in every bite. They bake with crisp edges and soft centers, which is exactly what you want from a cookie like this.
What makes this version worth your time is the balance. The dough isn’t overly sweet, and the baking method gives you control over texture—something a lot of recipes skip. I’ll walk you through the details that actually matter.
Why They’re Called 4th of July Monster Cookies
The name “monster cookies” usually comes from what goes into them. A bit of everything. Oats, peanut butter, chocolate chips, candies—nothing restrained here.
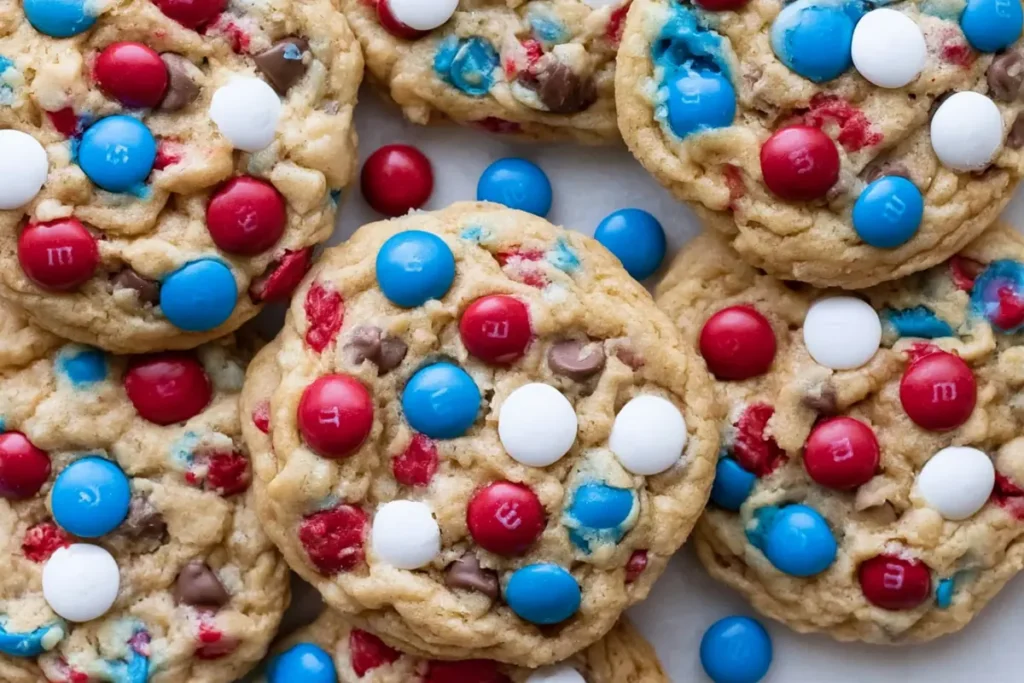
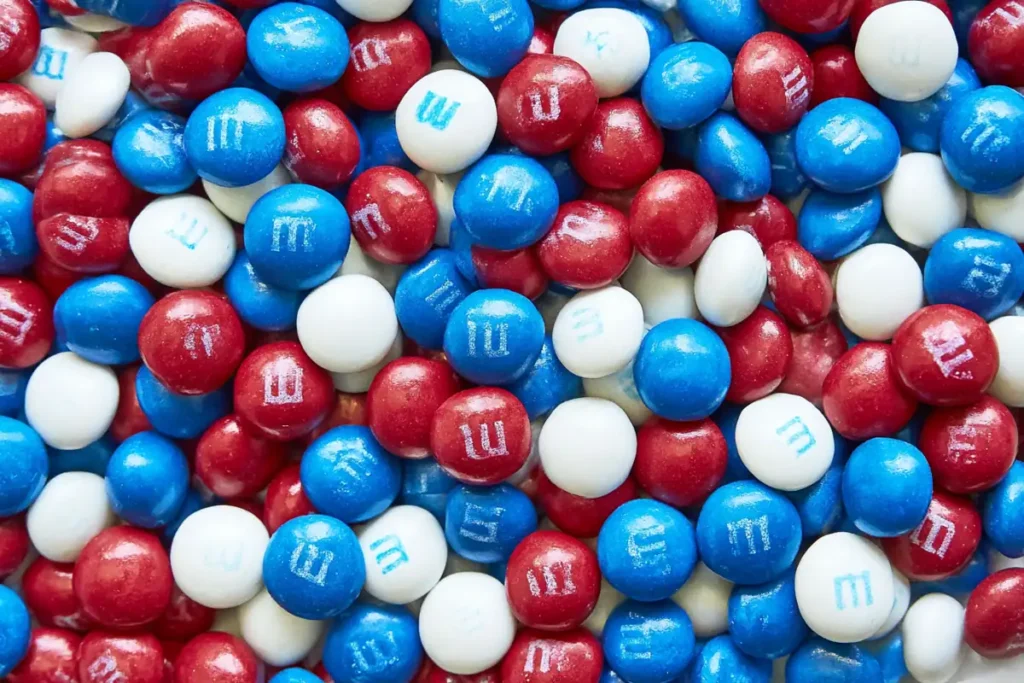
For this version, the 4th of July monster cookies lean into that idea with red, white, and blue M&M’s. That’s really the only change, but it shifts the whole feel of the cookie. Same base, different mood.
I’ve made these year-round, just swapping the candy colors depending on the occasion. The dough handles it well. No need to adjust anything else.
Getting the Right Texture and Cookie Shape
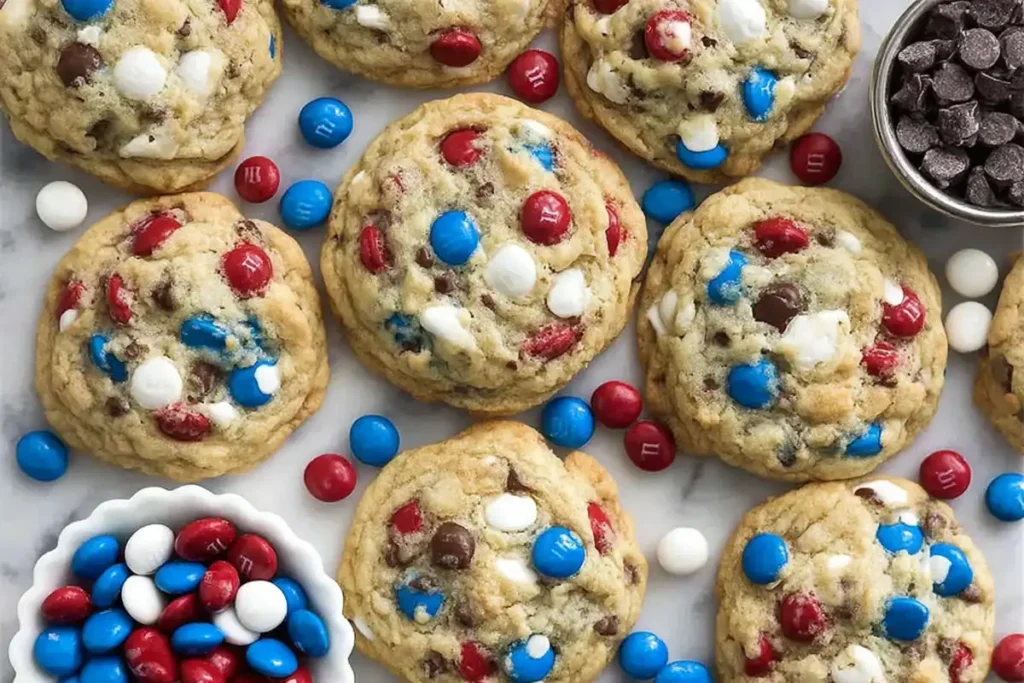
Start with softened butter—not melted. That distinction matters more than it seems. If the butter is too soft, the cookies spread too quickly and lose structure.
When you cream the butter, sugars, and peanut butter together for about 3 minutes, you’re building air into the dough. That’s what gives you a lighter interior. Skip that step or rush it, and the cookies turn dense.
Oats play a role here too. They absorb moisture as the cookies bake, which helps create that slightly chewy center. If you use old-fashioned oats instead of quick oats, expect a bit more texture. Not a bad thing. Just different.
And here’s a small trick: dropping the baking sheet halfway through baking. It sounds odd, but it flattens the cookies just enough to create those ripples and pockets of melted chocolate. Worth trying once.
Ingredients You’ll Need for 4th of July Monster Cookies
The ingredient list is straightforward, but each one has a job to do.
- Unsalted butter for richness and structure
- Peanut butter for flavor and moisture
- Brown sugar + granulated sugar for sweetness and texture balance
- Egg + egg yolk for binding and added richness
- Vanilla extract for depth
- Flour to hold everything together
- Oats for chewiness
- Baking soda to help the cookies rise slightly
- Salt to balance the sweetness
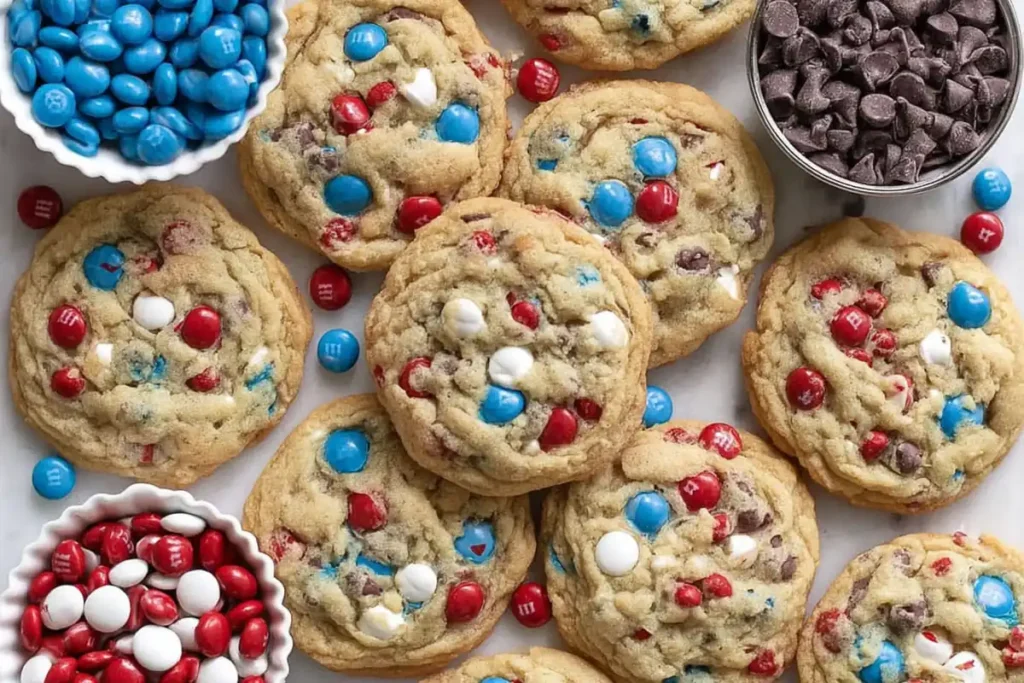
- M&M candies (preferably red, white, and blue)
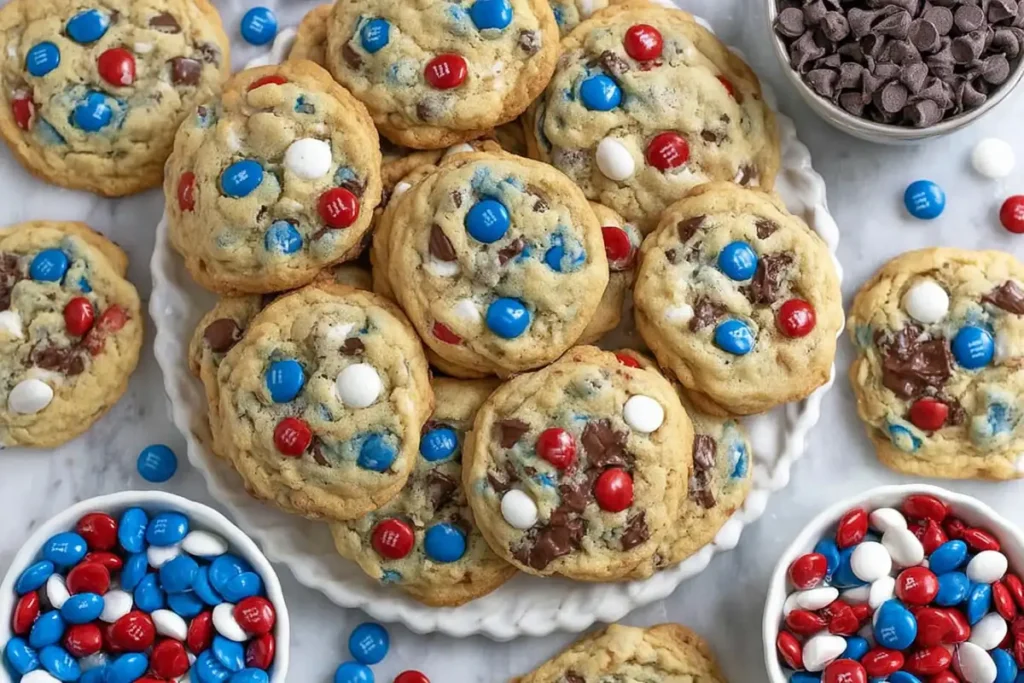
- Chocolate chips (milk and white both work well)
I tend to use a standard creamy peanut butter here. Natural peanut butter can work, but it often makes the dough looser and less predictable.
How I Make 4th of July Monster Cookies Step by Step
I start by preheating the oven to 350°F and lining two baking sheets with parchment. Simple setup, but it keeps everything consistent.
The mixing begins with butter, sugars, and peanut butter. Medium-high speed, about three minutes, until the mixture looks lighter in color and slightly fluffy. Scrape the bowl once or twice—those pockets of unmixed butter can throw things off later.
Egg first, then the extra yolk. Low speed here. You’re just combining, not whipping air in at this stage. Once the vanilla goes in, you should have a smooth, cohesive base.
In a separate bowl, whisk together the dry ingredients. Flour, oats, baking soda, salt. Adding them gradually to the mixer helps avoid overworking the dough. Stop mixing while you still see a few streaks of flour. Finish it by hand with a spatula.
Fold in the candies and chocolate. Don’t rush this part—spread them evenly so every cookie gets a bit of everything.
Portioning matters more than people think. I use a 2-tablespoon scoop, and if I want consistent baking, I weigh them—around 2 ounces each. It keeps the bake time predictable.
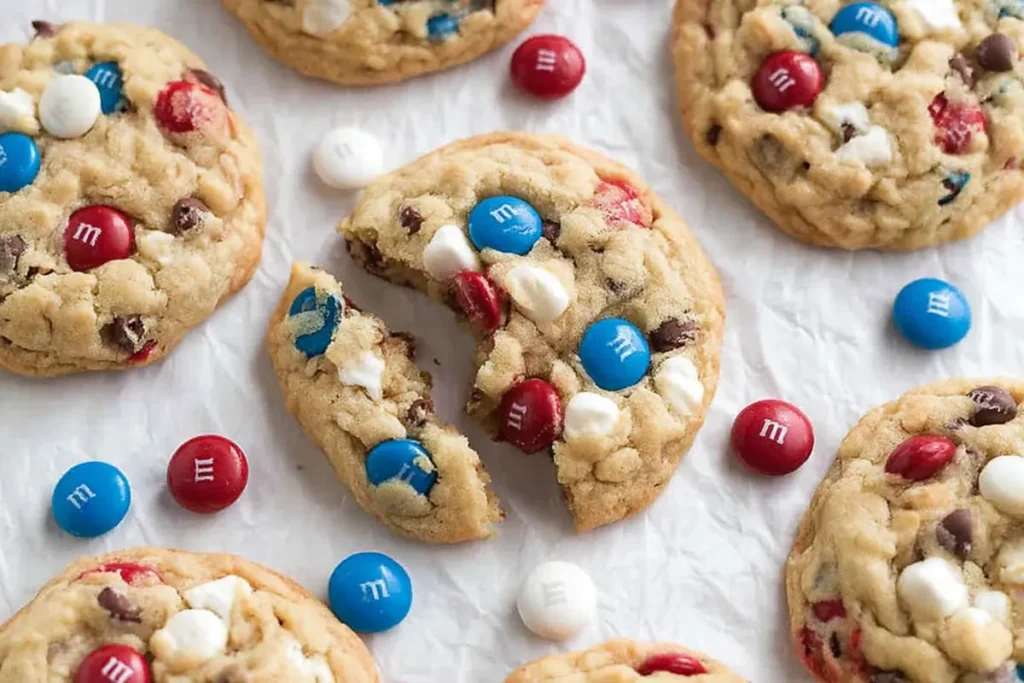
Bake for 9 to 11 minutes. You’re looking for edges that are set and lightly golden, while the centers still look slightly underdone. That’s where the chew comes from.
Halfway through baking, lift the tray a few inches and drop it back onto the rack. It flattens the cookies gently. If they still look domed when they come out, tap the tray once more on the counter.
Let them sit on the tray for 10 minutes before moving them. They finish setting during that time. Move them too early, and they’ll fall apart.
Simple Ways to Change the Flavor or Look
Once you’ve made these 4th of July monster cookies a couple of times, it’s easy to adjust them without breaking the recipe.
Swap the M&M’s for different colors depending on the occasion. That’s the simplest change. Around the holidays, I’ll use red and green. For birthdays, whatever’s on hand.
You can also play with the chocolate. Dark chocolate chips bring a bit more contrast against the sweetness. Peanut butter chips lean heavier into that flavor, which works well if that’s what you’re after.
One thing I don’t change much is the base ratio. The balance between oats, flour, and fat is what keeps the texture consistent. Change that too much, and you’re working with a different cookie entirely.
Baking Tips That Make a Real Difference
A few small details can shift the outcome quite a bit.
First, don’t overmix once the flour goes in. The dough should look slightly unfinished when you stop the mixer. That’s intentional. Overmixing develops gluten, and you’ll end up with a tougher cookie.
Pay attention to bake time. At around 10 minutes, the cookies might look underdone in the center. That’s correct. They continue to set as they cool. If you wait until they look fully baked in the oven, they’ll turn dry.
Pan temperature matters too. If you’re baking multiple batches, let the baking sheet cool between rounds. Warm pans cause the dough to spread too quickly before it sets.
And spacing—give each dough ball enough room. These cookies spread, especially after that tray tap. Crowding them leads to uneven baking.
Preparing the Dough Ahead of Time
This dough handles resting well, which can actually improve the final texture.
If you’ve got time, cover the bowl and refrigerate it for a few hours, even overnight. The oats hydrate more fully, and the flavors settle. You’ll notice a slightly thicker cookie with a deeper taste.
Before baking, let the dough sit at room temperature for about 15–20 minutes so it’s scoopable again. Cold dough straight from the fridge can be too firm and won’t spread properly in the oven.
You can also portion the dough first, then chill the scoops. That makes baking quicker later on.
Keeping Your Cookies Fresh After Baking
Once cooled completely, store the cookies in an airtight container at room temperature.
They hold well for about 3 to 4 days. After that, they’re still edible, but the texture starts to change. The centers lose some of that softness.
If your kitchen runs warm, keep them in a slightly cooler spot—not the fridge. Refrigeration tends to dry them out faster than you’d expect.
A small tip: placing a piece of parchment between layers helps prevent sticking, especially if there’s melted chocolate on the surface.
Freezing Baked Cookies and Dough Properly
These 4th of July monster cookies freeze well, both before and after baking. It’s a good option if you want to get ahead.
For baked cookies, let them cool completely first. Then store them in a sealed container or freezer bag, with parchment between layers. They’ll keep for up to 2 months. To serve, let them sit at room temperature for about 30 minutes.
Freezing the dough gives you more flexibility. Scoop the portions first, then freeze them on a tray until firm. After that, transfer them to a bag. You can bake straight from frozen—just add 1–2 extra minutes to the bake time.
One thing to watch: frozen dough won’t spread as quickly, so don’t overcrowd the tray.
A Batch Worth Making Again
There’s a reason I come back to these cookies. The method is simple, but the details give you control over the final result.
If you pay attention to mixing and baking time, you’ll get consistent texture every time. That’s what matters.
Every recipe I share is an invitation from my kitchen to yours.
4th of July Monster Cookies
Ingredients
Method
- Preheat oven to 350°F and line baking sheets with parchment paper
- Cream butter sugars and peanut butter until light and fluffy
- Mix in egg egg yolk and vanilla until combined
- Whisk flour oats baking soda and salt in a separate bowl
- Add dry ingredients to wet mixture and mix gently
- Fold in M&Ms and chocolate chips evenly
- Scoop dough into portions and place on baking sheets
- Bake for 9 to 11 minutes until edges are set and centers are soft
- Cool on baking sheet before transferring to rack
Notes
- Do not overmix the dough after adding flour
- Use standard creamy peanut butter for best consistency
- Tap baking sheet midway through baking for better texture
- Let cookies cool before moving to prevent breaking