
Smashburger Quesadillas: The Ultimate Cheesy Burger-Meets-Mexican Fusion

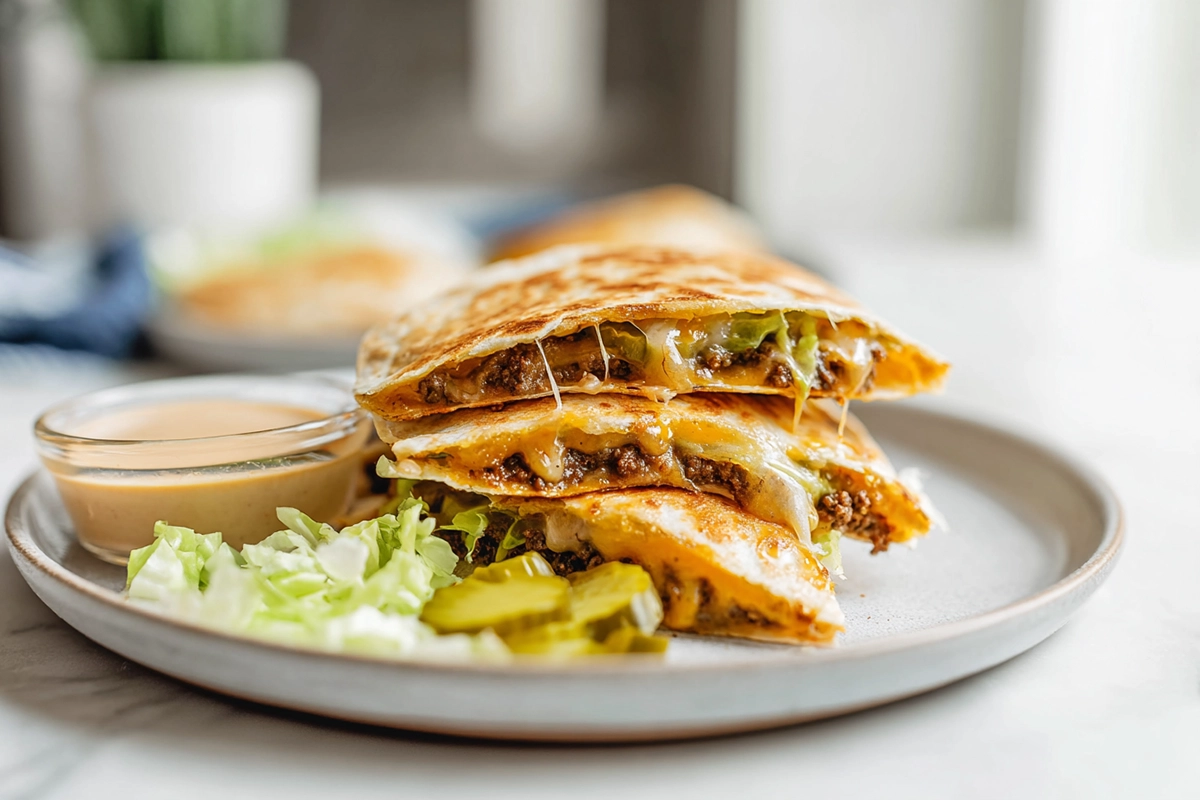
If you’ve ever found yourself torn between craving a juicy burger and a melty quesadilla, this recipe might just change your dinner routine forever. Smashburger Quesadillas combine the crispy edges of a classic smash burger with the gooey, cheesy layers of a quesadilla — and the result is nothing short of addictive. The first time you press that beef onto a sizzling skillet and hear it sizzle against the tortilla, you’ll know exactly why this trend has taken over American kitchens.
This easy, flavor-packed dish is everything you love about comfort food: the crisp, the melt, and the sauce that ties it all together. Whether you’re cooking for a weeknight dinner or prepping for game day, these Smashburger Quesadillas deliver that perfect “wow” bite every time.
What Are Smashburger Quesadillas?
Think of it as the best of two worlds colliding on your stovetop. A smash burger is known for its caramelized crust, created by pressing a ball of beef flat on a hot griddle. Now, imagine that same beef, pressed directly onto a tortilla with melted cheese and all your favorite burger toppings folded inside — that’s your Smashburger Quesadilla.
It’s quick, handheld, and irresistibly indulgent. Unlike a traditional quesadilla that leans toward Mexican spice and simplicity, this one leans toward American-style comfort food. You get the smoky crust from the burger, the creaminess of melted cheese, and the crunch from the tortilla — all in one bite.
People love these because they’re versatile, fast to cook, and satisfying without being overly heavy. They’re perfect for a lazy weekend meal, a Friday night treat, or even a tailgate party snack that disappears before halftime.
Why the Smash Burger Technique Works in a Quesadilla
The magic lies in that hot, flat surface and a bit of pressure. When you press your beef onto the skillet, the fats render instantly, forming a golden crust that locks in flavor. This technique amplifies the savory depth that typical ground beef quesadillas lack.
When paired with a tortilla, that crispy beef crust clings to the surface of the tortilla, adding both texture and flavor. You don’t even need to overload it with cheese — the contrast between crunch and melt does all the heavy lifting.
A classic burger might rely on buns to hold things together, but the tortilla brings its own perks: it’s lighter, crisps beautifully, and makes for easy folding. It’s essentially your burger and quesadilla having the best kind of crossover.
Ingredients You’ll Need (and Why They Matter)
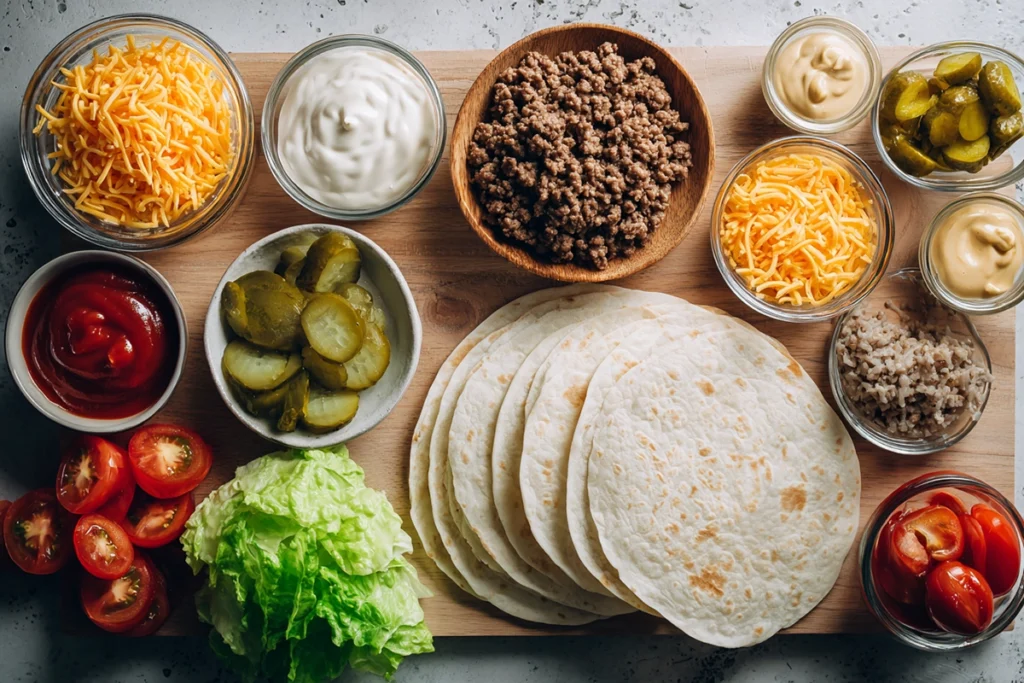
Here’s your lineup for the perfect Smashburger Quesadillas:
Main Ingredients:
- 1 lb ground beef (80/20 blend for flavor and juiciness)
- 4 large flour tortillas (soft taco size)
- 1 cup shredded cheddar or American cheese blend
- 1 tablespoon vegetable oil or butter
- ½ teaspoon salt
- ¼ teaspoon black pepper
- ½ teaspoon garlic powder
Toppings (optional but recommended):
- Shredded lettuce
- Sliced pickles
- Diced onions or grilled onions
- Sliced tomato
- Smash sauce or burger sauce (a mix of mayo, ketchup, and mustard works great)
Why they matter:
Choosing the right beef blend makes all the difference. Too lean, and you lose that juicy crust; too fatty, and you risk soggy tortillas. The 80/20 ratio hits the sweet spot. The tortilla should be soft yet sturdy — not the thin kind that tears. And when it comes to cheese, don’t hold back. The more meltable, the better.
Step-by-Step Preparation
Prepping Your Ingredients
Before you even fire up the pan, have everything ready. Lay out your tortillas, shred your cheese, and mix your sauce. Smash cooking moves fast, so you’ll want to be ready to assemble as you go.
Cooking the Beef
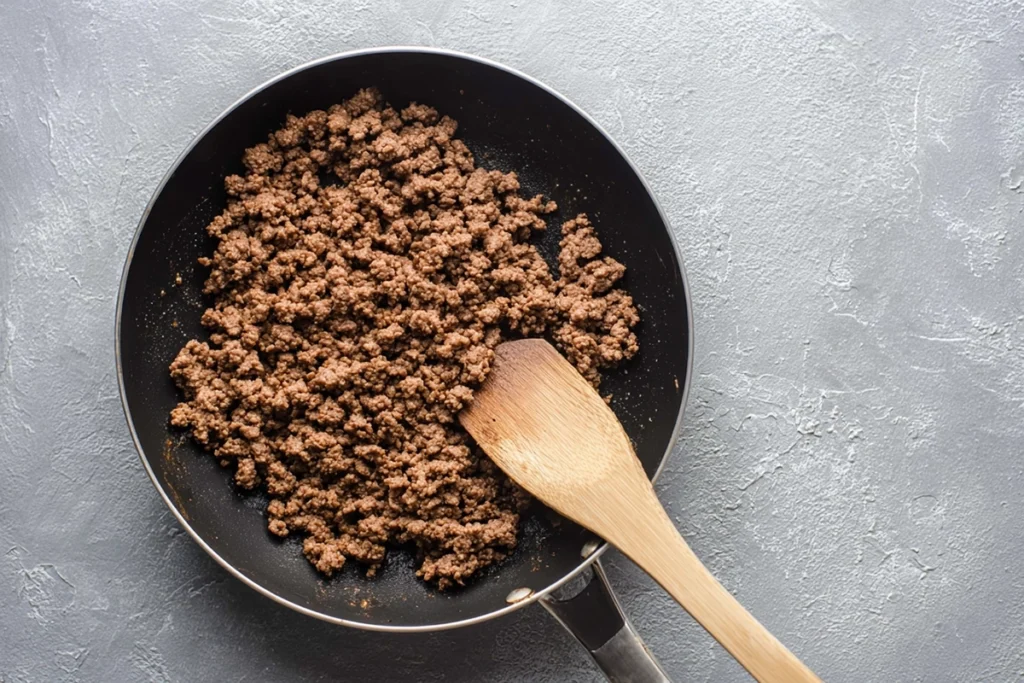
Heat your skillet over medium-high heat. Lightly oil the surface, then place a golf-ball-sized scoop of ground beef directly onto the pan. Press it down firmly with a spatula until it’s about ¼-inch thick. Let it sear for about two minutes until the edges get dark and crispy, then flip briefly to cook the other side.
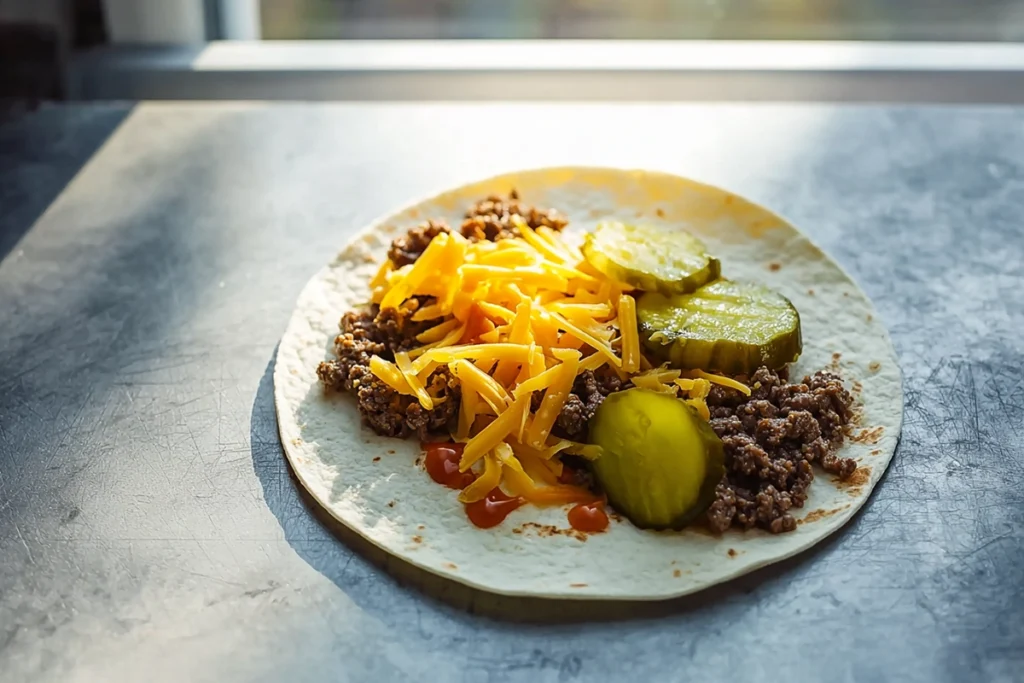
Once cooked, move the beef directly onto one side of your tortilla. Sprinkle cheese over it immediately so it begins to melt from the residual heat.
Assembling the Quesadilla
Fold the tortilla in half over the beef and cheese mixture. Wipe your skillet clean if needed, then lay the folded tortilla back onto the hot surface. Cook until both sides are golden brown and crisp, about two minutes per side.
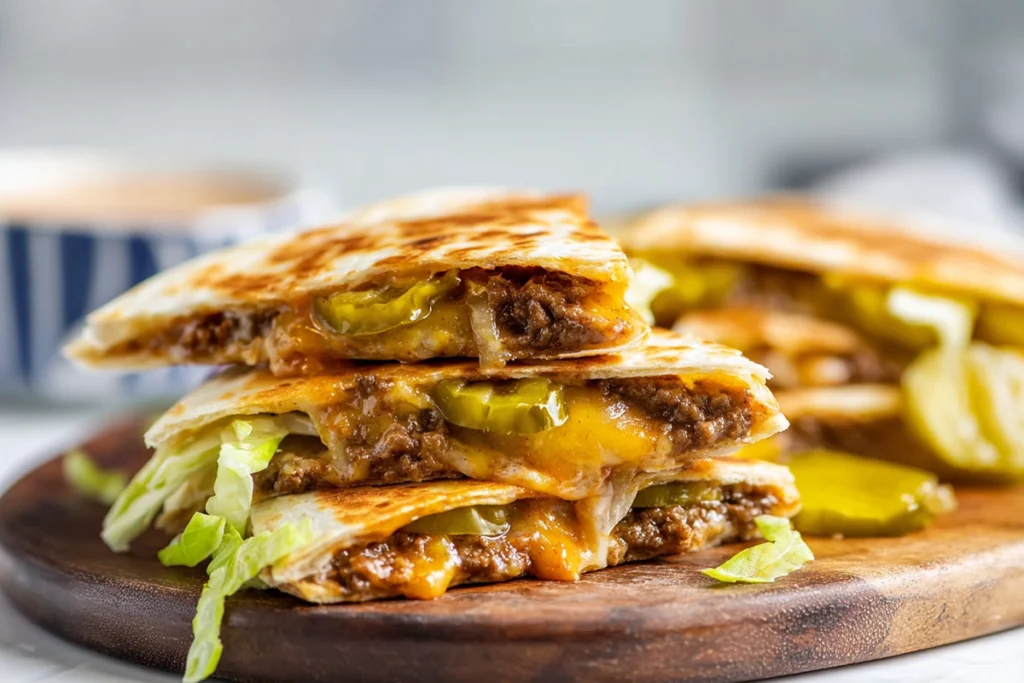
Slice into halves or quarters. When you see that melted cheese stretch between the folds, you’ll know you nailed it.
Dietary Variations and Substitutions
Gluten-Free
Swap flour tortillas for gluten-free or corn tortillas. Make sure your sauces and seasonings are certified gluten-free as well.
Vegan / Vegetarian
Use plant-based ground beef, vegan cheese, and a dairy-free burger sauce. A drizzle of vegan chipotle mayo adds extra richness.
Low-Calorie or Low-Fat
Go for lean ground turkey or chicken instead of beef, use low-fat cheese, and skip the mayo-based sauce. You can even pack in more lettuce and tomato for volume without calories.
Halal / Kosher
Ensure your meat and cheese are certified Halal or Kosher. Olive oil or clarified butter can replace traditional fats for compliance.
Low-Salt
Season your beef lightly and choose reduced-sodium cheese and condiments. Add herbs or chili flakes for flavor without excess salt.
These swaps let you keep the spirit of the Smashburger Quesadilla alive while fitting your personal dietary goals.
Storage, Make-Ahead & Reheating Tips
These quesadillas are best enjoyed hot off the skillet, but you can store leftovers if you plan ahead. Once cooled, place them in an airtight container and refrigerate for up to three days.
To reheat, skip the microwave — it makes the tortillas rubbery. Instead, warm them in a skillet over medium heat for a few minutes per side to bring back the crisp edges. For larger batches, pop them in a 350°F oven for about 10 minutes.
If you’re meal prepping, cook the beef and prep your sauce in advance, but assemble and cook the quesadillas fresh. That way, you’ll keep the tortilla’s crunch and the cheese’s gooey melt intact.
There’s something deeply satisfying about the first bite of a well-made Smashburger Quesadilla — the crispy tortilla, the juicy beef, and that hit of melted cheese. It’s comfort food that feels creative yet effortless, something you can throw together when you want a quick win in the kitchen. Once you try it, it’ll earn a regular spot in your weeknight rotation, proving that sometimes, the best meals are born from the simplest mashups.
Get inspired with more mouthwatering recipes! Follow me on Pinterest for new cooking ideas every week.
FAQ
How long does it take to make Smashburger quesadillas from start to finish?
From prep to plate, you can expect to spend about 25 to 30 minutes. Since you’re using the smash burger method, the beef cooks quickly, and you can assemble and crisp the quesadilla in the same time frame.
Can I use corn tortillas instead of flour for smashburger quesadillas?
Yes, you can, but keep in mind corn tortillas tend to be more delicate and may crack when you press and fold the quesadilla. For best results with the crisp, burger-style crunch you’re aiming for, flour tortillas hold up better.
What’s the ideal beef blend for the burger layer in smashburger quesadillas?
Go with a ground beef blend that has about 20% fat (for example, 80/20). That fat helps create the caramelized crust you expect from the smash technique and keeps the meat juicy within the quesadilla.
How do I reheat leftover smashburger quesadillas without losing the crunch?
Skip the microwave if you can—heat them in a skillet or oven instead. A minute or two per side on medium heat will bring back the crispness of the tortilla and keep the cheese from getting rubbery.
Smashburger Quesadillas
Ingredients
Method
- Preheat skillet over medium-high heat and lightly oil the surface.
- Place a golf-ball-sized scoop of ground beef on the hot pan and press it flat with a spatula until 1/4-inch thick.
- Sear each side until browned and crispy, about 2 minutes per side.
- Transfer the cooked beef onto one half of a tortilla and sprinkle shredded cheese over it.
- Fold the tortilla in half and return it to the pan to crisp both sides, about 2 minutes per side.
- Remove from heat, slice into triangles, and serve warm with burger sauce and toppings.
Notes
- Best served immediately for crisp texture.
- Store leftovers in an airtight container up to 3 days.
- Reheat in a skillet instead of microwave to restore crunch.