
Cheesy Chicken Garlic Wraps – A Melty, Flavor-Packed Meal You’ll Make on Repeat

There’s something deeply comforting about a meal that’s both simple and irresistibly satisfying. These Cheesy Chicken Garlic Wraps bring together all the cozy, crave-worthy elements of your favorite comfort foods—melty cheese, juicy chicken, and garlicky richness—all tucked neatly into a warm tortilla. The first time I made them, I wasn’t expecting them to become a weeknight favorite. But once that buttery garlic aroma filled the kitchen, I knew they’d earn a permanent spot in my recipe rotation.
If you’ve ever wanted an easy way to turn leftover chicken into something special, this recipe is your golden ticket. With just a few basic ingredients, you’ll have wraps that taste like something straight from a café—but made faster, fresher, and with your own flavor twist.
What Makes These Cheesy Chicken Garlic Wraps So Irresistible
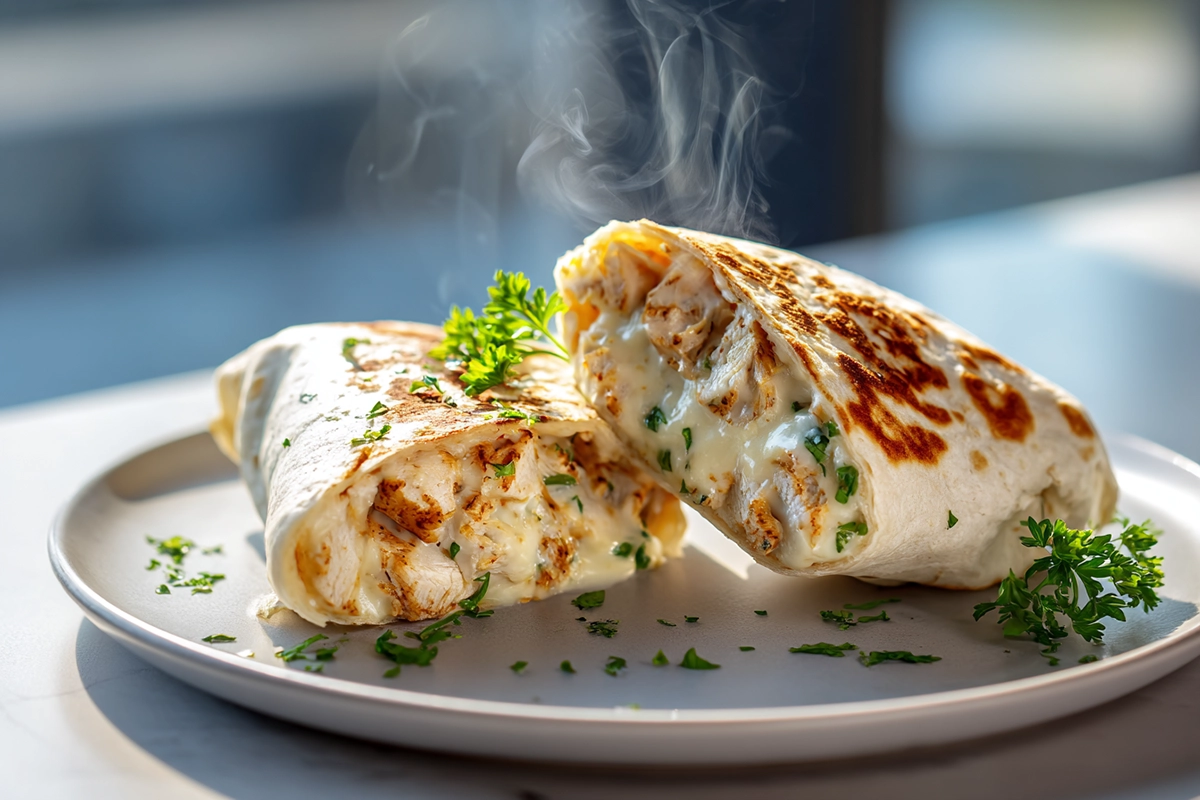
You know that moment when a bite of food hits every note—savory, creamy, crispy, and just the right amount of garlicky? That’s what happens here. The secret lies in balance: tender chunks of chicken coated in a creamy garlic sauce, wrapped up with melted cheese that stretches like a grilled cheese sandwich.
What sets this wrap apart is how the flavors build in layers. The garlic infuses the sauce, the cheese pulls everything together, and the toasted tortilla adds the perfect crunch. Unlike a plain chicken wrap, this one feels indulgent without being heavy. It’s the kind of meal you crave on busy evenings or lazy weekends alike.
Ingredients You’ll Need (and Why They Matter)
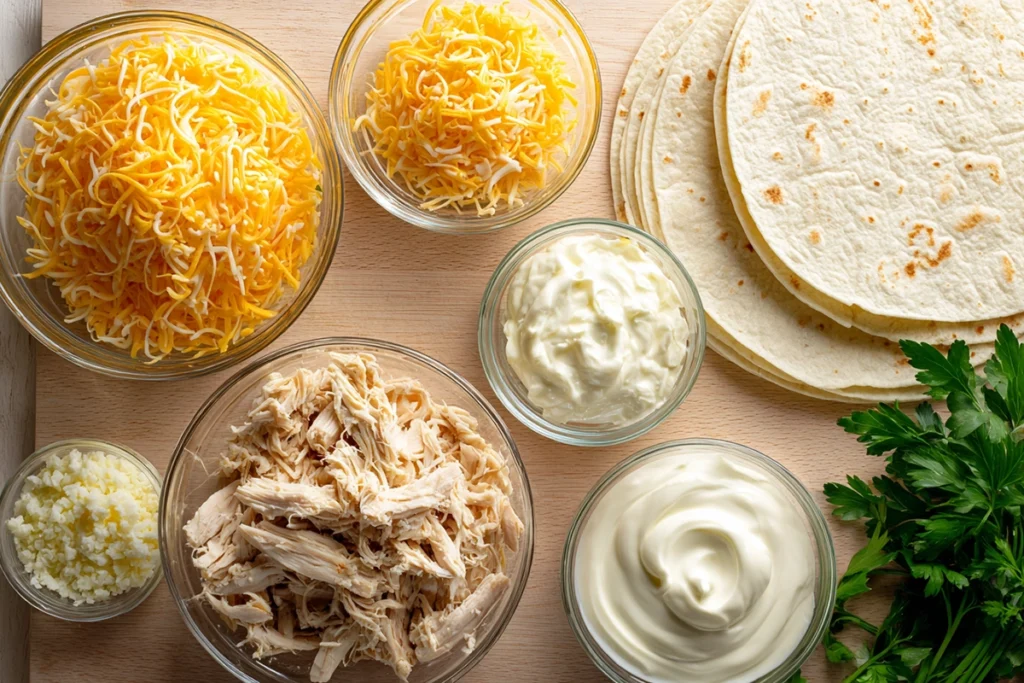
This recipe keeps things simple yet flexible, so you can make it your own. Here’s what you’ll need:
- 2 cups cooked chicken breast or thigh meat, shredded or diced
- 1 tablespoon olive oil or butter
- 3 cloves garlic, minced
- ¼ cup mayonnaise or sour cream (for a creamier wrap, use both)
- 1 cup shredded cheese (cheddar, mozzarella, or a blend)
- ½ teaspoon garlic powder
- ¼ teaspoon onion powder
- Salt and black pepper to taste
- 4 large flour tortillas
- Optional add-ins: chopped spinach, caramelized onions, roasted peppers, or jalapeños for heat
If you want to level up the flavor, consider using leftover rotisserie chicken—it’s already juicy and adds a hint of smokiness. Fresh garlic is non-negotiable here; it gives that signature aroma and bite that garlic powder alone can’t deliver.
Step-by-Step: How to Make Cheesy Chicken Garlic Wraps
Prep the Chicken and Sauce
Start by heating olive oil or butter in a skillet over medium heat. Add the minced garlic and sauté for about a minute, just until fragrant. Be careful not to brown it—it should smell nutty but not burnt. Stir in the chicken, garlic powder, and onion powder, coating everything evenly.
Next, fold in the mayo or sour cream. This gives the wrap that creamy, slightly tangy base that helps the cheese melt smoothly later on. Season with salt and pepper, then remove from heat.
Assemble the Wraps
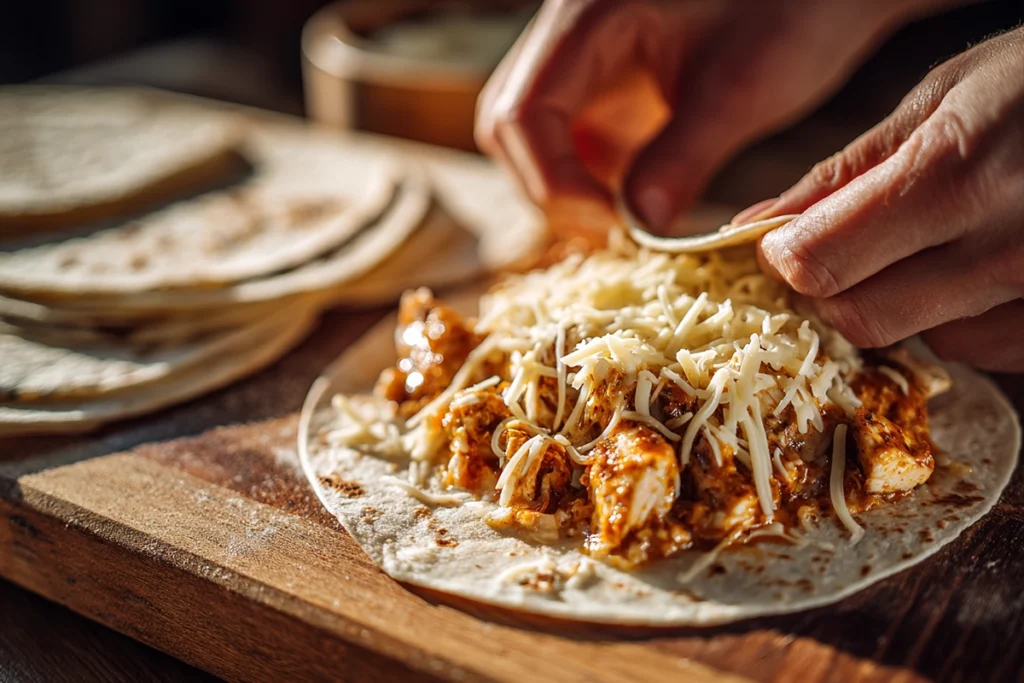
Lay a tortilla flat on a clean surface. Spoon the garlic chicken mixture down the center, then sprinkle a generous handful of shredded cheese on top. If you’re feeling adventurous, throw in extras like sautéed mushrooms or baby spinach.
Fold the sides of the tortilla inward and roll it tightly, burrito-style. Lightly press the seam to seal it.

Toast Until Golden
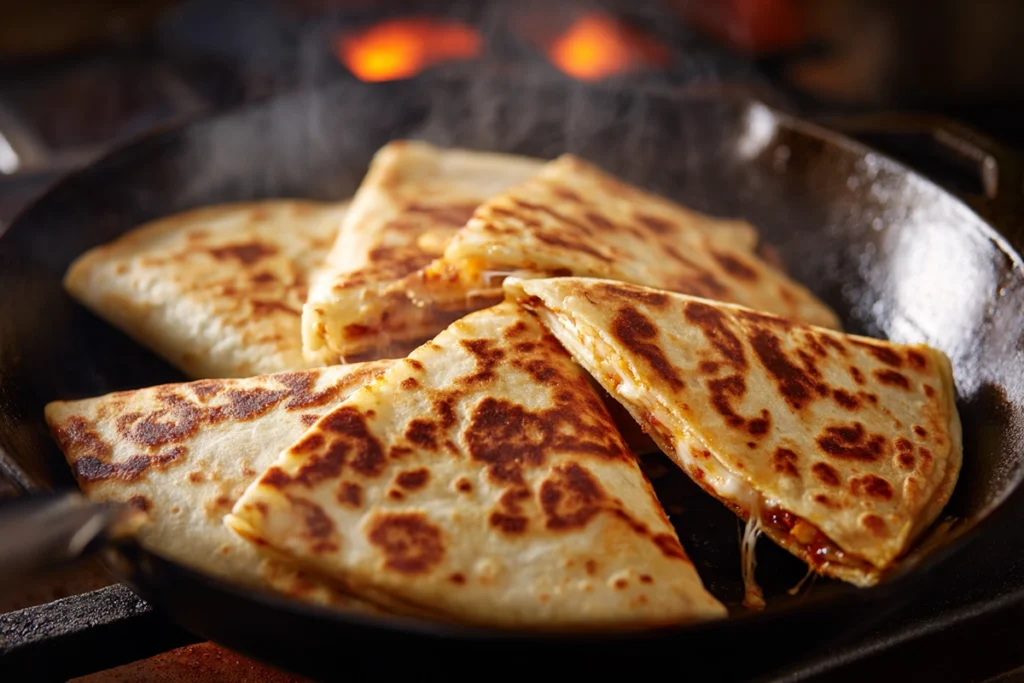
Heat a clean skillet or griddle over medium heat. Place each wrap seam-side down and cook until golden and crisp—about 2–3 minutes per side. You’ll know it’s ready when the cheese starts to melt and a faint garlic aroma fills the air.
For an extra crispy version, brush the outside with a touch of melted butter before toasting.
Dietary Variations & Smart Substitutions
No matter your eating style, there’s a way to make these wraps work for you.
Gluten-Free
Swap traditional flour tortillas for gluten-free or corn tortillas. Be gentle when folding—they tend to crack if overfilled or rolled too tightly.
Low-Calorie
Use low-fat Greek yogurt in place of mayonnaise and cut back slightly on the cheese. You’ll still get creaminess and flavor without the extra calories.
Vegan
Replace chicken with sautéed mushrooms, chickpeas, or marinated tofu. Use vegan mayo and dairy-free cheese that melts well, such as cashew-based mozzarella or almond cheese slices.
Halal-Friendly
Ensure your chicken and cheese are halal-certified. For added flavor, you can season the chicken with a hint of cumin or smoked paprika—both pair beautifully with garlic.
These swaps don’t compromise the flavor; in fact, they open up new ways to enjoy the dish with your own dietary needs in mind.
Serving Suggestions & Perfect Pairings
You can serve these wraps as a quick lunch, a hearty dinner, or even as part of a casual game-day spread. They pair beautifully with a fresh side salad, crispy sweet potato fries, or a chilled cucumber yogurt dip.
If you like bold flavors, try dipping them in chipotle mayo or a smoky ranch sauce. And for a lighter pairing, serve them with a lemony coleslaw—it cuts through the richness and keeps the meal balanced.
These wraps also make an excellent meal prep option. Wrap them in foil or parchment paper, store them in the fridge, and reheat in a skillet or air fryer for a fresh, crispy bite anytime.
Storage, Meal Prep & Reheating Tips
These Cheesy Chicken Garlic Wraps are best eaten fresh, but they store surprisingly well. Once cooled, wrap each one tightly in foil or an airtight container and refrigerate for up to 3 days.
To reheat, skip the microwave—it can make the wrap soggy. Instead, warm it in a dry skillet or oven for 5–7 minutes. If you’ve frozen the wraps (uncooked is best), thaw them in the fridge overnight before heating.
For meal prep, you can store the filling separately and assemble wraps as needed. That way, the tortillas stay soft, and the cheese melts perfectly each time.
When you take that first bite—the crispy tortilla giving way to creamy garlic chicken and gooey cheese—you’ll understand why Cheesy Chicken Garlic Wraps deserve a place in your weekly menu. They’re quick, flexible, and endlessly comforting. Whether you’re feeding your family or just treating yourself to something cozy, this recipe hits all the right notes—simple, flavorful, and undeniably satisfying.
FAQ
Can I use rotisserie chicken for Cheesy Chicken Garlic Wraps?
Absolutely! Rotisserie chicken works perfectly and saves time. Its natural juiciness adds extra flavor, and you can skip the cooking step—just mix it with the garlic sauce and cheese before wrapping.
What cheese melts best in Cheesy Chicken Garlic Wraps?
Cheddar, mozzarella, or Monterey Jack are top picks because they melt smoothly and give that classic gooey texture. For a stronger flavor, try a blend of provolone and pepper jack.
Can I make Cheesy Chicken Garlic Wraps ahead of time?
Yes, you can prep the filling up to two days ahead and store it in the fridge. Assemble and toast the wraps right before serving so they stay crispy.
How do I keep the wraps from getting soggy?
Avoid overfilling and make sure the chicken mixture isn’t too wet. Toasting each side in a dry skillet helps seal the wrap and keeps the tortilla crisp.
Are these wraps freezer-friendly?
They are! Freeze them before toasting, wrapped tightly in foil or freezer bags. When you’re ready to eat, thaw in the fridge overnight and toast on the skillet until golden and melty.
PrintCheesy Chicken Garlic Wraps

These Cheesy Chicken Garlic Wraps combine tender garlic-seasoned chicken, melty cheese, and a creamy sauce wrapped in a golden tortilla. Easy to make, perfectly toasted, and bursting with flavor, they’re ideal for a quick lunch, cozy dinner, or meal prep favorite.
- Prep Time: 15 minutes
- Cook Time: 15 minutes
- Total Time: 30 minutes
- Yield: 4 servings 1x
- Category: Main Course
- Method: Skillet
- Cuisine: American
- Diet: Halal
Ingredients
2 cups cooked chicken breast or thigh meat, shredded or diced
1 tablespoon olive oil or butter
3 cloves garlic, minced
¼ cup mayonnaise or sour cream (or half of each)
1 cup shredded cheese (cheddar, mozzarella, or a blend)
½ teaspoon garlic powder
¼ teaspoon onion powder
Salt and black pepper to taste
4 large flour tortillas
Optional: chopped spinach, caramelized onions, roasted peppers, or jalapeños
Instructions
Heat olive oil or butter in a skillet over medium heat.
Add minced garlic and sauté for 1 minute until fragrant.
Stir in cooked chicken, garlic powder, onion powder, salt, and pepper.
Add mayonnaise or sour cream and mix until the chicken is coated in a creamy garlic sauce.
Remove from heat and let it cool slightly.
Lay a tortilla flat and spoon the mixture down the center.
Sprinkle shredded cheese over the filling and fold the tortilla burrito-style.
Heat a clean skillet or griddle over medium heat.
Toast the wraps seam-side down for 2–3 minutes per side until golden and crisp.
Slice in half and serve warm with your favorite dipping sauce.
Notes
For a crispier wrap, brush the outside lightly with melted butter before toasting.
Rotisserie chicken adds flavor and convenience.
Avoid overfilling to keep the wrap from tearing.
Store leftovers in the fridge for up to 3 days; reheat in a skillet or air fryer.