
Strawberry Fruit Roll-Ups with Just 3 Simple Ingredients

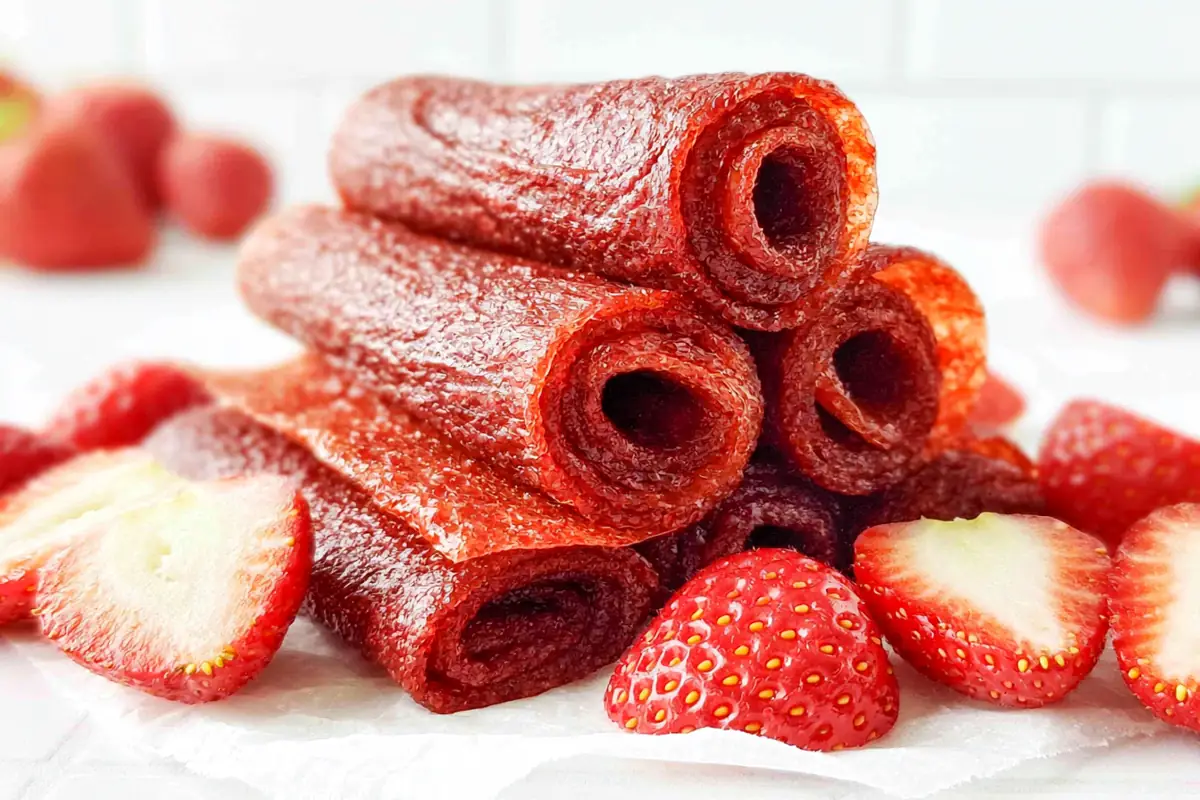
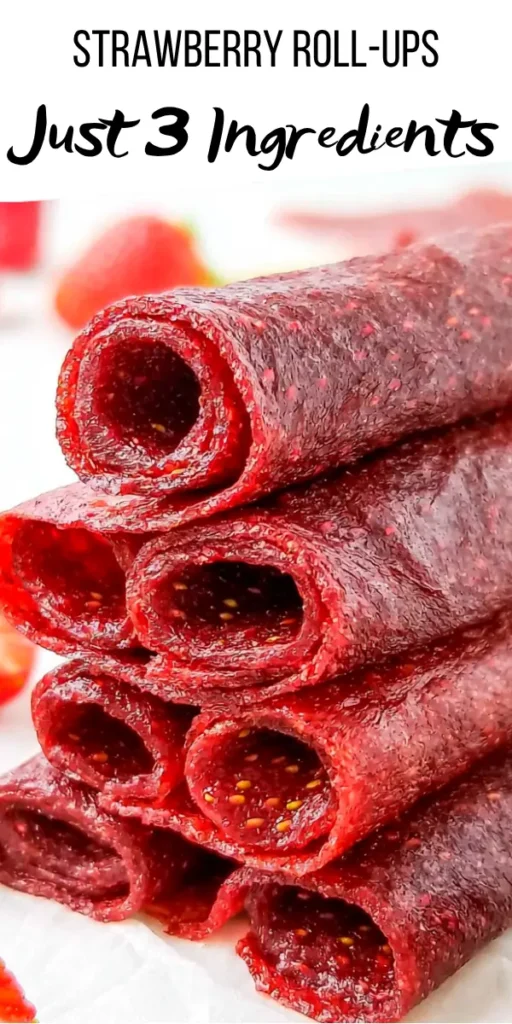
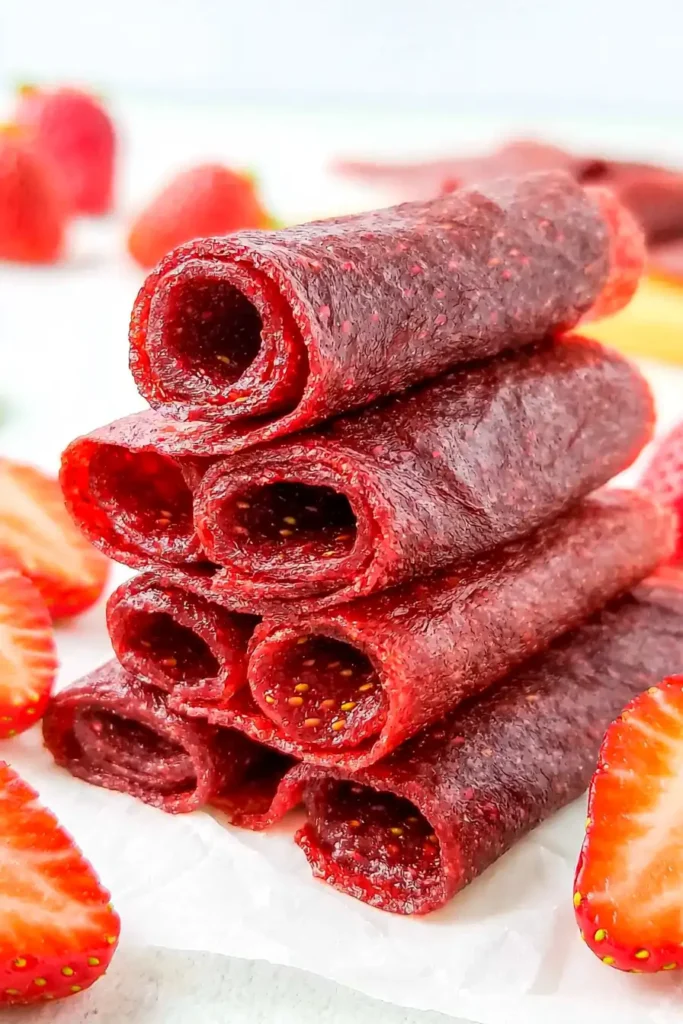
Strawberry Fruit Roll-Ups have the concentrated flavor of ripe berries with a soft, pleasantly chewy texture. This homemade version uses only strawberries, honey, and lemon juice, then dries slowly in a low oven until the puree becomes flexible fruit leather.
The most important detail is thickness. Spread the mixture evenly, and the center will dry at nearly the same pace as the edges instead of staying sticky while the outside turns brittle.
From Packaged Fruit Snacks to a Homemade Version
Commercial fruit snacks are convenient, and many of us remember peeling brightly colored strips from plastic backing as kids. The homemade version keeps that familiar rolled shape while replacing the long ingredient list with actual fruit.
You don’t need a dehydrator or specialized equipment. A blender, a parchment-lined sheet pan, and an oven set between 140°F and 170°F will do the job. The process takes several hours, but most of that time is hands-off. The result tastes more like concentrated strawberries than candy, with enough honey to soften the fruit’s natural tartness.
Why Homemade Strawberry Fruit Roll-Ups Are Worth Making
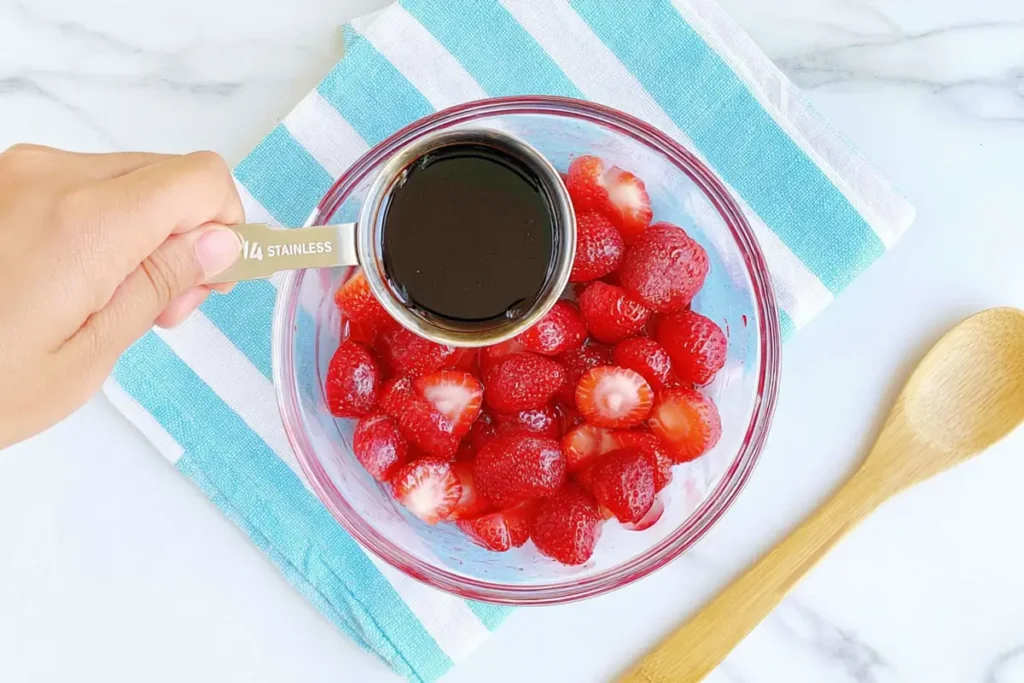
With only three ingredients, you control both the flavor and the sweetness. That matters because strawberries vary. A batch made with ripe summer berries may need no more than the listed 3 tablespoons of honey, while less flavorful fruit relies more heavily on that sweetness.
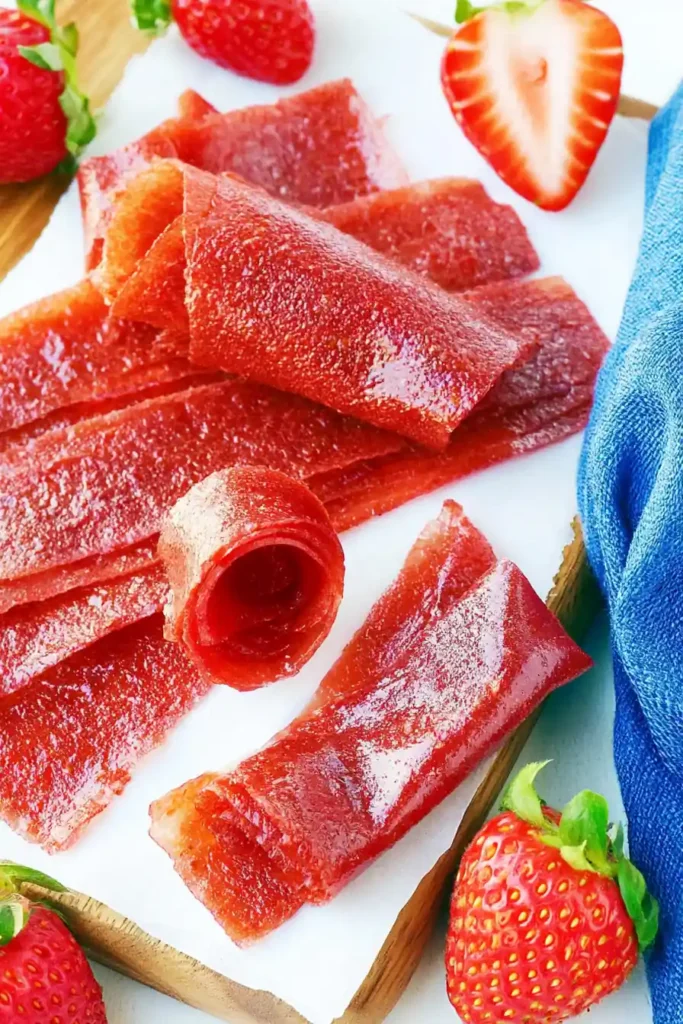
The lemon juice has a practical role too. Its acidity keeps the flavor from becoming flat as the strawberries dry and concentrate. I use 2 tablespoons, which gives the finished strips a clean berry taste without making them noticeably sour.
Homemade fruit leather also lets you choose the final texture. Dry it just until the center loses its tackiness for a softer chew. Leave it too long, and the edges can become crisp.
Three Ingredients for Strawberry Fruit Roll-Ups
The ingredient list is brief, so each item has a noticeable effect on the finished snack.
Strawberries
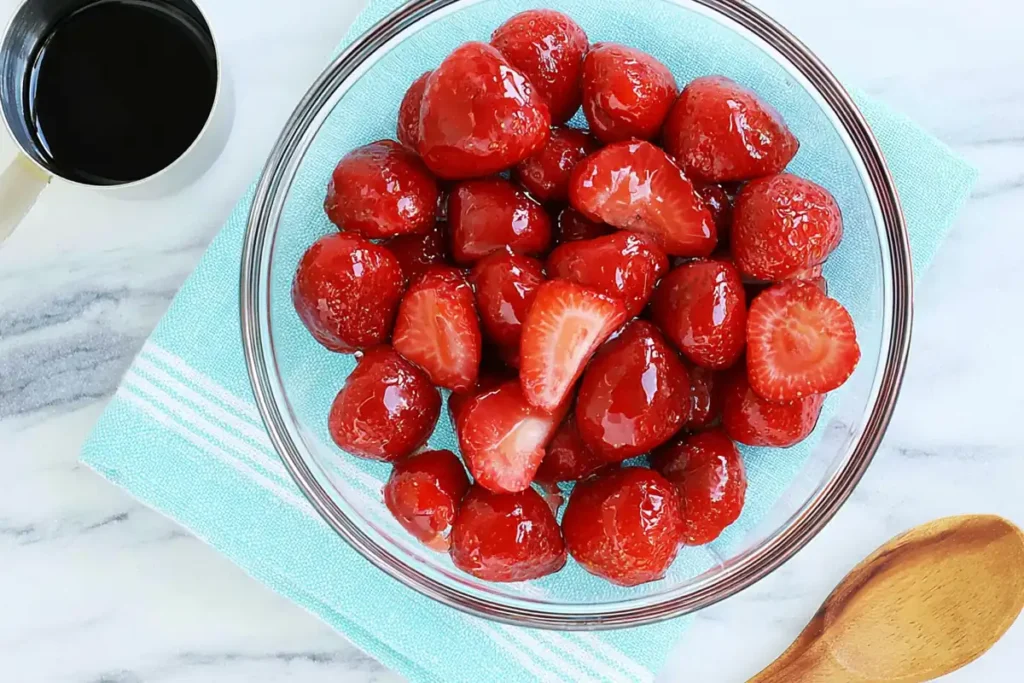
Use 3 cups of strawberries, either fresh or frozen and fully thawed. Ripe berries work best because drying intensifies whatever flavor is already there. Pale or underripe strawberries can produce a fruit leather that tastes muted even after honey is added.
Drain away excess liquid from thawed berries before measuring. A watery puree can extend the drying time and make the outer edges finish well before the center.
Honey
The 3 tablespoons of honey add sweetness and help give the fruit leather a flexible texture. Blend it completely into the strawberries so no sticky patches remain. I prefer to taste the puree before spreading it. It should seem slightly sweeter than you want the final result, since the lemon juice and concentrated fruit will sharpen during drying.
Lemon Juice
Use 2 tablespoons of lemon juice to brighten the berries. Fresh juice gives the cleanest flavor, though bottled juice can work in a pinch. Don’t add more unless the strawberries are especially sweet; too much acidity may dominate once the mixture loses moisture.
How to Make Strawberry Fruit Roll-Ups in the Oven
Start by preheating the oven to 140°F to 170°F, or the lowest setting your oven allows. Some home ovens don’t hold very low temperatures evenly, so an oven thermometer is useful here. Line a sheet pan with parchment paper and press the paper flat so the puree doesn’t pool in the creases.
Blend the strawberries, honey, and lemon juice until completely smooth. Stop the blender and scrape the sides once if needed. Small fruit pieces can dry into firm spots, so take an extra few seconds to get an even puree.
Pour the mixture into the center of the prepared pan, then spread it into a layer about ⅛ to ¼ inch thick. Aim for consistent thickness rather than pushing the puree all the way to every corner. Thin edges dry quickly and can become brittle before the middle is ready.
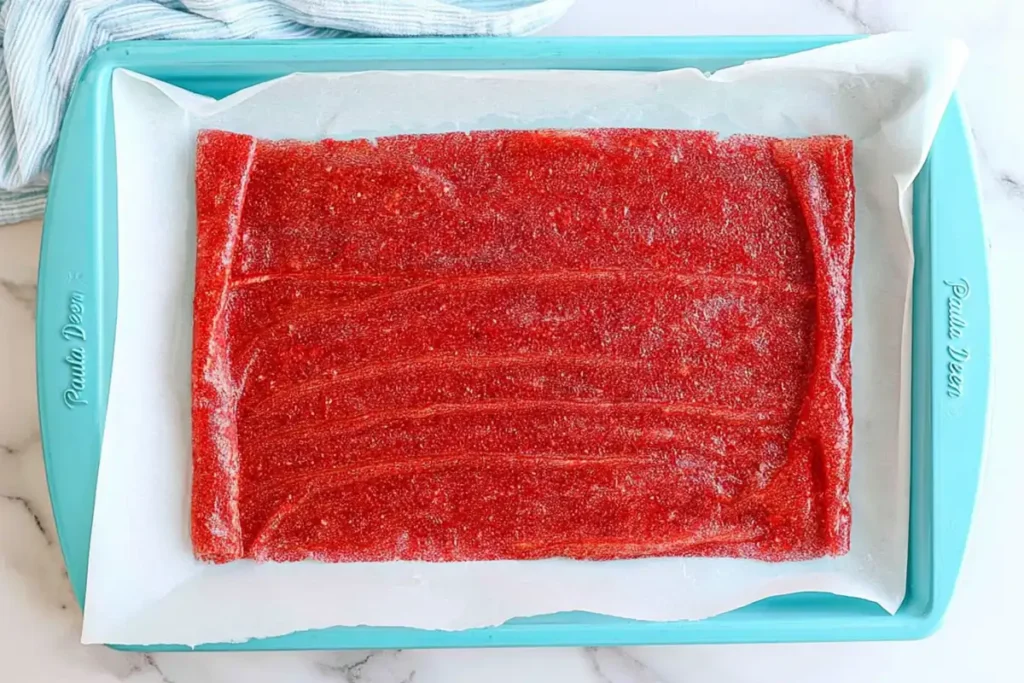
Place the pan in the oven for 4 to 6 hours. The exact time depends on the oven temperature, the moisture in the berries, and how thickly you spread the mixture. Begin checking near the four-hour mark. The surface should look dry, and the center should no longer feel tacky when lightly touched.
Don’t judge it by color alone. The fruit will darken as it dries. A finished sheet should peel from the parchment without leaving wet puree behind and should bend without cracking. If the center still feels sticky, return it to the oven and check again after 20 to 30 minutes.
Cooling, Trimming, and Cutting the Fruit Leather
Let the fruit leather cool completely on the sheet pan before trying to remove it. Warm fruit leather can stretch, tear, or stick in places that would release cleanly once cool. Depending on the thickness, cooling usually takes about 20 to 30 minutes.
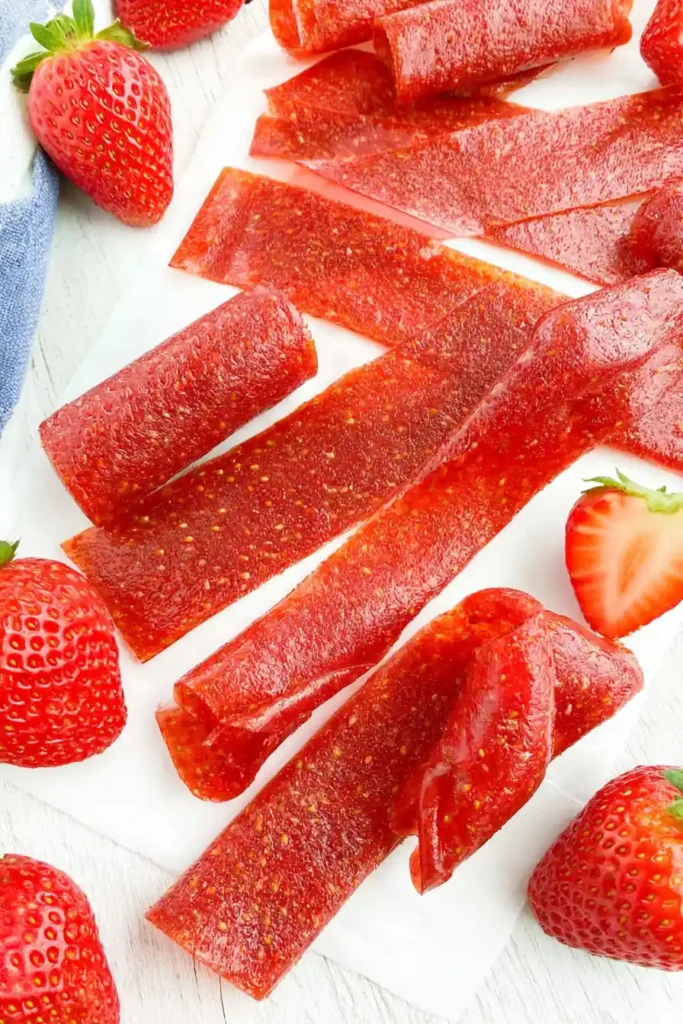
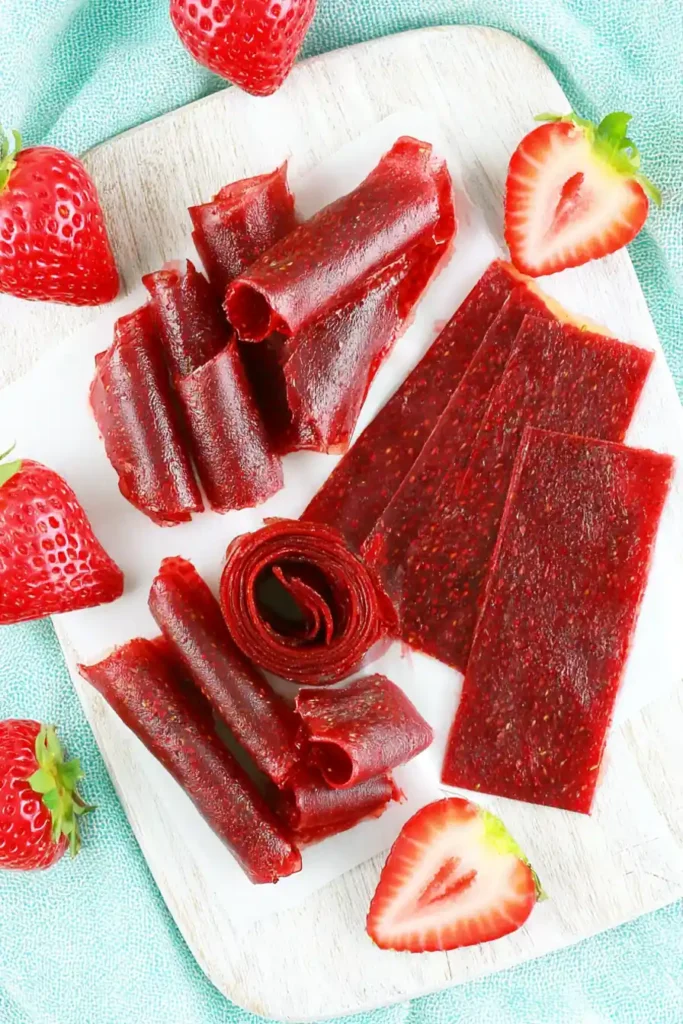
Lift one corner and peel the sheet away from the parchment slowly. If a small area still clings, ease it free rather than pulling hard. Trim any dry or uneven edges with clean kitchen scissors or a pizza cutter, then cut the sheet into strips about 1 inch wide.
For the familiar rolled shape, keep each strip on a narrow piece of parchment and roll them together. The paper prevents the layers from sticking during storage.
How to Store Homemade Strawberry Fruit Roll-Ups
Arrange the finished strips in an airtight container once they’re fully cool. Moisture trapped from residual warmth can soften the surface and make the rolls sticky, so don’t rush this step.
Place parchment between stacked strips or roll each one with its own paper backing. Keep the container in a cool, dry place away from direct sunlight. For longer storage, refrigeration is the safer choice, especially in a warm kitchen.
Check the texture before serving. If the rolls feel unusually wet, smell fermented, or show any mold, discard them. Properly dried fruit leather should stay flexible, lightly tacky at most, and easy to peel from the parchment.
A Simple Snack to Make Again
These Strawberry Fruit Roll-Ups are straightforward, though they reward patience. Keep the puree even, use the lowest reliable oven temperature, and judge doneness by touch rather than the clock alone.
Once you’ve made a batch, the method becomes easy to repeat whenever strawberries are ripe and flavorful. Every recipe I share is an invitation from my kitchen to yours, and this one is a good reminder that a few familiar ingredients can make a useful homemade snack.
Strawberry Fruit Roll-Ups
Ingredients
Equipment
Method
- Preheat the oven to 140°F to 170°F, or use the lowest temperature setting available, and line a rimmed sheet pan with parchment paper.
- Add the strawberries, honey, and lemon juice to a food processor or blender and blend until completely smooth, scraping down the sides as needed.
- Pour the strawberry puree onto the prepared sheet pan and spread it into an even layer about 1/8 to 1/4 inch thick.
- Dry the puree in the oven for 4 to 6 hours, beginning to check it near the 4-hour mark.
- Remove the pan when the center is no longer tacky and the fruit leather peels away from the parchment without leaving wet puree behind.
- Let the fruit leather cool completely on the sheet pan for about 20 to 30 minutes.
- Peel the cooled fruit leather from the parchment, trim any dry edges, and cut it into strips about 1 inch wide using clean scissors or a pizza cutter.
- Roll each strip with a narrow piece of parchment paper and store the finished fruit roll-ups in an airtight container.
Notes
- Drain excess liquid from thawed strawberries before measuring so the puree does not become overly watery.
- Spread the puree as evenly as possible because thin edges can become brittle before the center finishes drying.
- The fruit leather is ready when the center feels dry rather than tacky and the sheet remains flexible when bent.
- Allow the fruit leather to cool fully before storing to prevent trapped moisture from making the rolls sticky.
- Store the rolls with parchment between the layers in an airtight container, and refrigerate them for longer storage in a warm kitchen.