
Non-Alcoholic Layered Drinks for Summer Parties

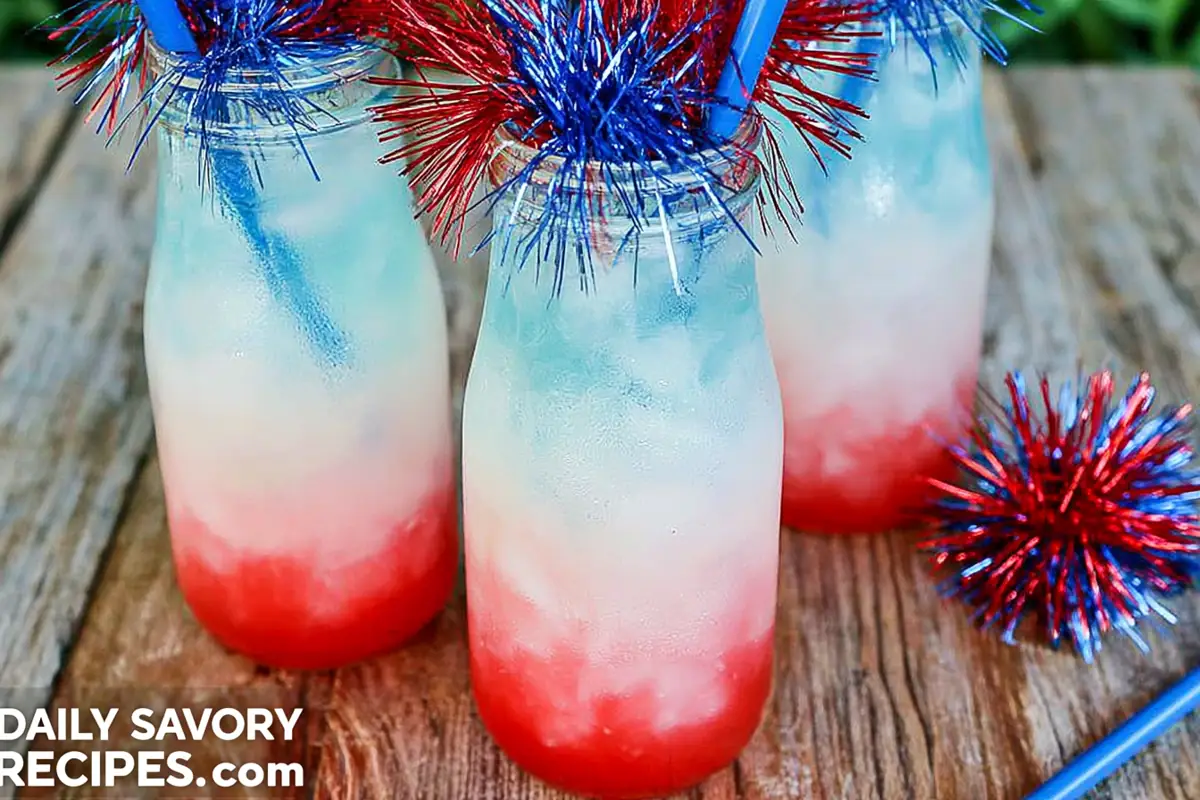
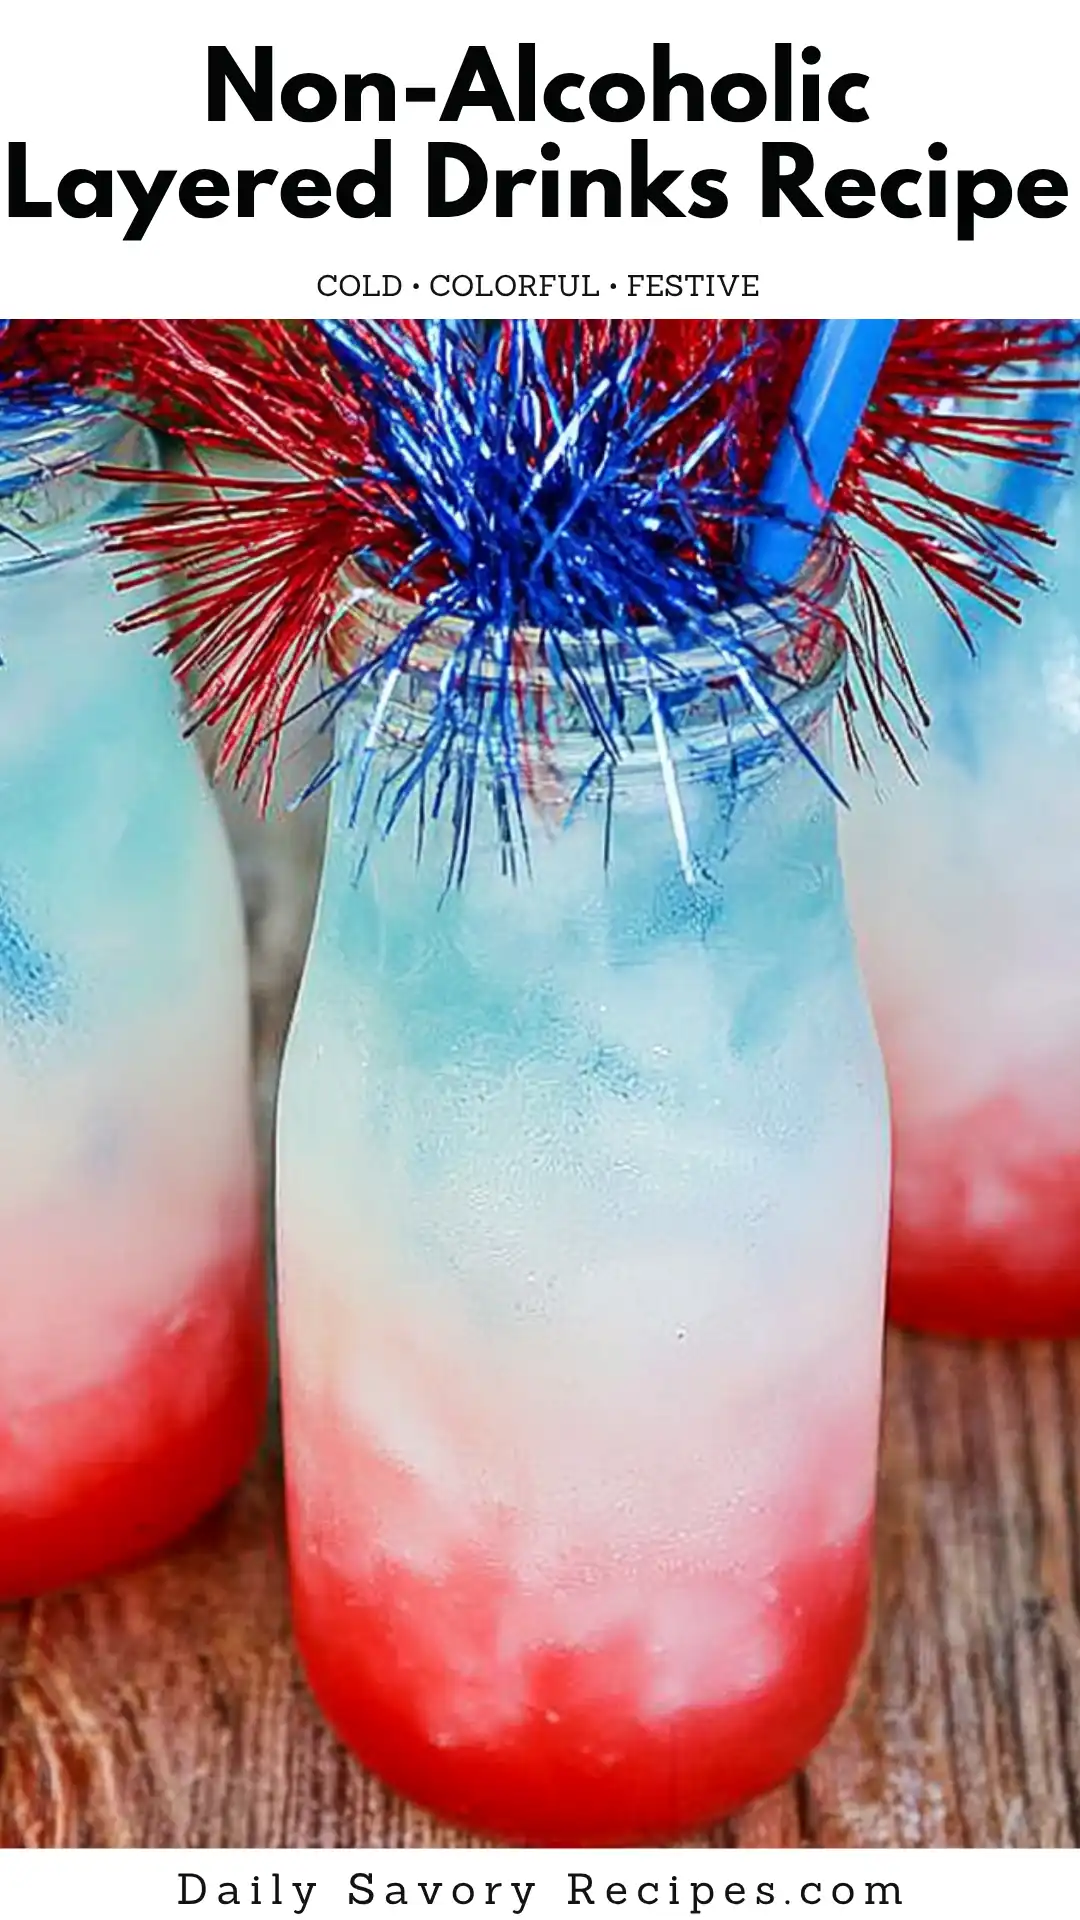
Non-alcoholic layered drinks catch attention before anyone even takes a sip. The bright red, white, and blue layers look striking in a clear glass, especially when the ice holds everything in place instead of letting the colors blend together. It’s a simple party drink, but the presentation does a lot of the work.
This version uses ingredients you can find in most grocery stores and doesn’t rely on special syrups or bartending tools. I’ve tested plenty of layered drinks over the years, and this approach works well at home because the pouring method is forgiving as long as you slow down.
You’ll also learn why the layers stay separated and what usually causes them to mix too early.
Why Non-Alcoholic Layered Drinks Stand Out at Parties
A tray of colorful drinks changes the mood of a table quickly. These non-alcoholic layered drinks work especially well outdoors where sunlight catches the different colors through the glass. Kids like them because they look playful, and adults usually assume they’re more complicated to make than they really are.
The biggest advantage is that the recipe takes about 10 minutes from start to finish. No blending. No cooking. Just careful pouring and cold ingredients. I prefer serving these in tall clear glasses because short tumblers compress the layers too tightly and the colors lose definition.
Cold liquids matter more than people think. Warm drinks start blending almost immediately once they hit the ice. I usually chill everything for at least 2 hours beforehand. Worth the extra planning.
How Liquid Density Keeps the Layers Separate
Layered drinks rely on density, which sounds technical but comes down to sugar content and weight. The CranApple juice sits at the bottom because it’s heavier than the white pina colada drink and the blue sports drink. The lighter liquids naturally float higher if you pour them slowly enough.
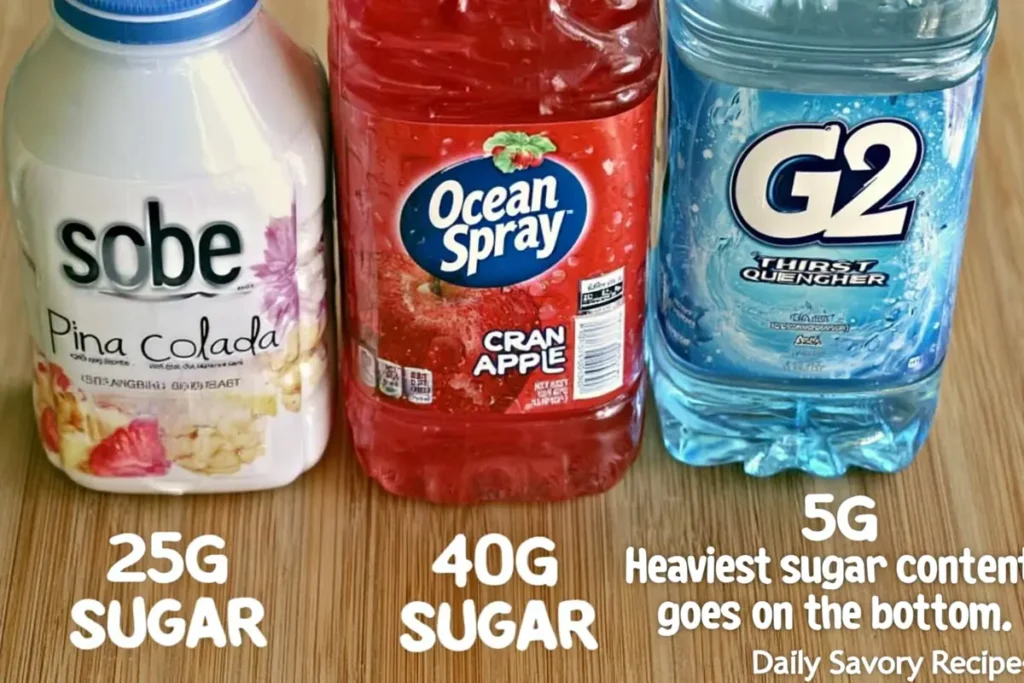
Ice helps stabilize the layers by breaking the force of the pour. Without enough ice, the liquid drops straight through and disturbs the heavier layer underneath. Fill the glass almost completely. A half-full glass tends to collapse into one color after a minute or two.
Why Ice Slows Down Mixing
Large ice cubes work better than crushed ice here. Crushed ice melts faster and creates too much movement between the layers. I like using standard freezer cubes because they leave small gaps that guide the liquid gently downward.
You’ll notice the white layer sometimes starts to feather slightly into the red layer near the edges. That’s normal after a few minutes. Clean separation doesn’t last forever, especially during summer parties outdoors. The goal is distinct color bands long enough for serving and photos.
The Pouring Method That Creates Clean Layers
Start by filling the glass about one-third full with the CranApple juice. Then add ice all the way to the top. Don’t leave extra space thinking it’ll help later. Packed ice gives the liquid structure to flow around instead of crashing downward.
The second layer needs patience. Slowly pour the white pina colada drink directly over a piece of ice near the center of the glass. Not fast. A thin stream works best. If you dump it in quickly, the red layer clouds immediately and there’s really no fixing it afterward.
The blue G2 Gatorade goes on last using the same method. Pour slowly over the ice, not directly into the liquid below. I sometimes tilt the bottle slightly higher than expected so the stream stays narrow and controlled.
This is one of those restaurant techniques that actually works great at home because it’s more about restraint than skill. Slow hands matter more than fancy equipment.
Common Mistakes That Cause the Colors to Blend
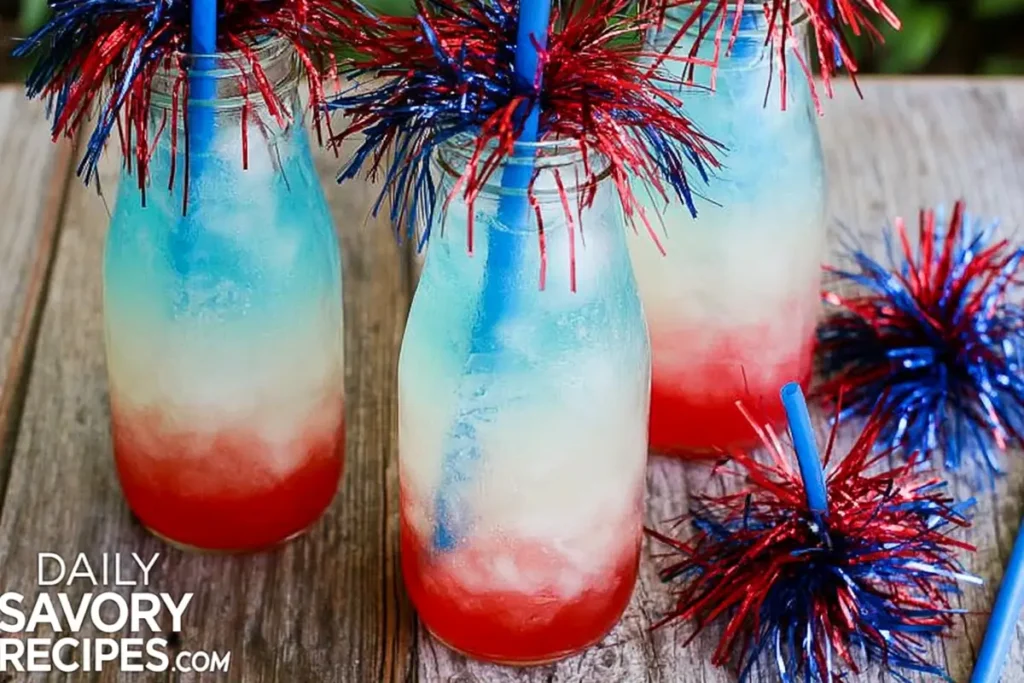
Most problems come from pouring too aggressively. Another common issue is using drinks with similar sugar levels. If two liquids have nearly the same density, they won’t stack cleanly no matter how careful you are.
Melting ice can also muddy the layers after sitting too long. Serve these shortly after assembling them. They hold best within the first 10 to 15 minutes.
Ingredient Swaps and Flavor Variations for Layered Drinks
You can change the colors without changing the method. That’s useful when certain drinks are hard to find locally. A white coconut drink or lemonade-style beverage can replace the white pina colada layer as long as it stays lighter than the juice underneath.
For the top layer, other blue sports drinks usually behave similarly to G2 Gatorade. Some versions contain more sugar though, which can affect the layering slightly. Test one glass first before preparing several for guests.
Keeping the Drink Kid-Friendly
I keep these non-alcoholic layered drinks fairly sweet because they’re often served at summer birthdays and cookouts. Tart juices tend to overpower the lighter middle layer. If you want a less sweet version, reduce the amount of sports drink and use extra ice to balance things out.
Bright paper straws or reusable clear straws work nicely because they don’t block the layers visually. Small detail, but it helps the presentation.
Glassware and Simple Tools That Help With Layering
Tall glasses make the layers easier to see and give you more vertical space to separate the colors. Mason jars can work, though the thicker glass softens the contrast slightly. I avoid opaque cups completely for this recipe since the appearance is part of the experience.
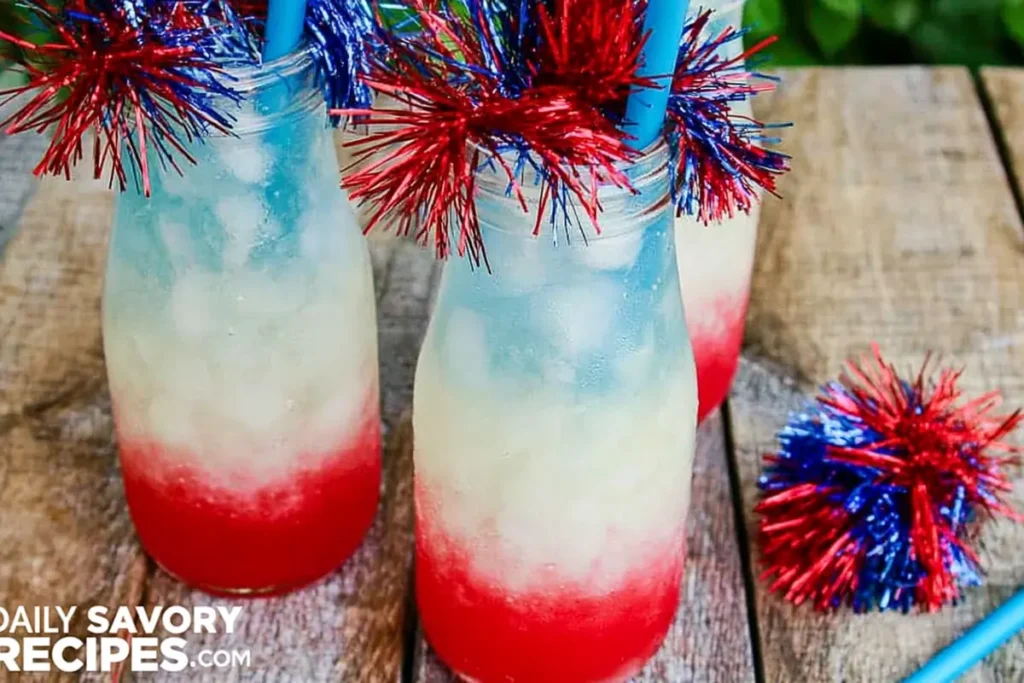
You don’t need bar tools for this. A steady pour over ice is enough. Some people use the back of a spoon, and it does help, but honestly, careful pouring usually gets the same result with less fuss.
Keep extra ice nearby while assembling multiple glasses. Once the ice level drops, the next layers become harder to control.
Worth Making for Your Next Summer Gathering
These non-alcoholic layered drinks look festive without requiring much effort or expensive ingredients. Once you understand how the layers work, you can experiment with different colors and flavors pretty easily.
Every recipe I share is an invitation from my kitchen to yours. This one happens to bring a little extra color to the table too.
The article is complete based on the approved outline and all sections have been written.
Non-Alcoholic Layered Drinks
Ingredients
Method
- Fill each glass about one-third full with CranApple juice.
- Fill the glasses completely with ice cubes.
- Slowly pour the white pina colada drink over a piece of ice near the center of the glass.
- Carefully pour the blue G2 Gatorade over the ice to create the final layer.
- Serve immediately while the layers are still distinct and cold.
Notes
- Keep all drinks chilled before layering for cleaner separation.
- Large ice cubes work better than crushed ice.
- Pour slowly to avoid blending the layers together.
- Serve within 10 to 15 minutes for the clearest color separation.